AHG octave mando build

AcornHouse

Venerated Member
Joined
May 22, 2011
Messages
10,358
Reaction score
7,673
Location
Bidwell, OH
Guild Total
21
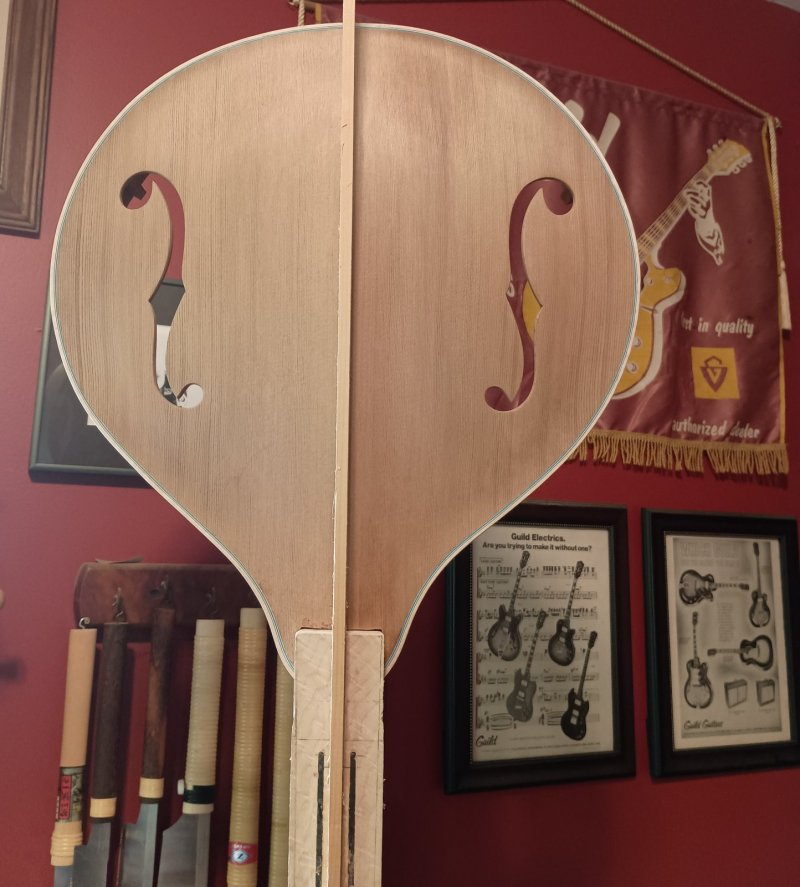
I love it when a plan comes together (especially when you're not working from a plan.) After making up a quick jig to fit in the truss rod channel to check alignment, I found, as I suspected, that it was a little off. Surprisingly little adjustments were needed to get it lined up right down the center seam.

IMG_20230929_111728716~2.jpg
 

AcornHouse

Venerated Member
Joined
May 22, 2011
Messages
10,358
Reaction score
7,673
Location
Bidwell, OH
Guild Total
21
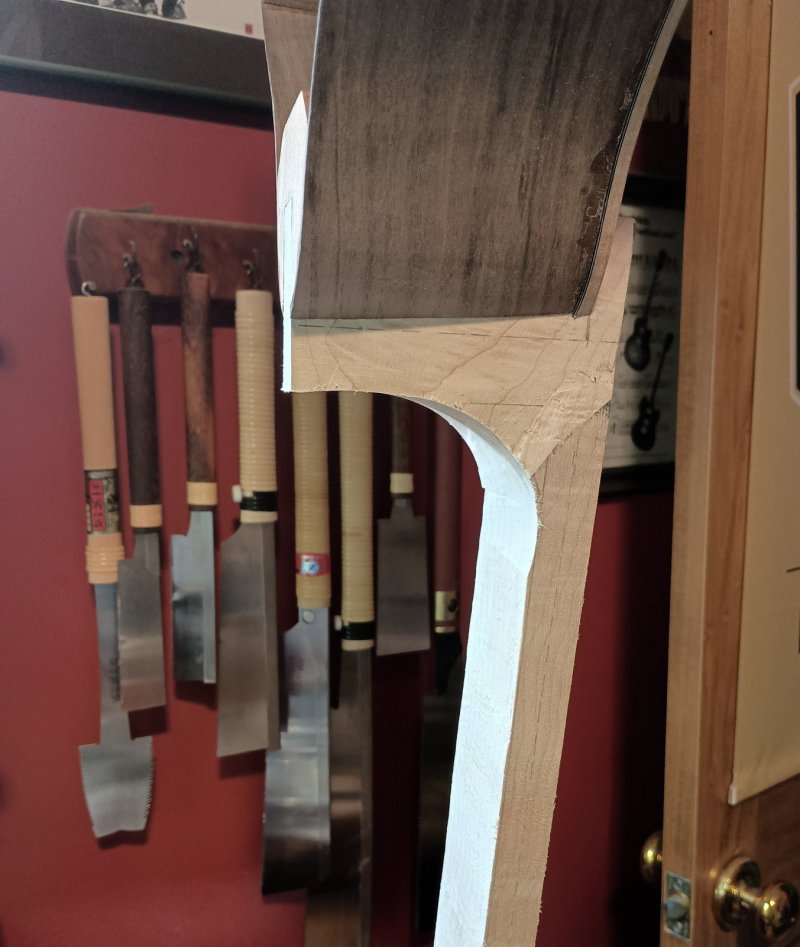
With the V joint all set, I took the neck out to the workshop and cut off the extra heel end, used the Saf-T-Planer to bring the bottom of the neck to its taper, and the spindle sander to smooth out the heel curve.
Before it's glued to the body I need to shape the heel and glue the wings to the headstock and get it all shaped.

IMG_20230929_134056175_HDR~2.jpg
 

AcornHouse

Venerated Member
Joined
May 22, 2011
Messages
10,358
Reaction score
7,673
Location
Bidwell, OH
Guild Total
21
One final pic for today. I wanted to record for posterity the posterior of the headstock and the figure that'll soon be covered by overlays. I debated not putting any overlay on the back, but it really does add some strength to help lock the headstock bits together.

At least as I see it.

IMG_20230930_182232505~2.jpg
 

chazmo

Super Moderator
Gold Supporting
Joined
Nov 7, 2007
Messages
26,385
Reaction score
7,746
Location
Central Massachusetts
Chris, I love how you matched up the grain lines of the wings with the rest of it. At least, best you can. That's really beautiful. Will you be doing a faceplate and/or a backstrap?
 

AcornHouse

Venerated Member
Joined
May 22, 2011
Messages
10,358
Reaction score
7,673
Location
Bidwell, OH
Guild Total
21
Chris, I love how you matched up the grain lines of the wings with the rest of it. At least, best you can. That's really beautiful. Will you be doing a faceplate and/or a backstrap?
Yes. Walnut offcuts from the back will be the bread in the headstock sandwich.
The wings were taken from neck offcut, chosen for the straightest grain to reinforce the slightly short grain in the middle caused by the headstock angle cut.
 

AcornHouse

Venerated Member
Joined
May 22, 2011
Messages
10,358
Reaction score
7,673
Location
Bidwell, OH
Guild Total
21
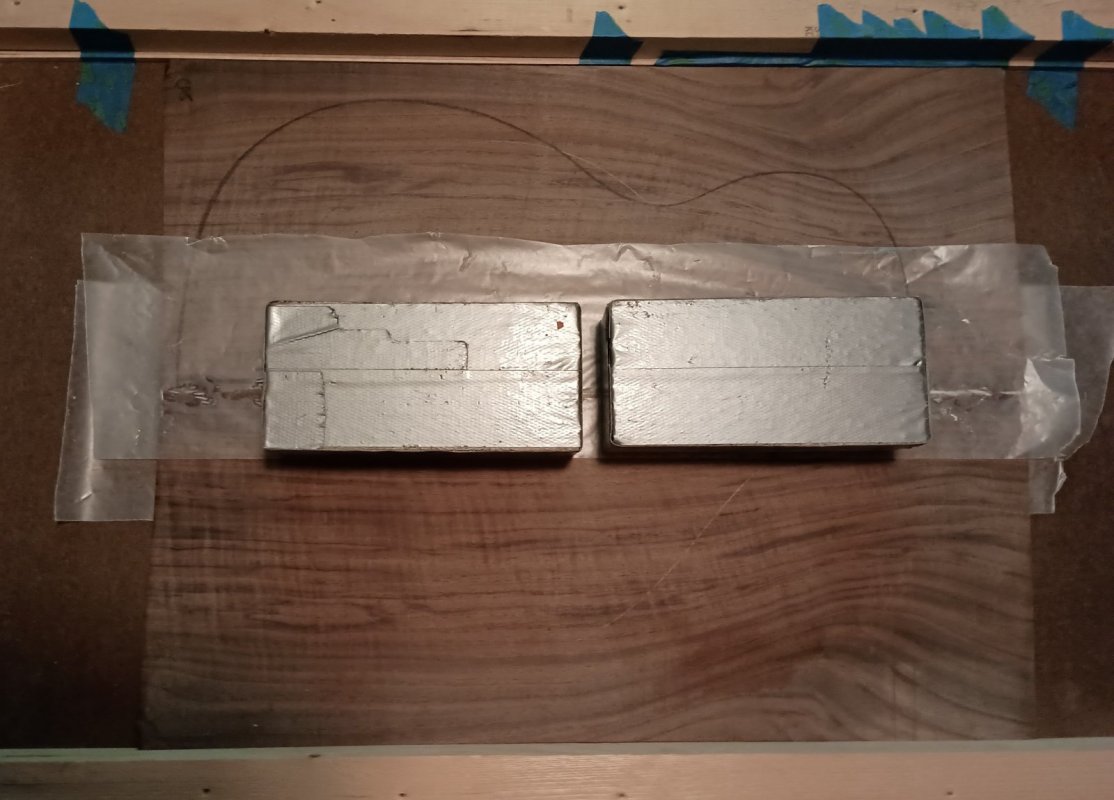
Since I need to cut pieces from the back to use as headstock overlays (well, I guess, technically, one would be an underlay) the back needs to get glued up. So after jointing and preliminary thicknessing, it gets glued up.
Normally I would use wedges to provide the clamping pressure but as the back barely fit into the clamping box, I had to go with an alternative method. (When the pieces are 1/8" thick there's just too much flex to use regular woodworking clamps.)
By building up one of the sides with some binding pieces so that that back barely doesn't fit, when I press the two pieces down they press together tight. Notice of had to do some spot build up with veneer to account for some wave at the top.

IMG_20231002_105309143~2.jpg
 

AcornHouse

Venerated Member
Joined
May 22, 2011
Messages
10,358
Reaction score
7,673
Location
Bidwell, OH
Guild Total
21
One of the "joys" of working with such a hard wood for the neck is the amount of time you need to sand to get rid of tool marks.😒

 
Last edited:

AcornHouse

Venerated Member
Joined
May 22, 2011
Messages
10,358
Reaction score
7,673
Location
Bidwell, OH
Guild Total
21
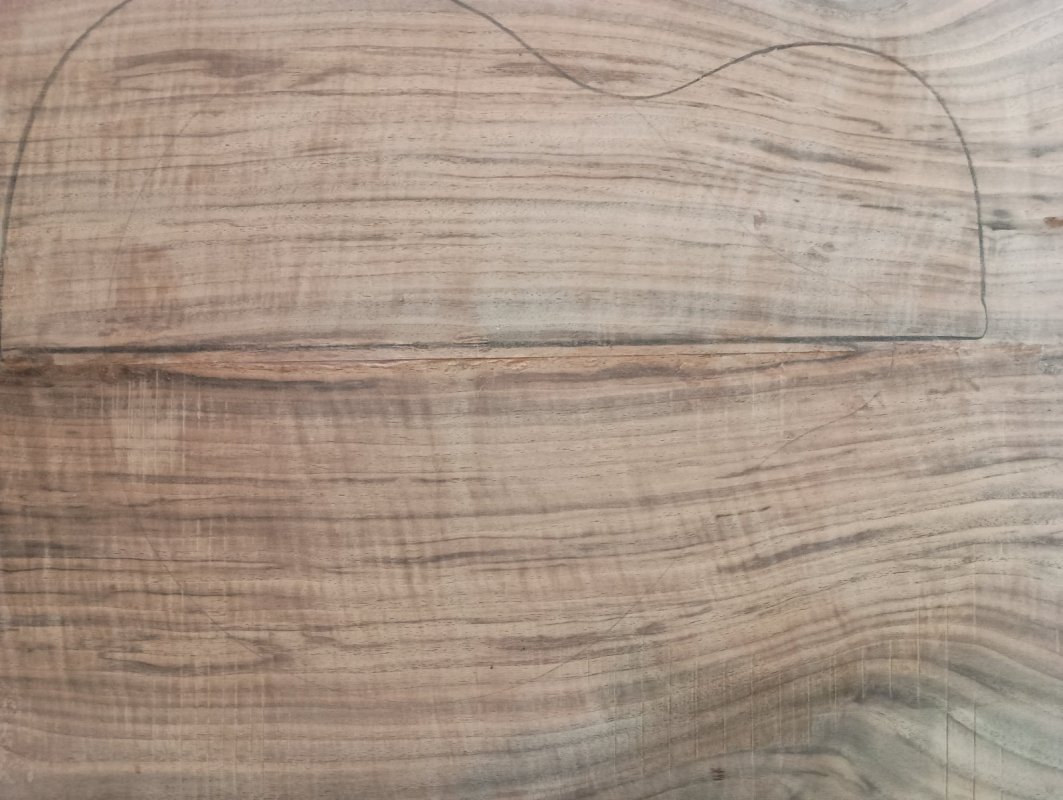
Glue up looks great. A slight ridge in some spots, which is why you always leave a little extra thickness.
The most important part was getting the cat eye in the center lined up. (A little obscured by the guitar outline the wood dealer marked.) If you squint real hard you just might be able to see the Mando outline I penciled in.

IMG_20231002_161207680.jpg
 
Top