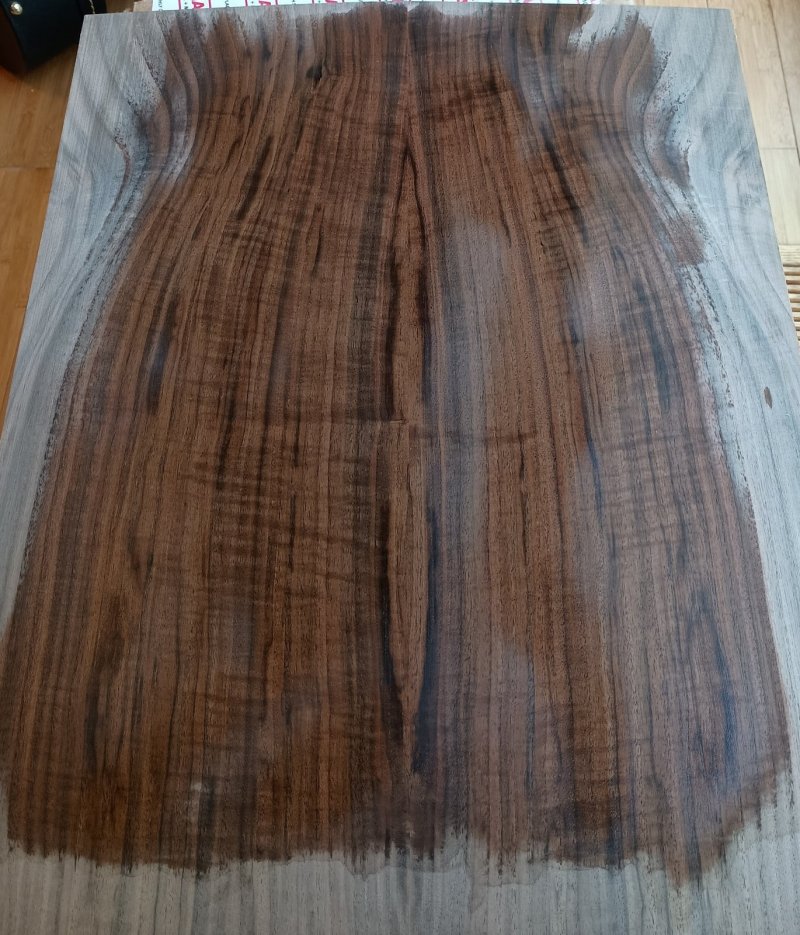
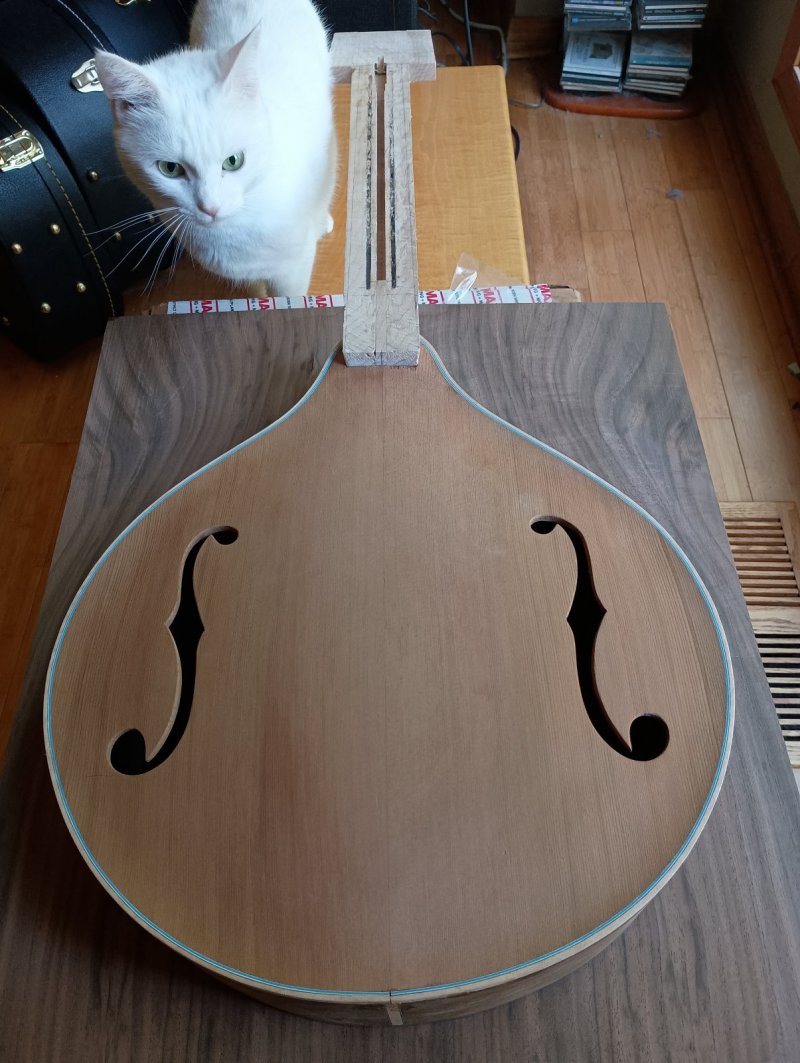
Very pretty. I'm sure you already mentioned it, but what's the wood? Walnut?
You are using an out of date browser. It may not display this or other websites correctly.
You should upgrade or use an alternative browser.
You should upgrade or use an alternative browser.
AHG octave mando build
- Thread starter AcornHouse
- Start date
AcornHouse
Venerated Member
Yes, nutty Wally wood.
AcornHouse
Venerated Member
That walnut set is insanely beautiful!
AcornHouse
Venerated Member
AcornHouse
Venerated Member
Pearloid?! Ptewy! I only work in the real deal.That's real shell, not pearloid?
AcornHouse
Venerated Member
AcornHouse
Venerated Member
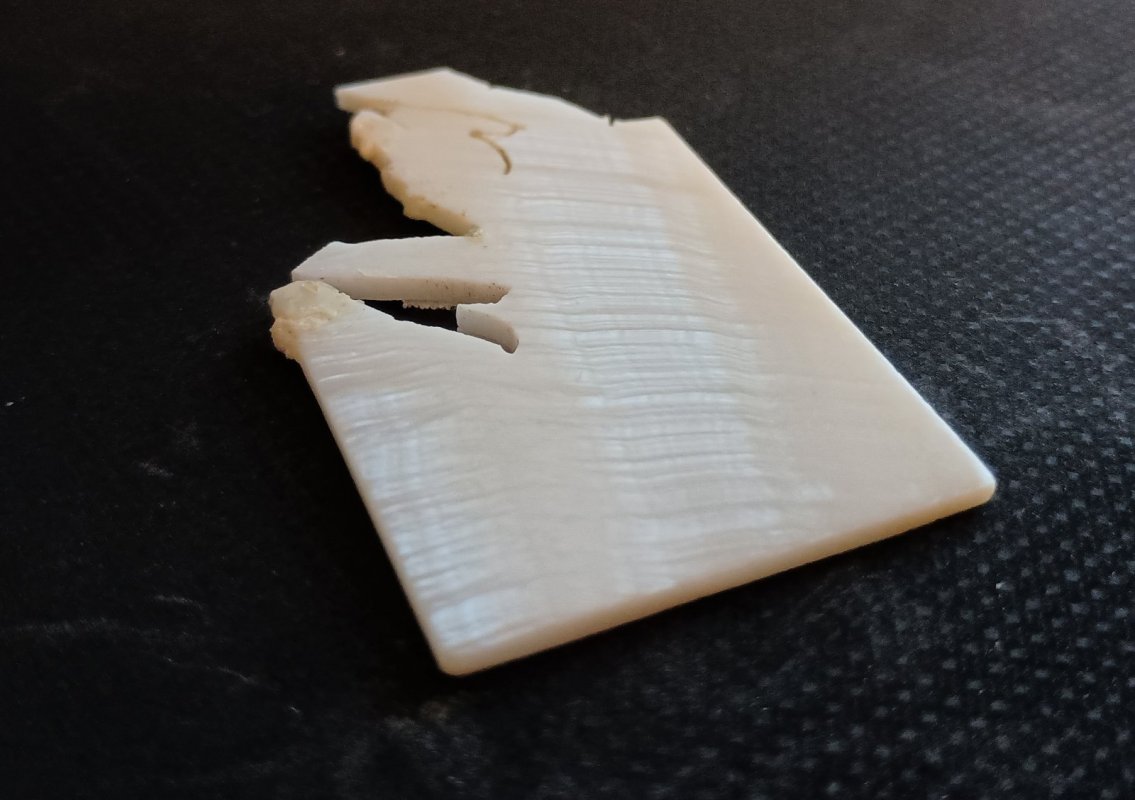
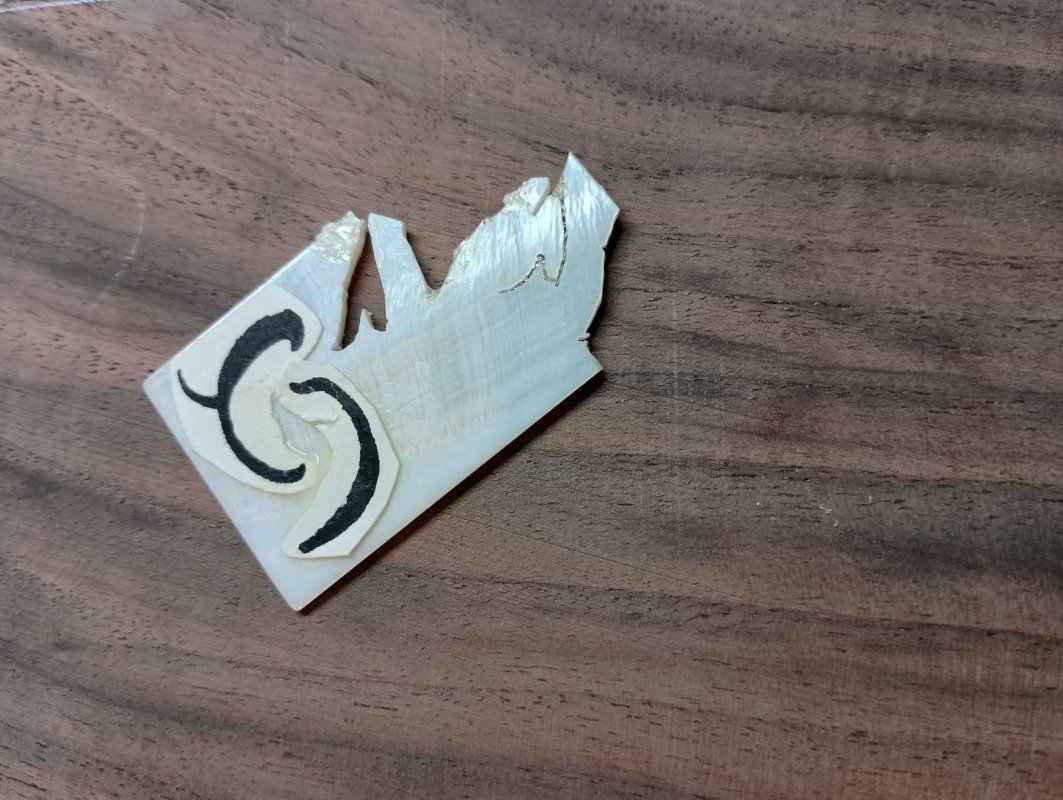
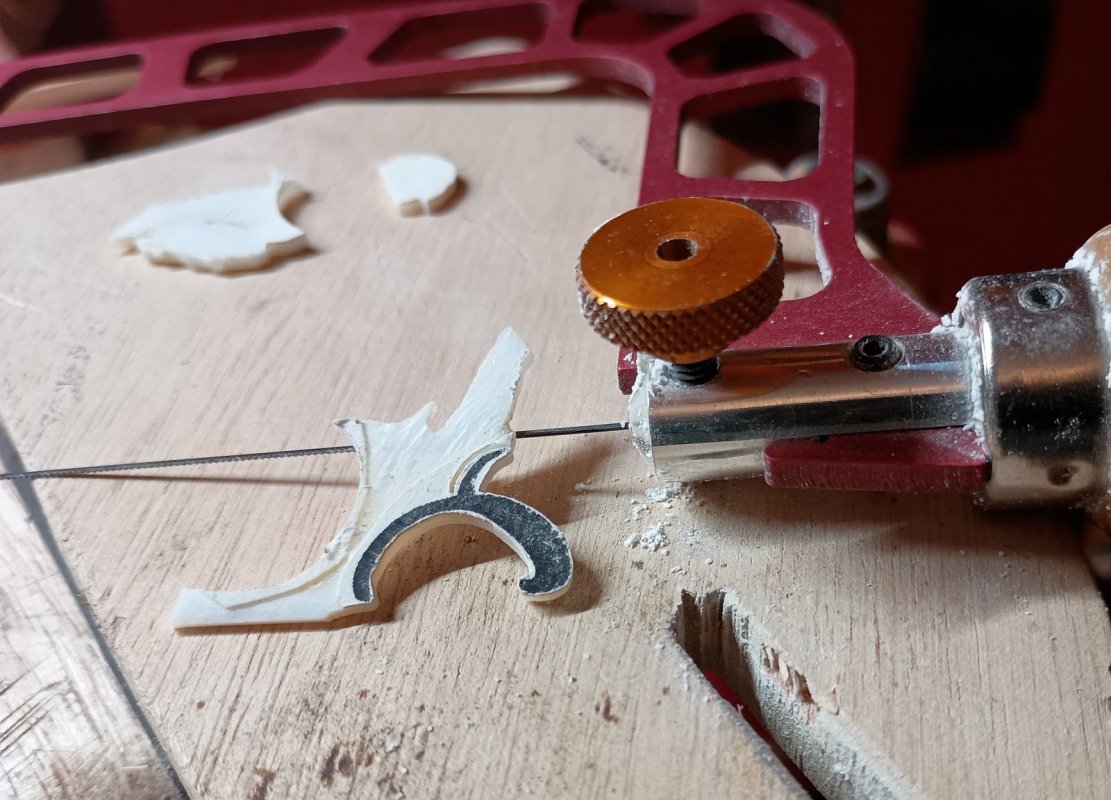
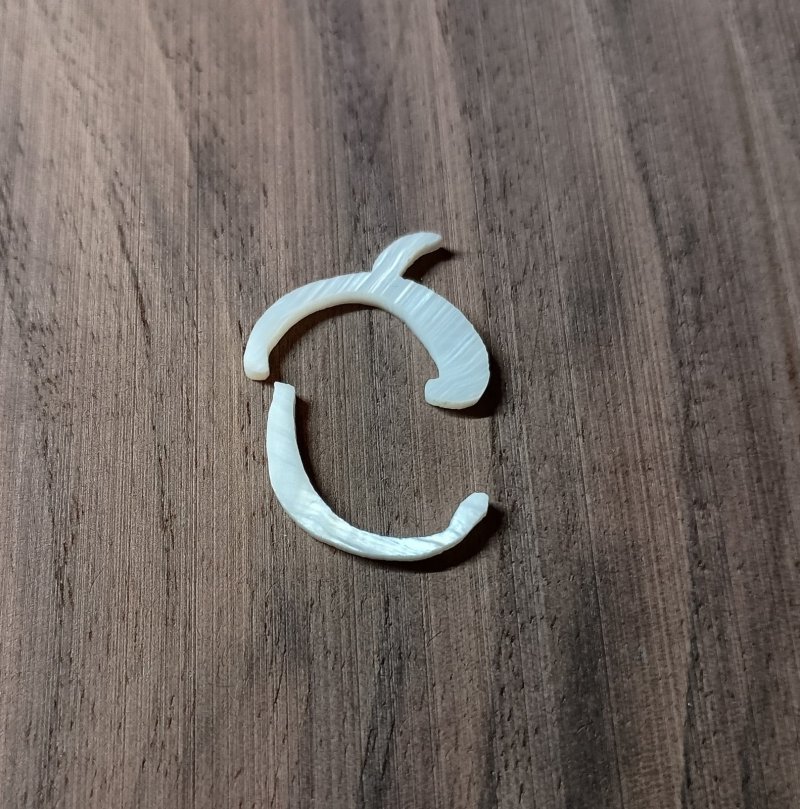
One part of the logo is done, but I'll have to glue another template on and do the other again. I'd started with it and things were going fine. You expect to break a blade or two (or three, sometimes), but so far I haven't had any blades break. That wasn't the problem. From the top, nothing looks amiss.
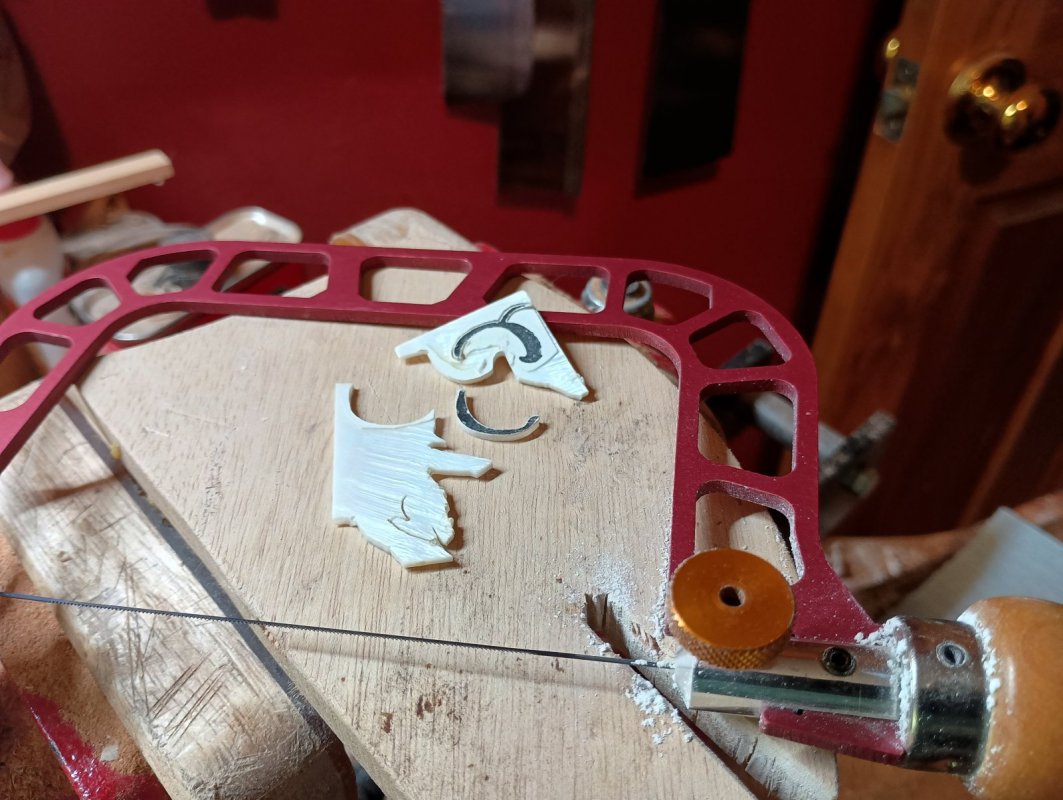
The underside reveals the tale. I should have continued on out after cutting the top edge rather than rounding the bend to do the underside. The blade grabbed on an upstroke and snapped the thin end which was trapped and had nothing holding it down.
Sigh. That piece will back with the scraps to await the need for a smaller piece in some future project. I should have enough in that larger piece to redo the top.

AcornHouse
Venerated Member
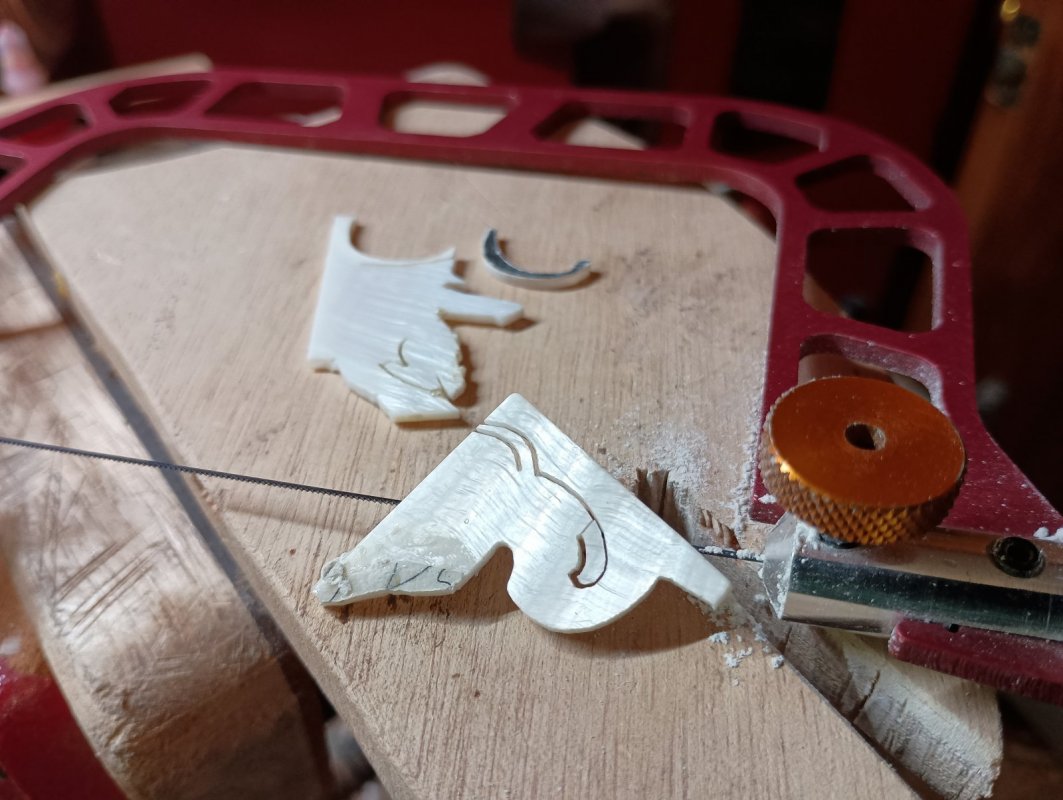
Fret saw, sometimes called a jewelers saw. https://www.knewconcepts.com/That's a really fine blade on the coping(?) saw.
AcornHouse
Venerated Member
AcornHouse
Venerated Member
$$$Can you contract that out to a place that does laser cutting?
AcornHouse
Venerated Member
AcornHouse
Venerated Member
Of course, cutting the pearl is just half the battle. Now it's got to get in the wood. I tried just pushing it in with brute force but, no go. I guess I'll just have to do it the old fashioned way.
First, mark out the area, then tack the pieces into place with the tiniest drops of CA glue, one per piece.
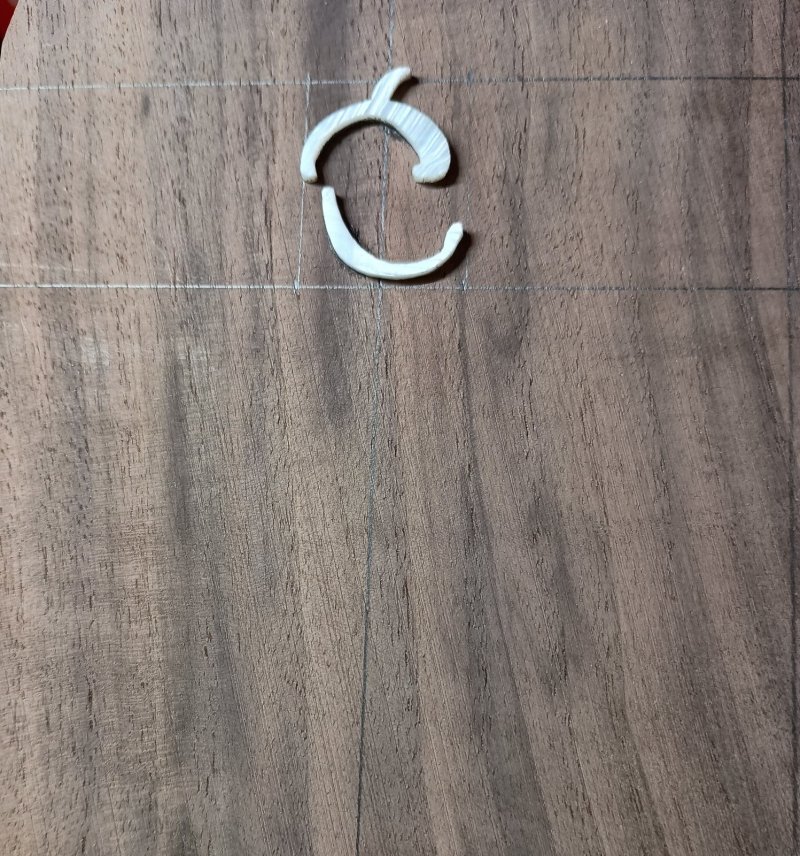
Then, using a very thin mechanical pencil (0.7mm), trace around the pieces, being as thorough and messy as you can be.
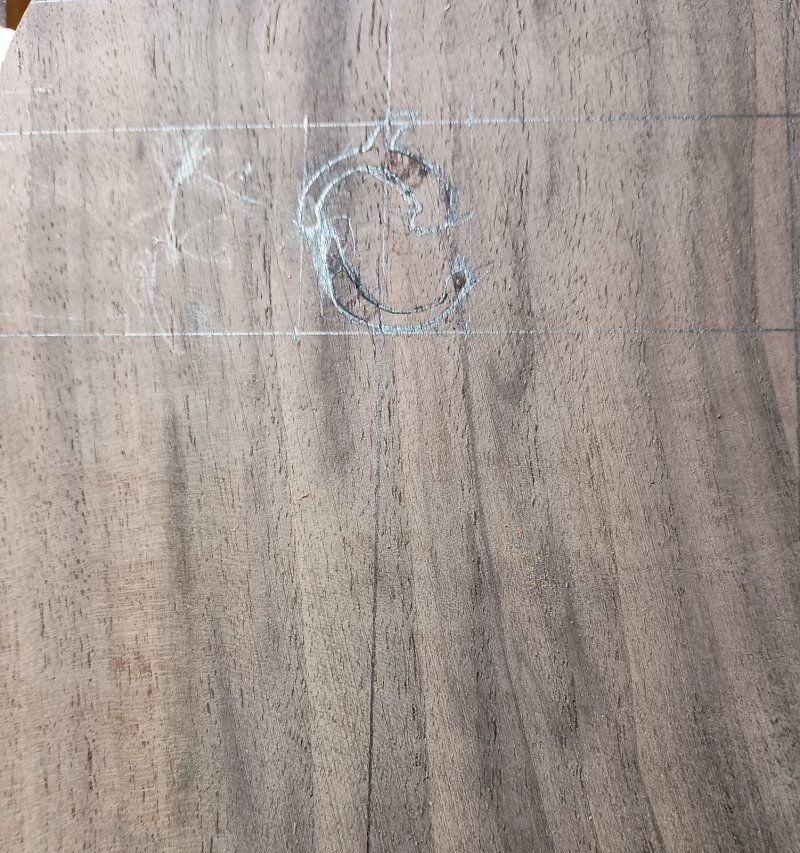
Then the router begins using a Dremel in a base with a very fine tipped router bit.
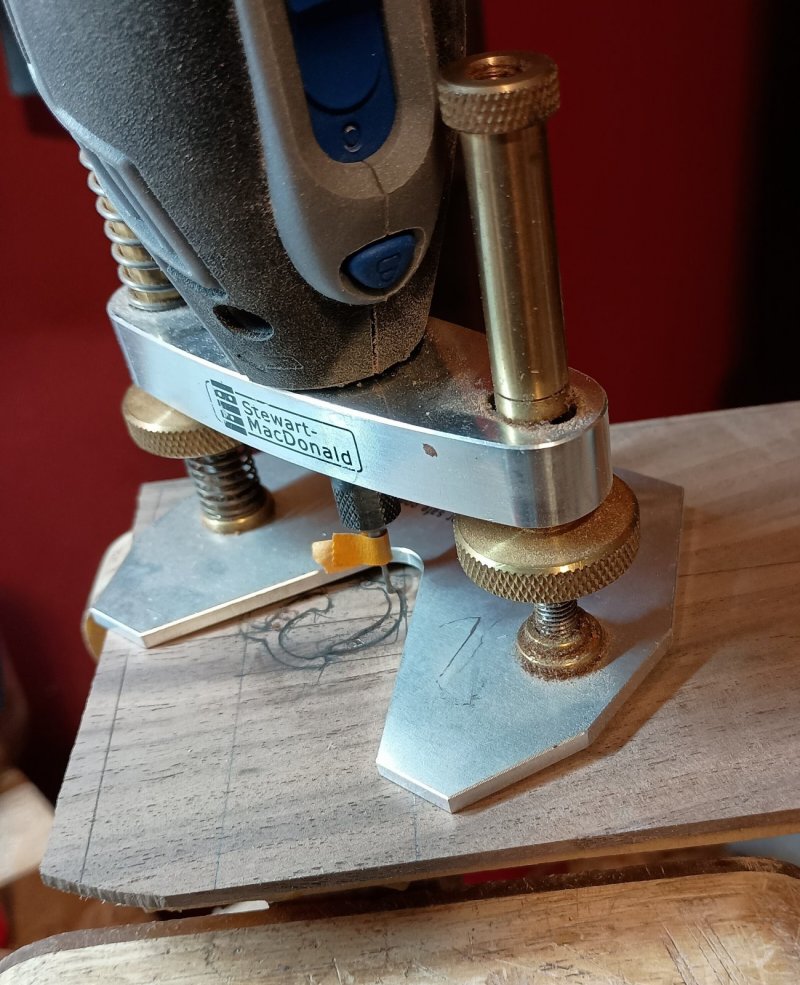
After frequent checks to look for tight spots.
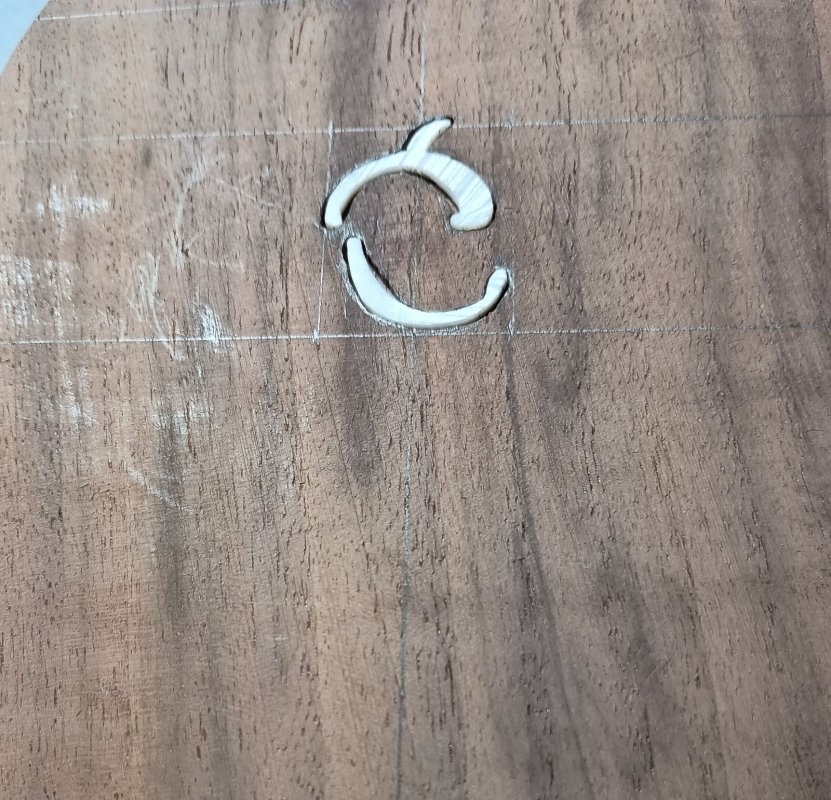
Invariably, there will be some gaps. At least for me (and Gibson, if you've ever seen an old example with shrunken parts). That's where the magic dust comes in. On a dark wood it's easy (and pretty much standard) to use dust from the same wood as a fill with CA glue. Ebony is a piece of cake (that's why you see it on headstocks the most) but walnut is pretty good. Light woods, like maple, are a nightmare. The dust turns dark from the glue and never becomes invisible.
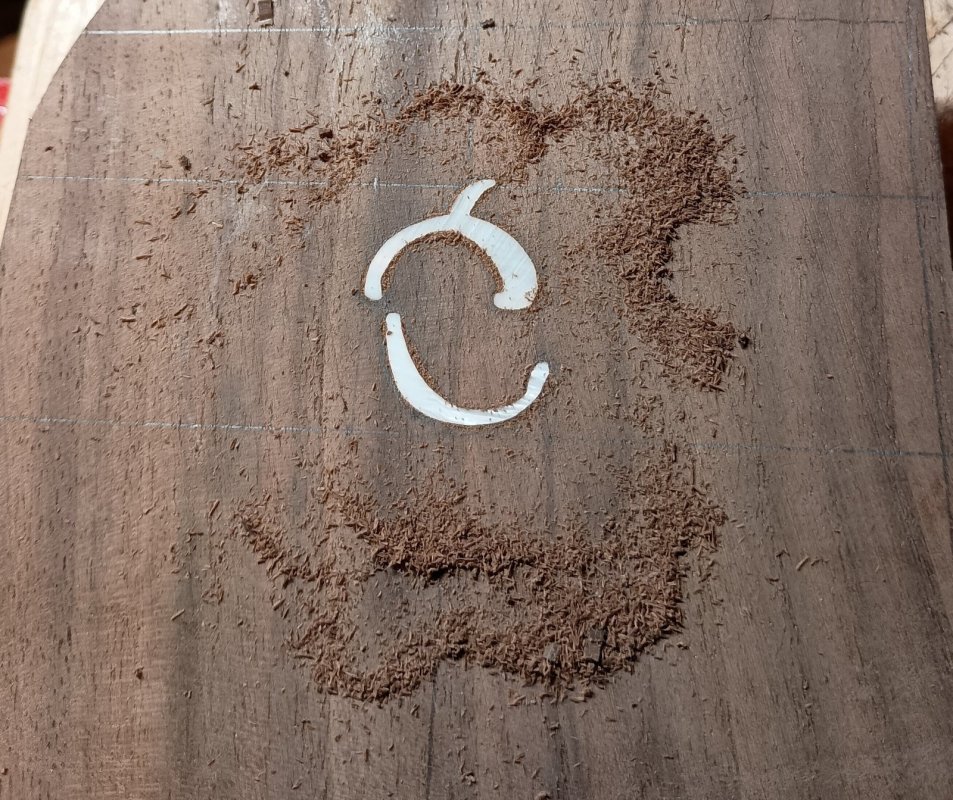
I'll have to wait until tomorrow to get it sanded flush.
First, mark out the area, then tack the pieces into place with the tiniest drops of CA glue, one per piece.

Then, using a very thin mechanical pencil (0.7mm), trace around the pieces, being as thorough and messy as you can be.

Then the router begins using a Dremel in a base with a very fine tipped router bit.

After frequent checks to look for tight spots.

Invariably, there will be some gaps. At least for me (and Gibson, if you've ever seen an old example with shrunken parts). That's where the magic dust comes in. On a dark wood it's easy (and pretty much standard) to use dust from the same wood as a fill with CA glue. Ebony is a piece of cake (that's why you see it on headstocks the most) but walnut is pretty good. Light woods, like maple, are a nightmare. The dust turns dark from the glue and never becomes invisible.

I'll have to wait until tomorrow to get it sanded flush.
AcornHouse
Venerated Member
No. I have plenty of pearl for my bits.Have you ever used abalam for inlays?
SFIV1967
Venerated Member
Now that is something new to me! Thanks for mentioning it! Had to read the story:Have you ever used abalam for inlays?

The Duke of Pearl - Chuck Erikson
The Duke of Pearl, sometimes also referred to as “Chuck Erikson". Working closely with C.F. Martin Guitar Co., Taylor Guitars, ...
Ralf
