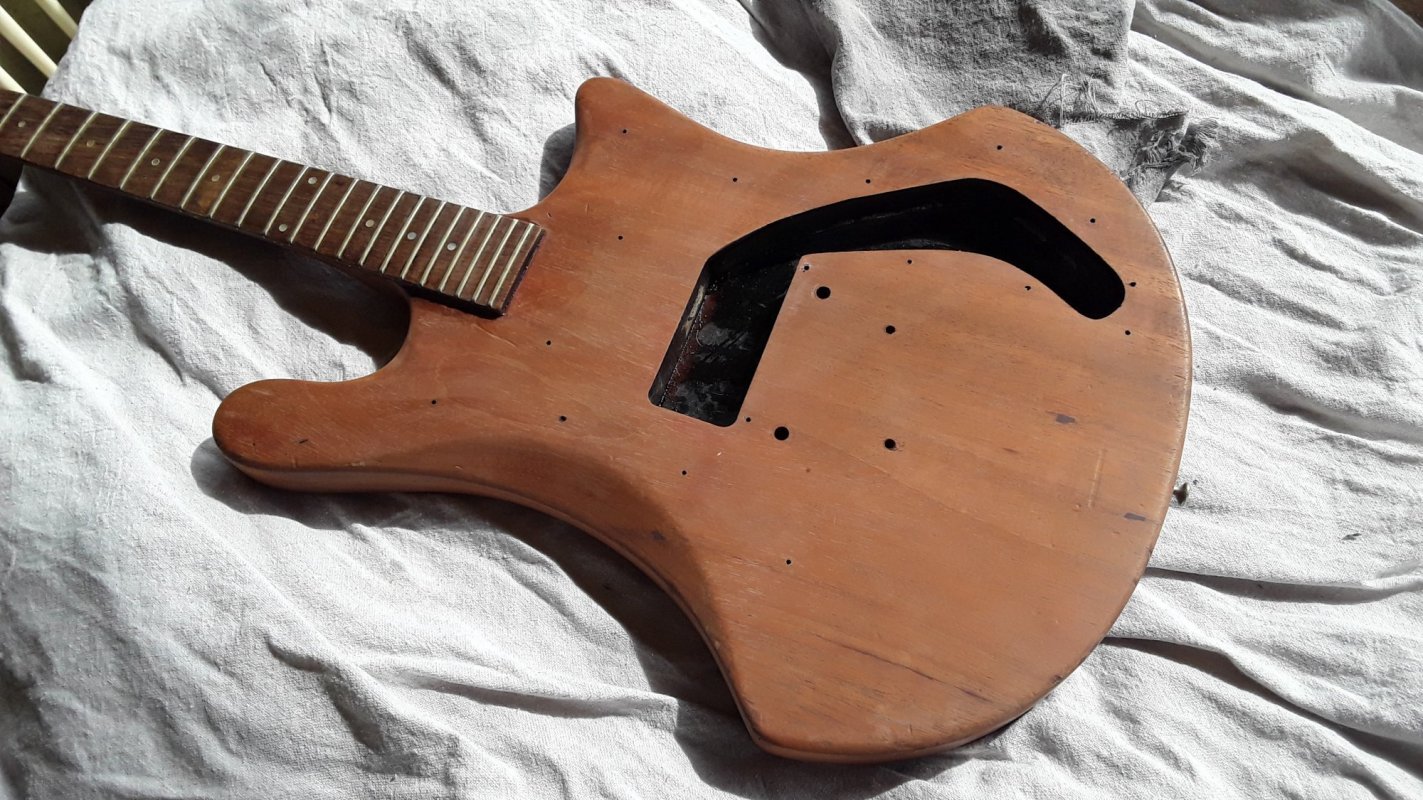
Still plugging away at this restoration.
I removed the old & moldy lacquer and found this underneath!
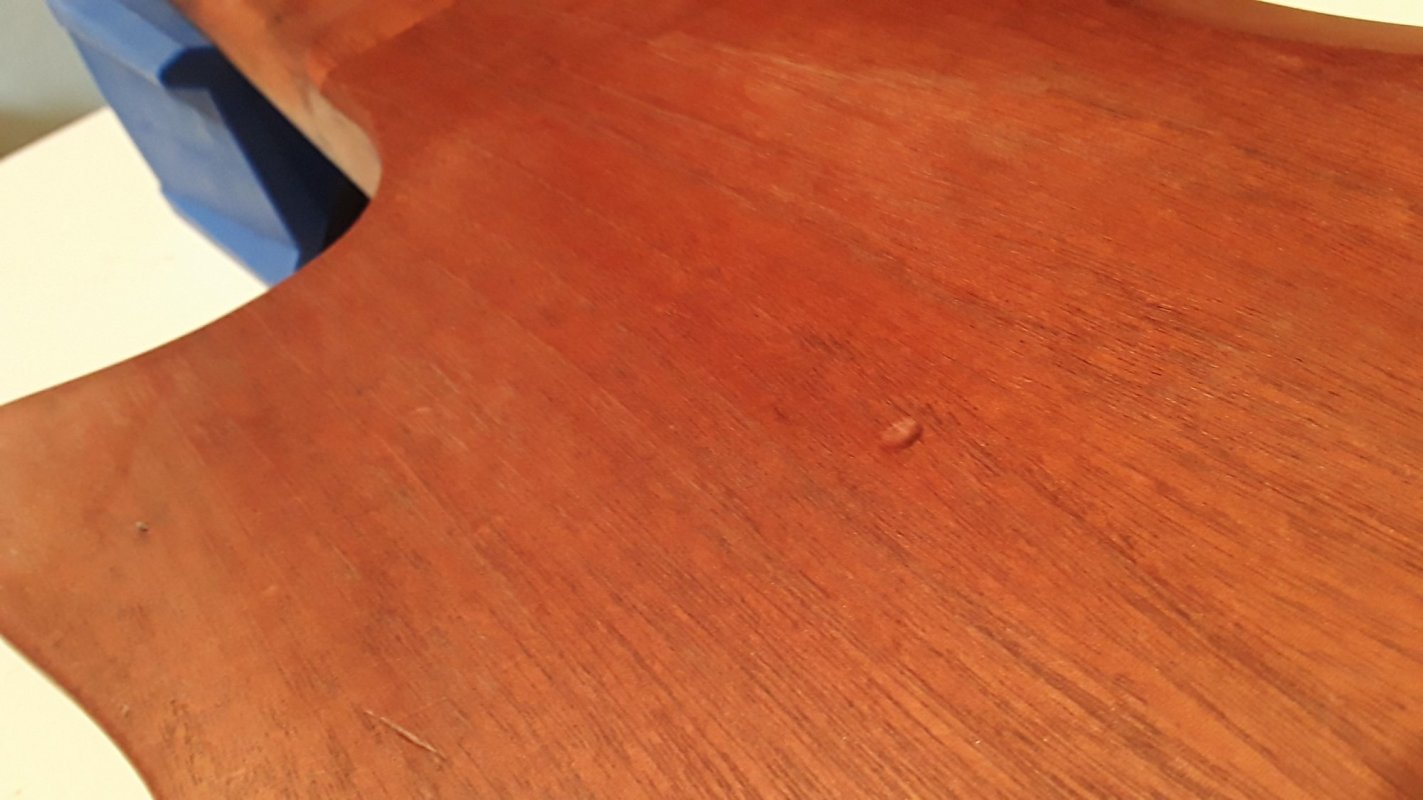
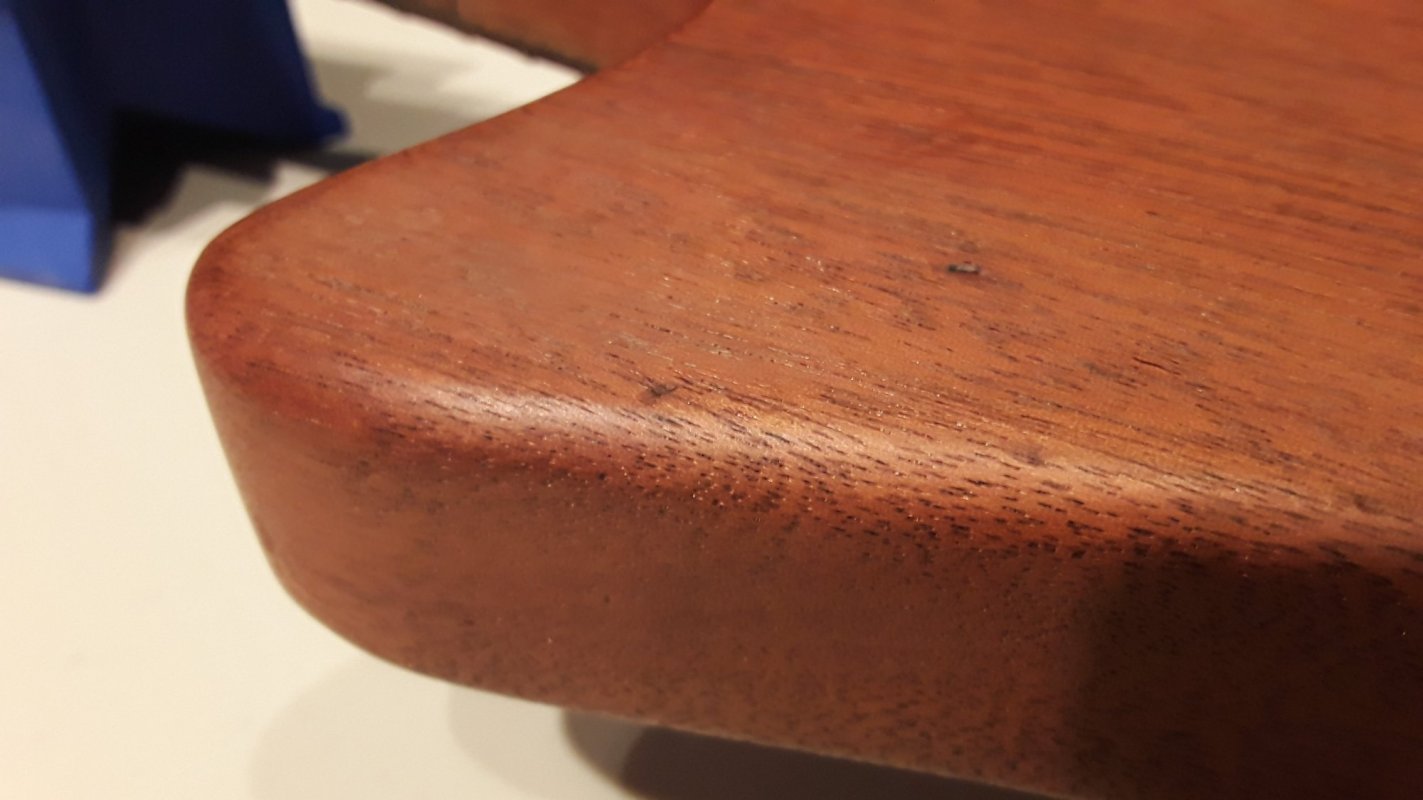
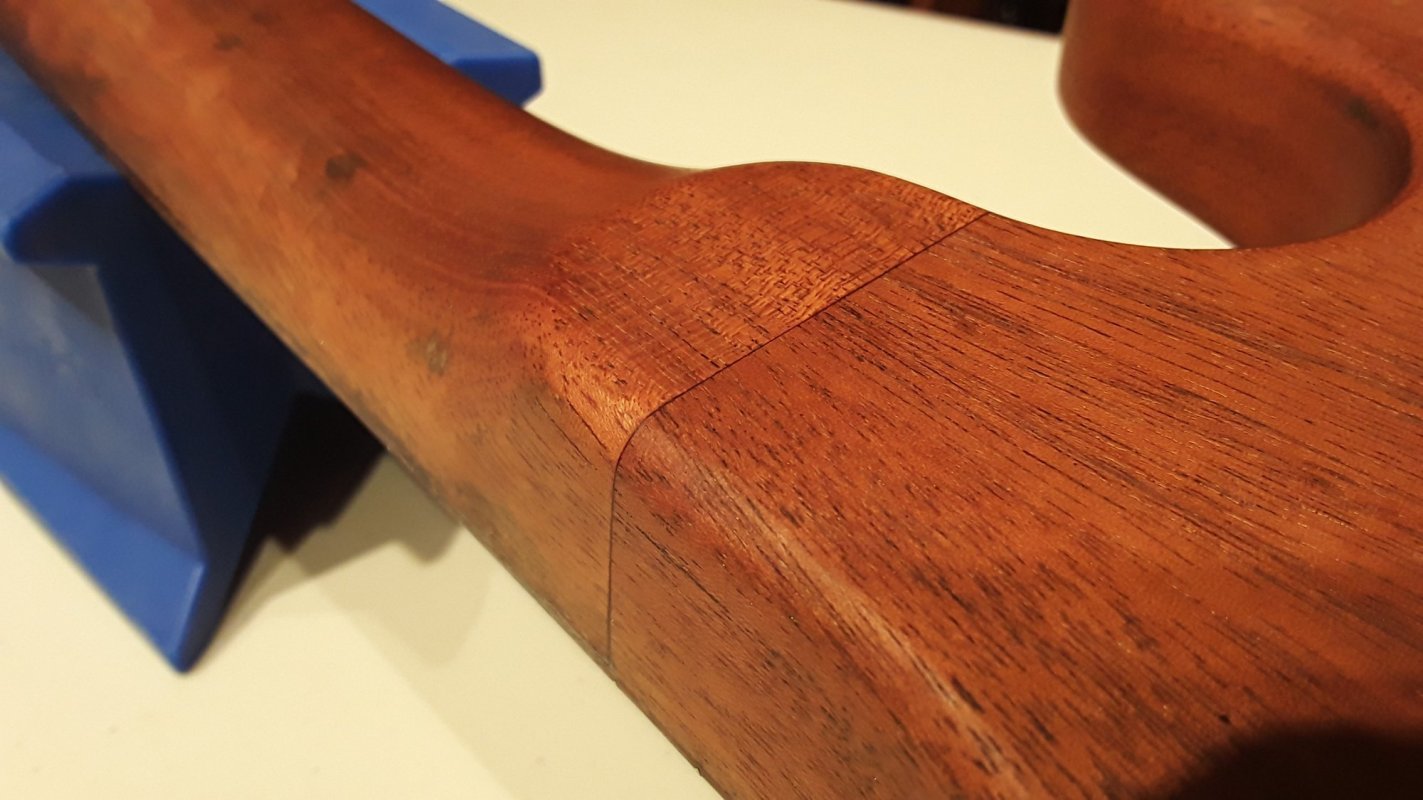
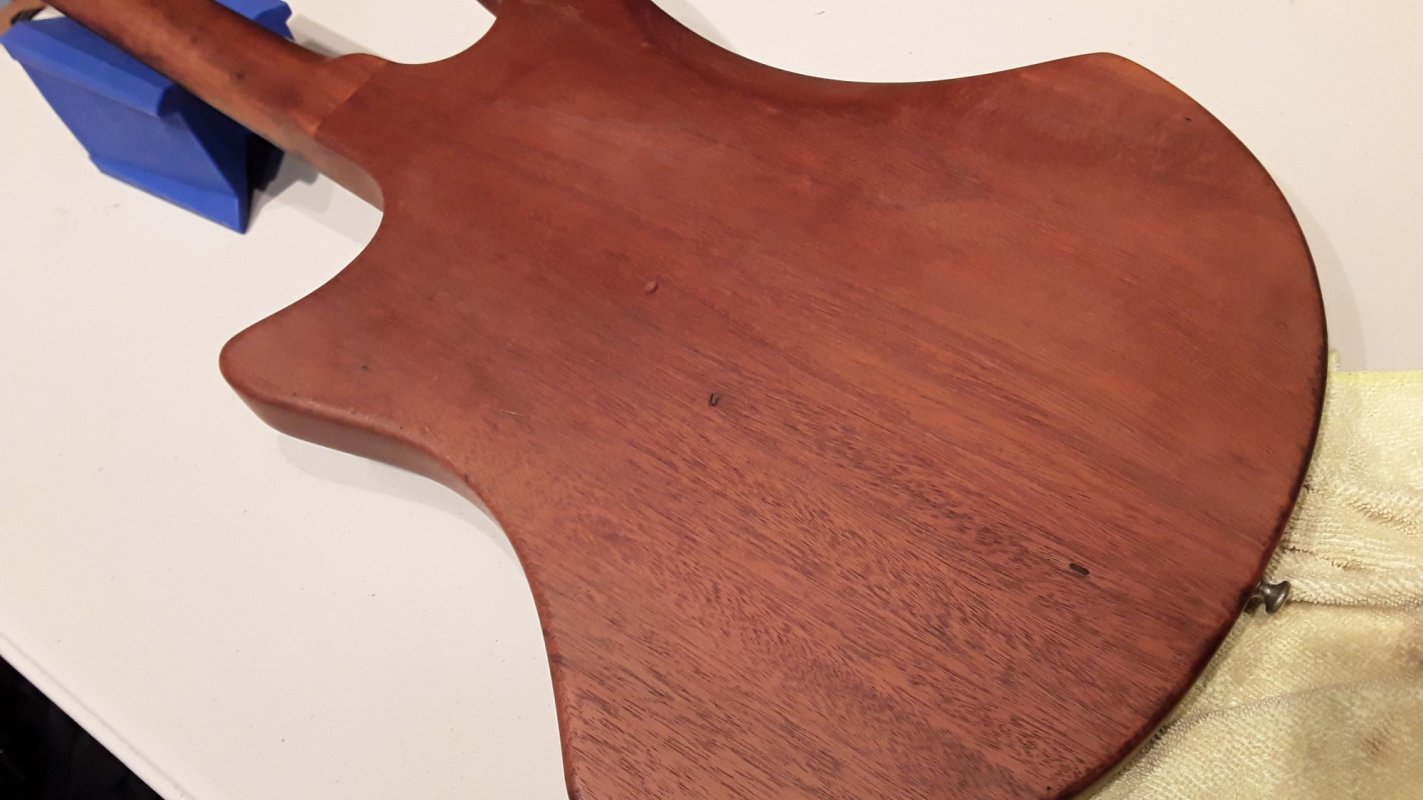
This is the raw wood, no finish at all.
You can spot the original imperfections in the mahogany which led them to paint it solid black. (as well as the dings of a long life of abuse)
But I love it just as it is. Imma just gonna clear coat it with spray on lacquer, polish, and go.
I have very little experience with wood finishing, but pro tip: for lacquer don't bother with lacquer thinner, just go acetone. It's way less nasty.
And forget heating or scrape, scrape, scraping. Lay a cloth on the finish (I used painter's canvas), douse with acetone, let it sit & soak for 20-30 seconds, & the finish just wipes off.
p.s. I've been filming the whole thing. If I ever stop being lazy I'll start uploading each phase to my youtube channel.
")