- Joined
- Jul 30, 2007
- Messages
- 13,656
- Reaction score
- 3,086
- Location
- Philly, or thereabouts
- Guild Total
- 11
billydlight had a similar issue and a welding shop was the answer.
If this fails that’s my next stop! Was the welding shop able to braze it and make it look good?billydlight had a similar issue and a welding shop was the answer.
That must've been very scary, Brad. I know just when a string breaks it's scary. Having the whole bridge blow out of there like that... Yeah, you're lucky you weren't hurt!I got lucky with the top (and myself!) as that piece SHOT out under full string tension like a bolt from a crossbow. It was a heart stopping moment! The top is the original finish other than under where that wooden bridge base was used. There is a very tiny nick in the original finish directly under the harp tailpiece. If you didn’t know it wasn’t already there you would not notice it. Thanks for the thoughts!


One thing you want to be careful of with old pickguards is rot. If they start deteriorating then they need to be taken off the guitar as soon as possible! If. Not, the offgassing can affect the finish and any metal parts. Shrinkage is ok, but once the rot starts, it won’t stop. It’s especially bad on guitars kept in the case; all the gas stays in.While I am waiting on the tailpiece I decided to address one item that was bugging me. the guitar came with the original pickguard and as with many of this era it has shrunk to where the holes in the pickguard no longer match the holes in the top of the guitar. The previous owner just removed the screw by the bridge. At least they didn’t drill another hole in the guitar or pickguard to get it to “fit”.
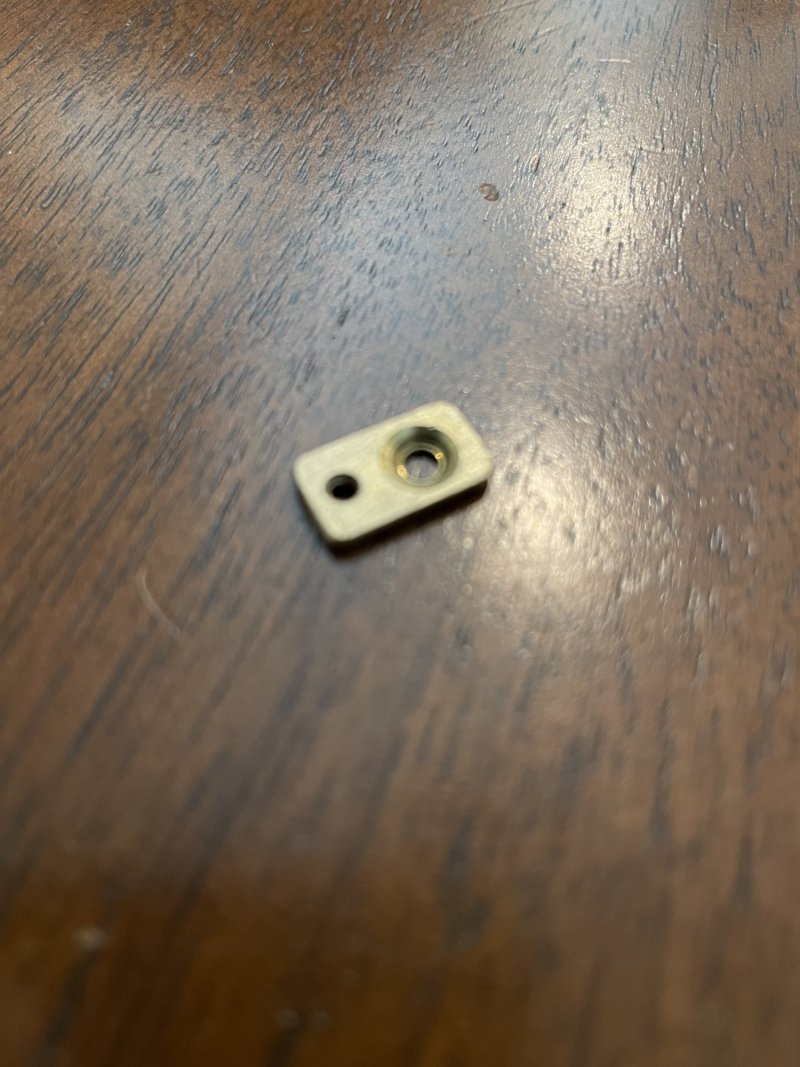
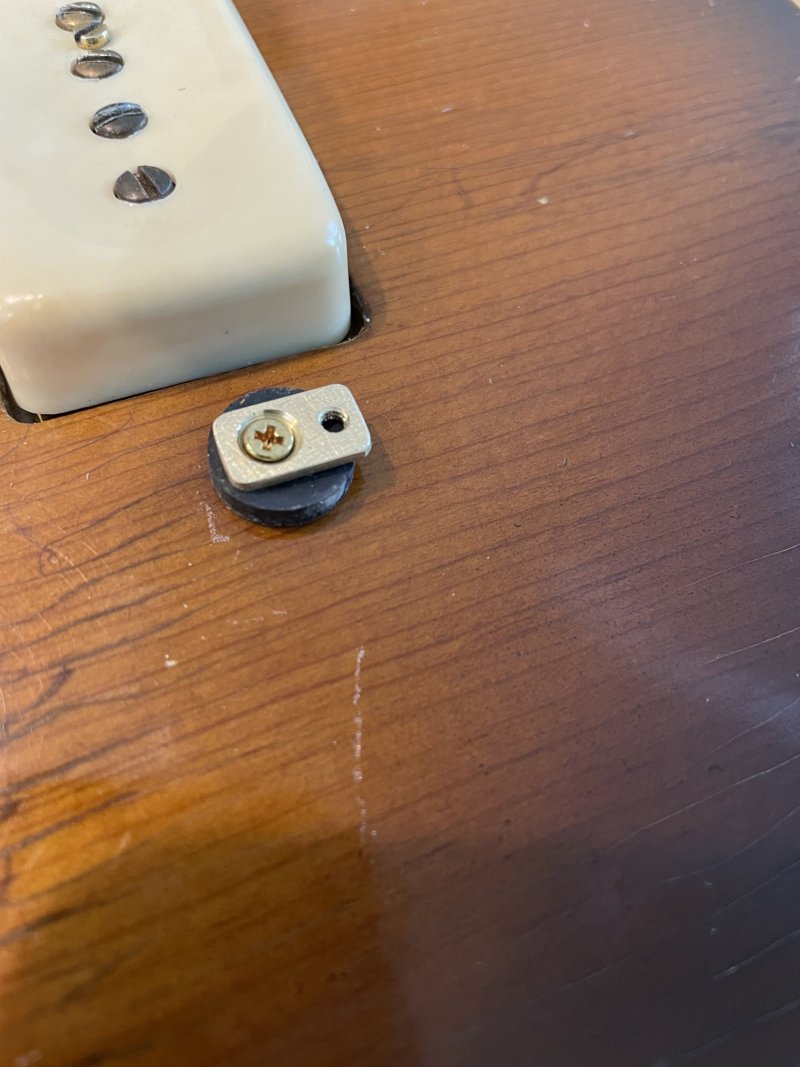
I do not want to drill a hole in the top or modify the pickguard. I am sure others have addressed this before but I thought I would share what I did as I am happy with the results. I made a brass adapter piece that screws into the original hole in the guitar then has another hole drilled and tapped that lines up with the hole in the pickguard. You just use a short machine screw at this location and once installed you can not see this adapter piece.
some photos:

I hope this works out. If not then brazing is definitely the trick.Maybe try sanding the the surfaces properly and trying JB Weld?
I just played both back to back through the same amp (Carr Mercury) with the same settings at different gain levels. Same strings on both, rosewood bridge on both, and volume and tone pots maxed. It’s not scientific but there were some obvious differences. The guitars sound different but at the same time similar due to the same woods and construction. The anti-hums are much more chimey, brighter and airy in these guitars. They also seem to ring longer and maybe sound a little more complex. At times the bridge pickup can sound thinner than the Franz bridge. The Franz sounds tighter, smoother and a little more round if that makes sense. The neck pickup on the Franz is very mellow, almost jazz like. This may also be because it is much lower than the bridge pickup and the volume is slightly less. I can’t imagine how dark and muted it would have sounded if I did not remove the capacitor the factory installed on the selector switch for the neck pickup! I will probably shim it up a little to see the difference. Under gain the anti-hum goes more into the crunch with an edge and the Franz goes a little more bluesy and smooth.I know I love the sound of minihumbuckers in the thinline SFIIIs, but how do they sound in your '67? And how do they compare with the Franzs in your earlier Aristocrat?
One of the coolest pics I have ever seen on the LTG.The body arrived safe. The repairs needed were gluing the back to the sides near the tailpiece, the sides had delaminated almost half way around, the binding needed replacing, and the top was touched up (to prevent further damage) where a wooden bridge base had been used and wore through the finish into the wood. It is like they used 80 grit sandpaper under the bridge to keep it from moving! All is now structurally sound and ready to go.
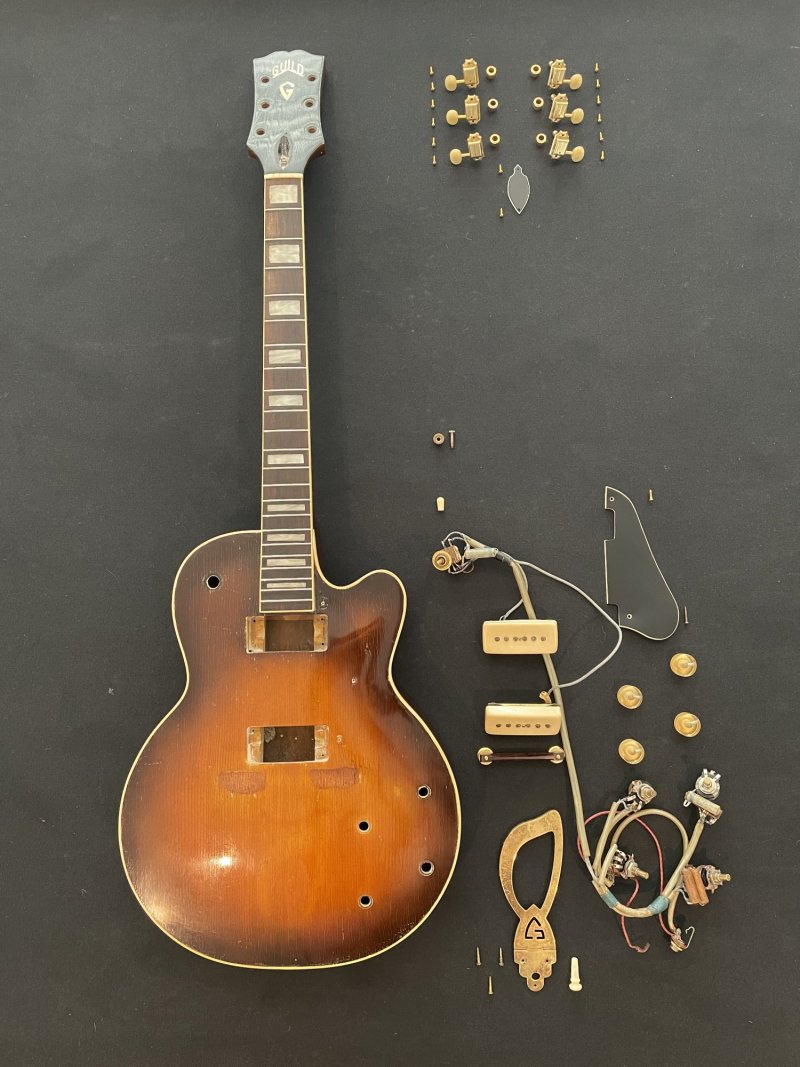
I have been going through parts, cleaning, polishing, etc. Things I could have been doing while I was waiting on the body to be repaired (other than final prep and polish on the body of course). I need to ream the end pin hole, remove the cap at the selector switch, and random things like that but I am ready to assemble. I laid it all out to double check I had everything and decided a photo was needed. When is the next time I am going to have a 1954 M-75 completely disassembled?
A deconstructed 1954 Guild M-75 Aristocrat:
