AHG octave mando build

Stuball48

Senior Member
Gold Supporting
Joined
Oct 22, 2017
Messages
4,813
Reaction score
2,605
Location
Dickson, TN
Got called in for a mandatory staff meeting by the boss.

IMG_20231126_143611172_HDR.jpg
Looks close and loyal to co-workers. I will not cause friction between supervisor and builder.
 

AcornHouse

Venerated Member
Joined
May 22, 2011
Messages
10,361
Reaction score
7,688
Location
Bidwell, OH
Guild Total
21
The deed is done, the tale may be told.

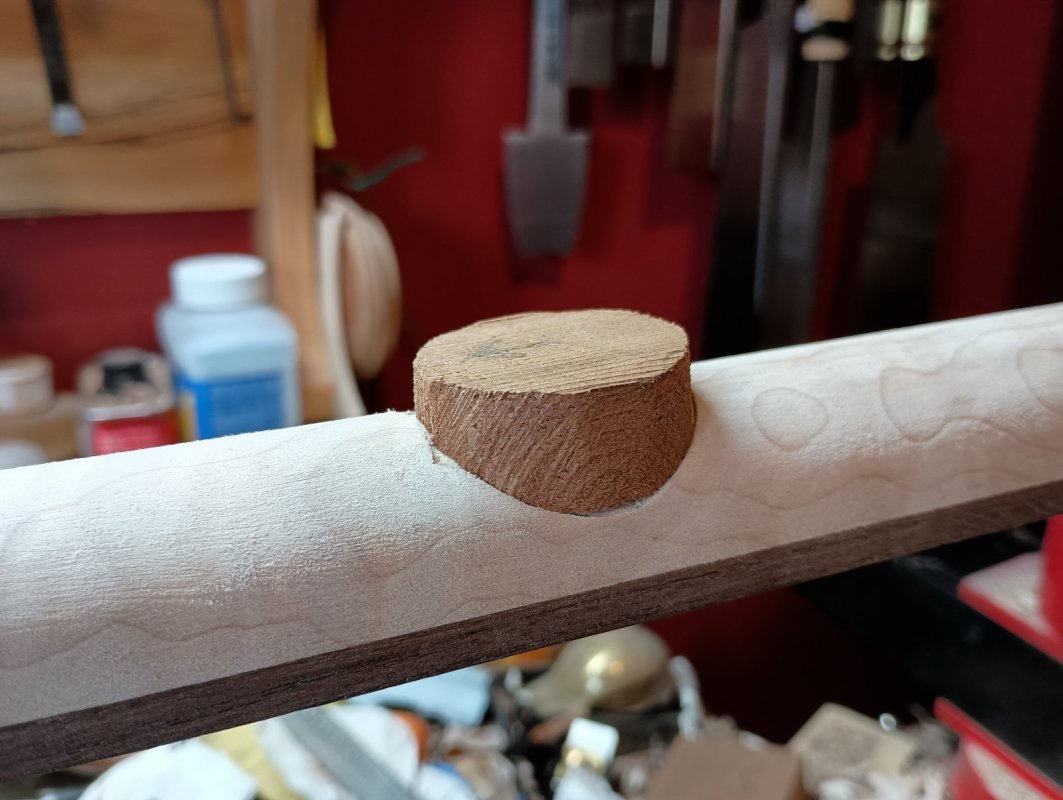
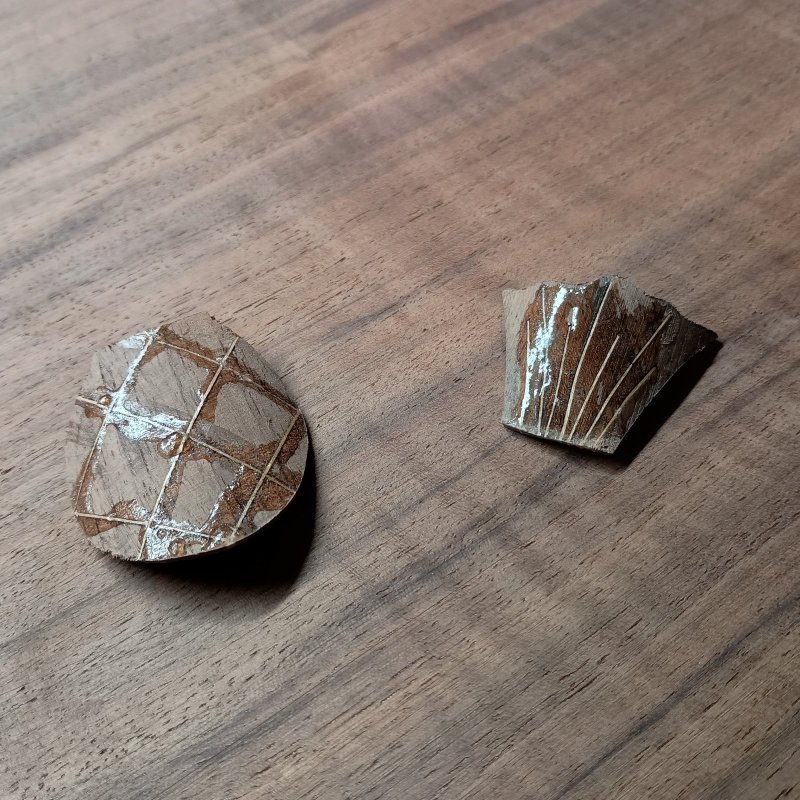
As you may have noticed, I have referred to the name of this instrument as "The Thistle", for reasons which may be revealed in due course. Thanks to a "design opportunity" I decided to give it a suitable mark. After researching various imagery, and working out a design, I started assembling the pieces that would form the thistle, using some of the walnut waste from the back.
I was a little concerned with how I was to give them a suitable curve, but that actually turned out to be a piece of cake, after extra reinforcement with CA glue and tape.

IMG_20231203_200943_250.jpg

Why did it need to be curved you may ask? (Well, go on. We haven't got all night.)
Because the thistle would be inlaid on the back of the neck.
I know, right!

(End, Chapter 1)
 

GGJaguar

Reverential Member
Joined
Jan 17, 2011
Messages
22,151
Reaction score
32,626
Location
Skylands
Guild Total
50
You could have used an artichoke. It's a giant thistle. :geek:
 

AcornHouse

Venerated Member
Joined
May 22, 2011
Messages
10,361
Reaction score
7,688
Location
Bidwell, OH
Guild Total
21
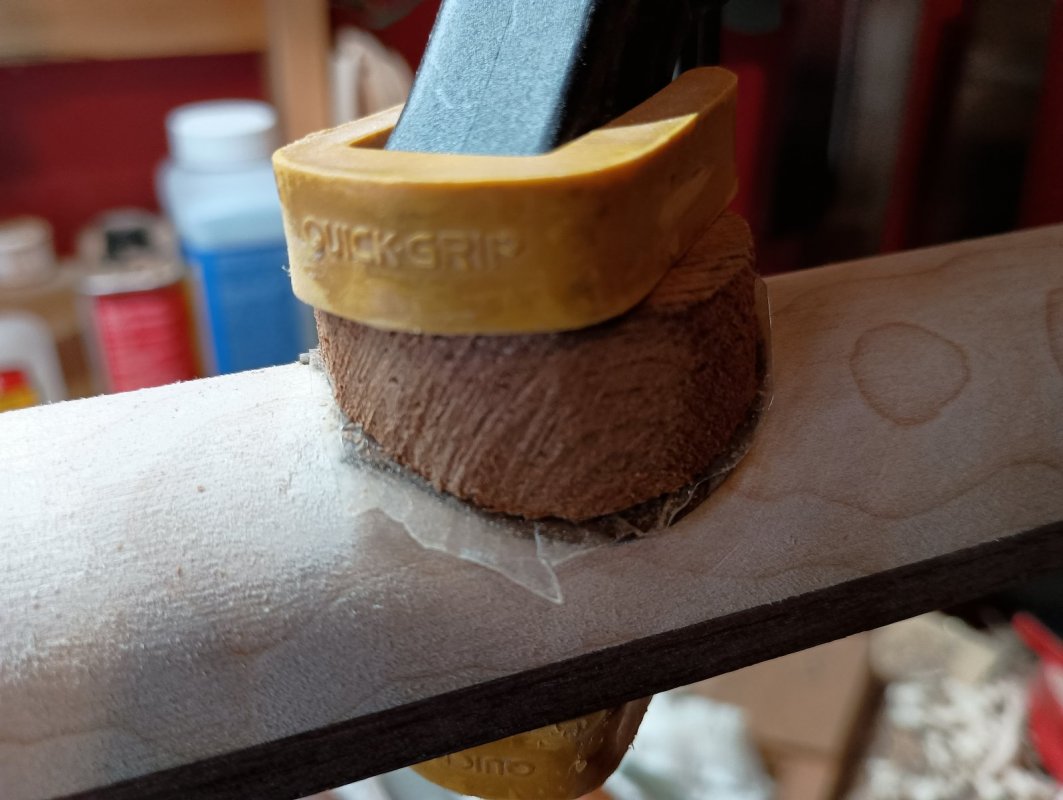
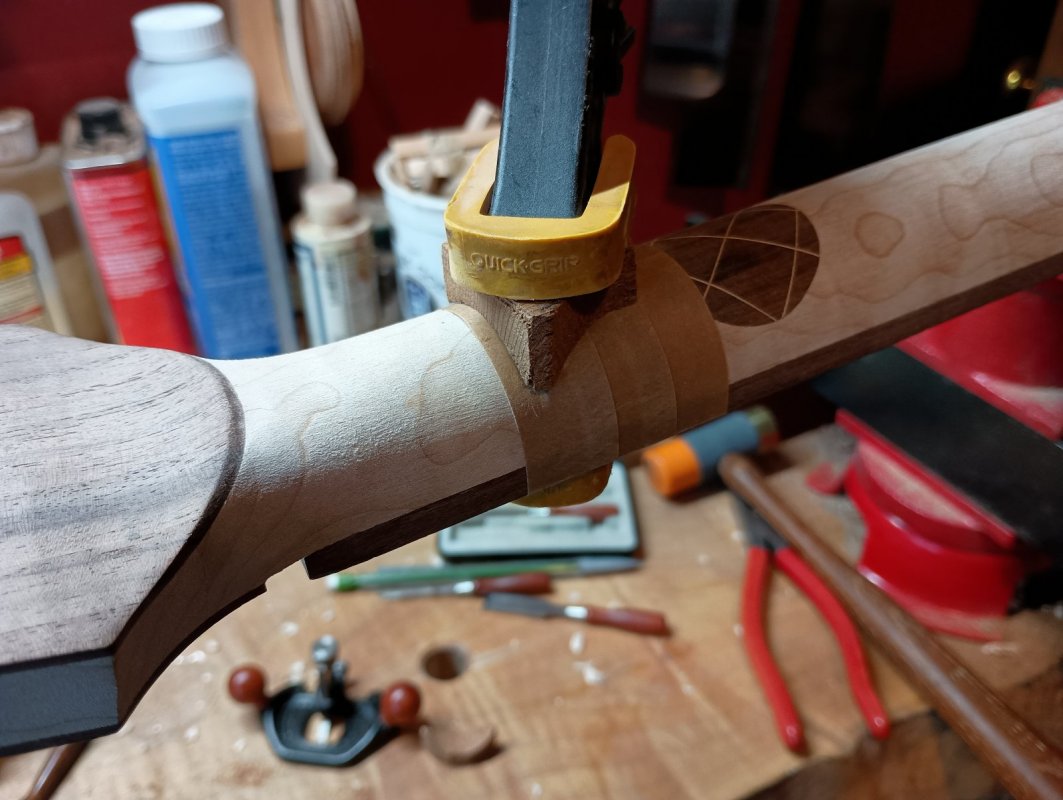
I had seen a couple of very high end with far more elaborate necks, but they are exceedingly rare, and information on techniques are all but non-existent. So I proceeded very slowly (as you noticed) contemplating and figuring out the best way to accomplish this feat. Even clamping proved a challenge, requiring a custom contoured clamp.

IMG_20231206_124536322.jpg

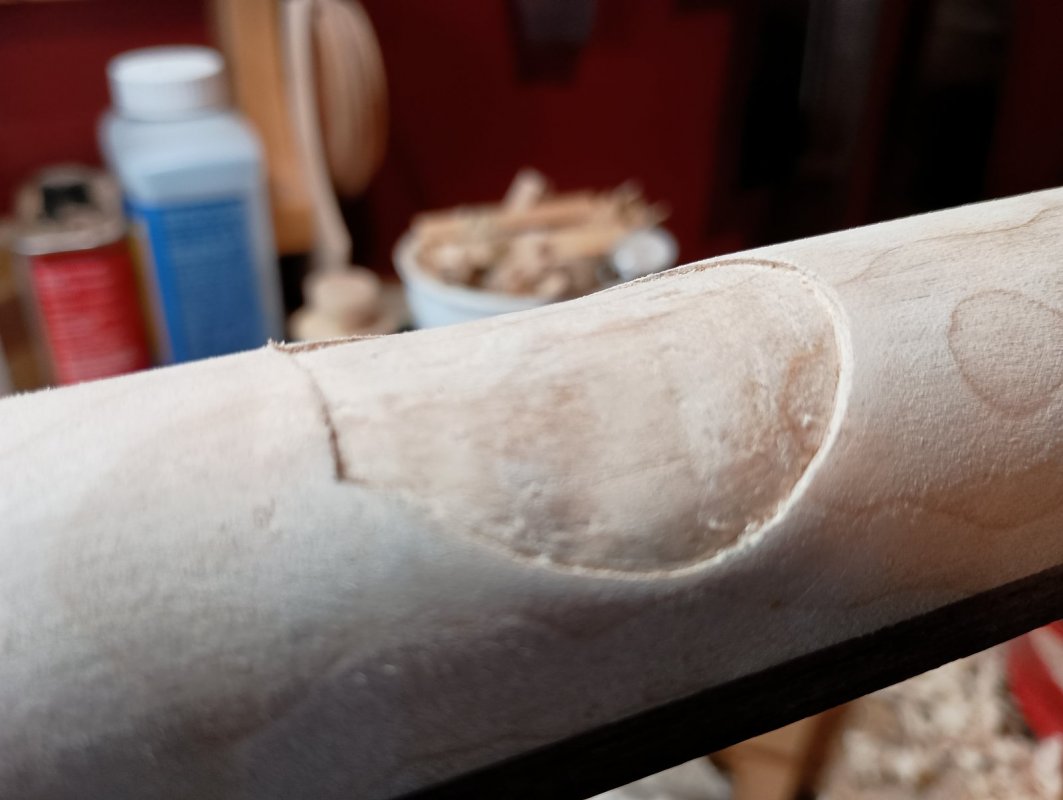
Finally, the pocket for the bottom part was ready.

IMG_20231206_124511361.jpg

And the inlay was glued and clamped. (There will be more pics of the process to follow.)

IMG_20231206_125609516.jpg

(End, Chapter 2)
 

AcornHouse

Venerated Member
Joined
May 22, 2011
Messages
10,361
Reaction score
7,688
Location
Bidwell, OH
Guild Total
21
When it had cured and flushed with the neck surface, it was time to do the top part. A tad easier now that I'd worked out the best tools and techniques.
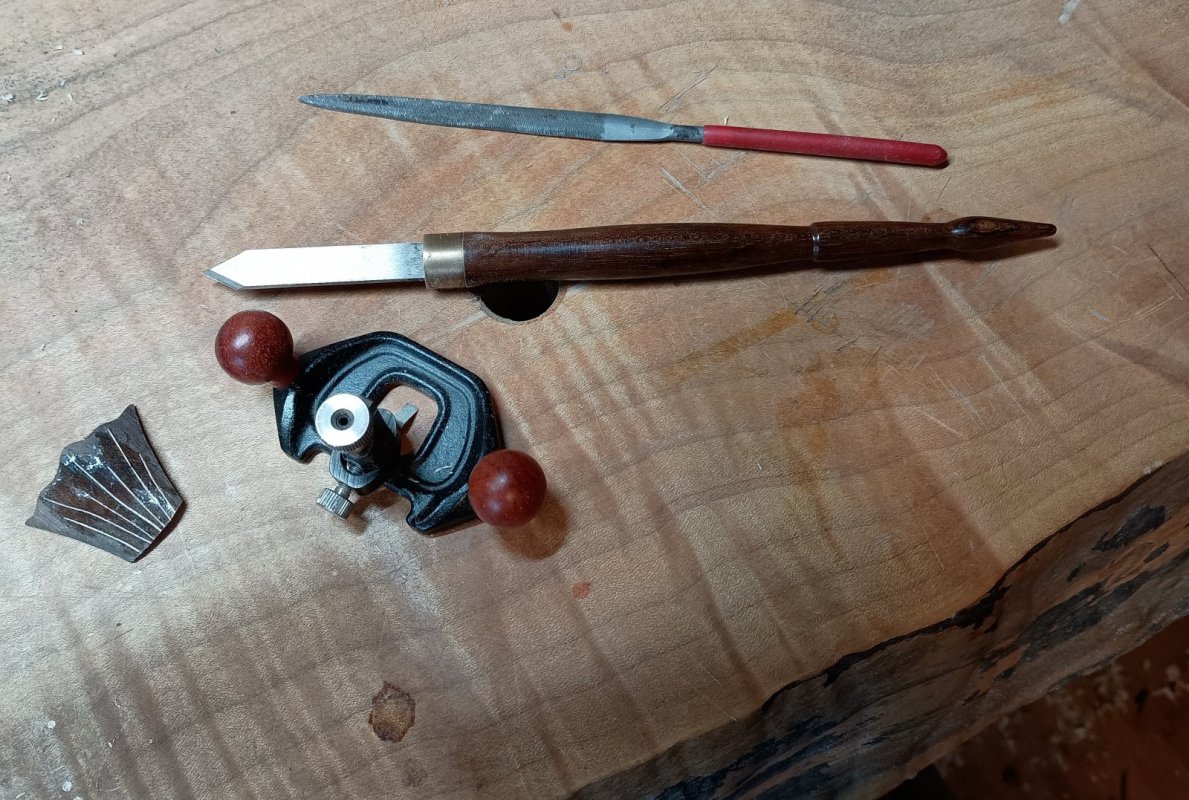
My weapons of choice (plus some miniature chisels shown below.)

IMG_20231207_094130323~2.jpg

First I scribe around the pieces with the marking knife, not trying to go too deep, lest the point stray.

IMG_20231207_094036028~2.jpg

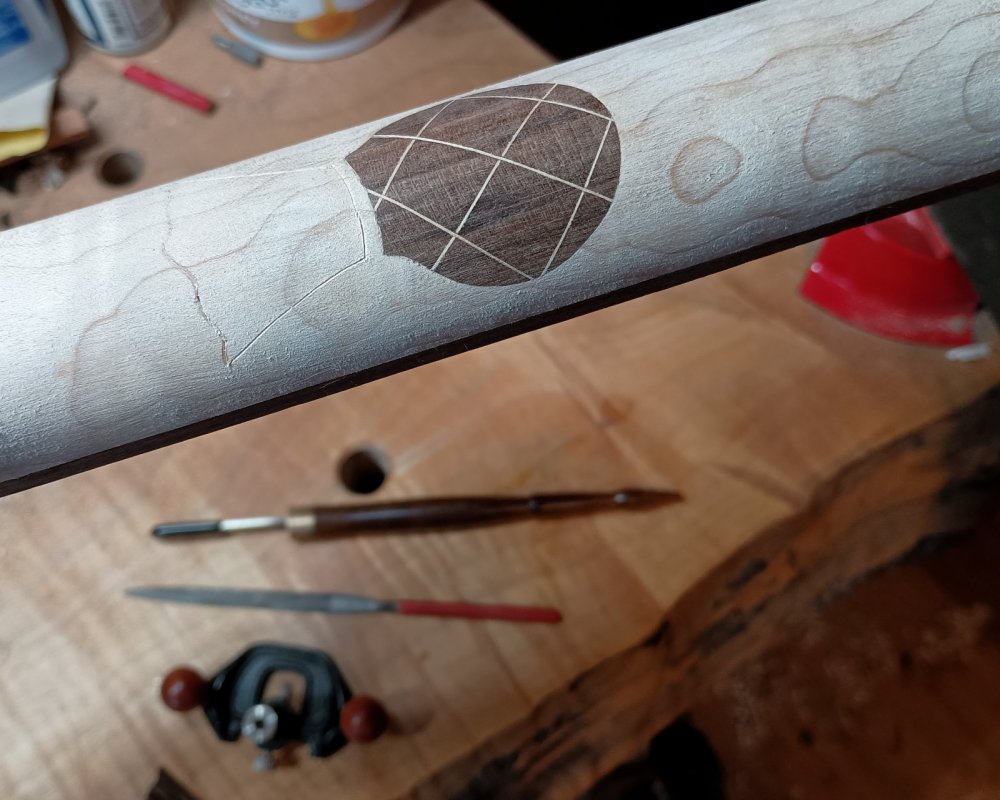
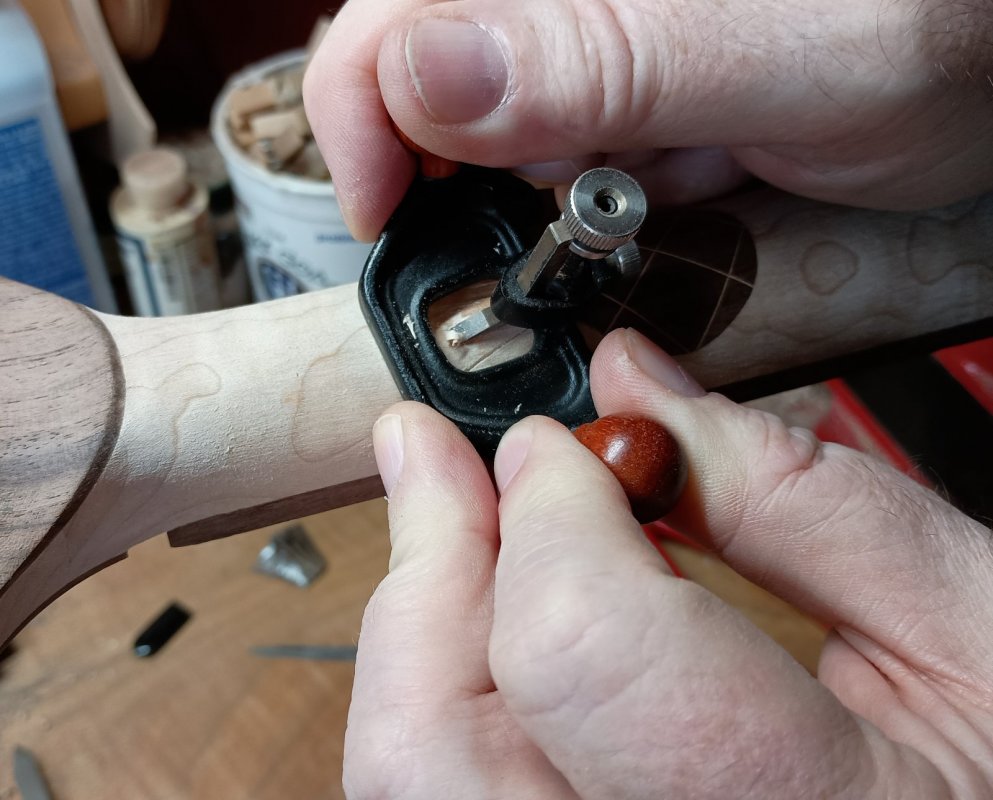
Then the outline is deepened with the knife and the miniature router plane starts working out material, going back and forth between the knife and the plane.

IMG_20231207_094948736~2.jpg

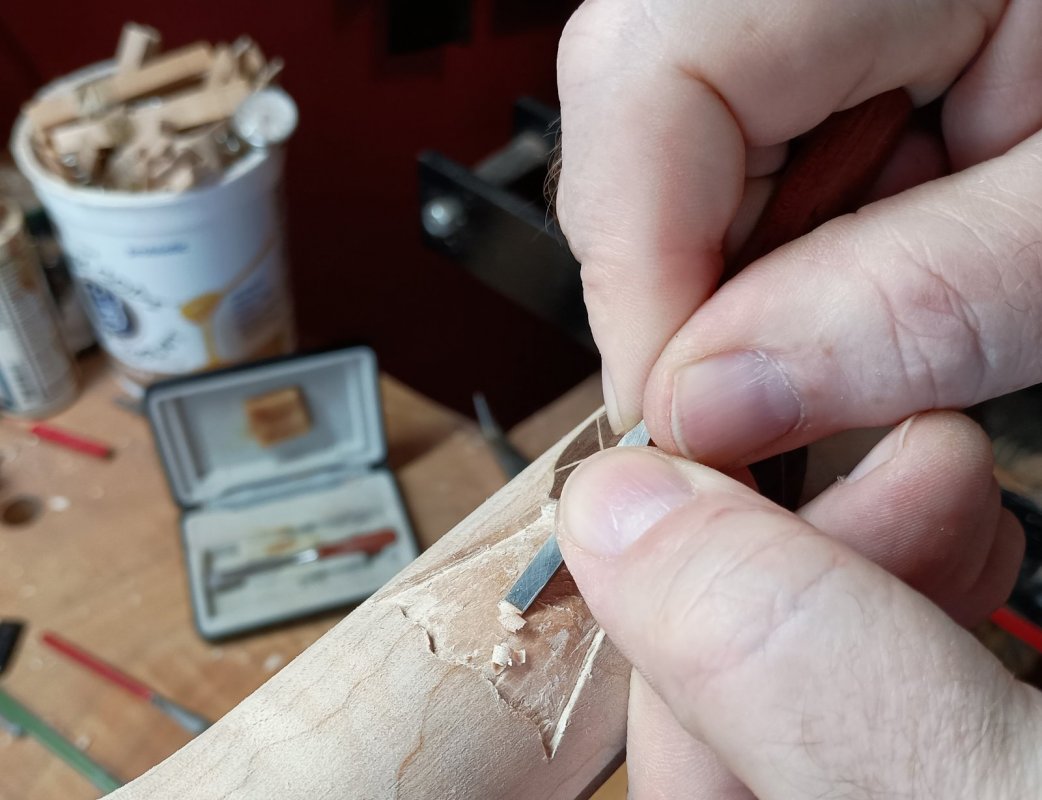
The small file gets into the points and also helps refine the outline, and the miniature chisel helps shape the pocket surface.

IMG_20231207_133159830~2.jpg

(End, Chapter 3)
 

AcornHouse

Venerated Member
Joined
May 22, 2011
Messages
10,361
Reaction score
7,688
Location
Bidwell, OH
Guild Total
21
One of the things I thought might happen is that as the pocket gets deeper, the outline changes and the the sides need to be extended. All due to the curve of the neck.
But in due course the flower part of the thistle is glued and clamped after reshaping the clamping caul. I also found that binding tape was needed to hold down the tips, as well as keeping things in position as I clamped.

IMG_20231207_162159717.jpg

After the glue had dried I could do a clean up and rough flush of the surfaces

So Gentle Reader, I present to you, The Thistle.
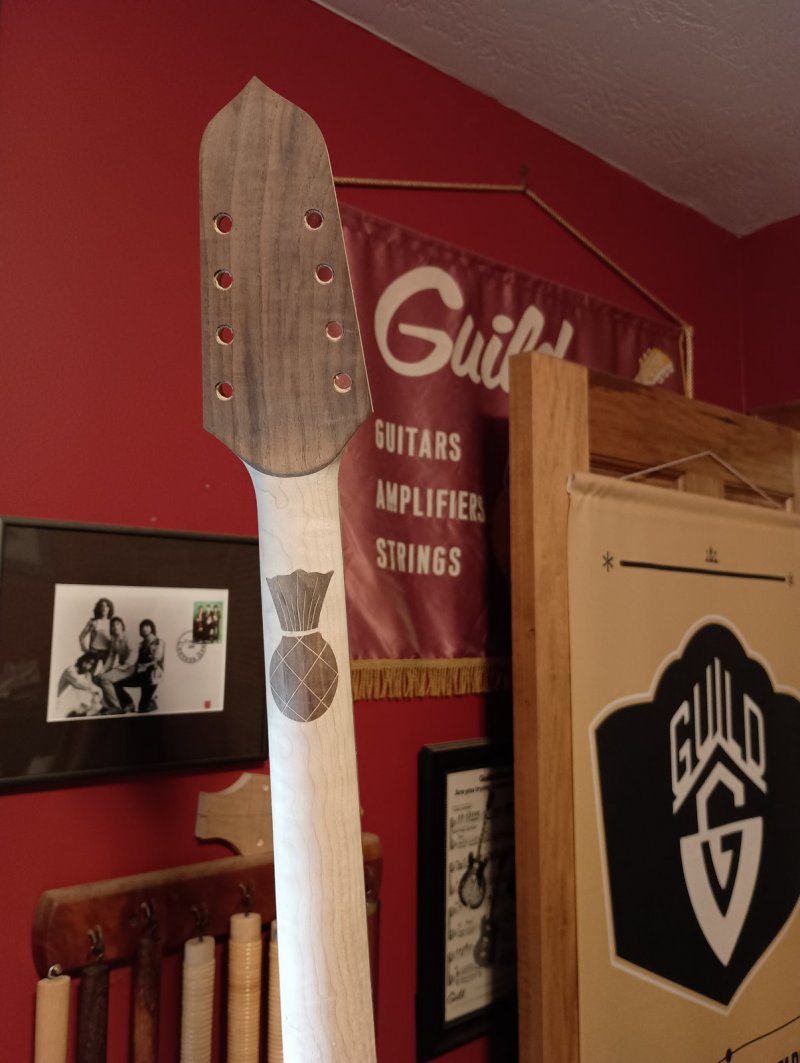
IMG_20231207_201726864.jpg
 

Stuball48

Senior Member
Gold Supporting
Joined
Oct 22, 2017
Messages
4,813
Reaction score
2,605
Location
Dickson, TN
Chris:
I stand, sit, and stoop in amazement at the work you do. Following this thread has revealed some of your personality and I am thinking when you build an instrument, you build as though you really are building it for yourself. I have heard that phrase abused before but think you do everything in your mental and physical ability to make it the best.
 

chazmo

Super Moderator
Gold Supporting
Joined
Nov 7, 2007
Messages
26,411
Reaction score
7,786
Location
Central Massachusetts
One of the things I thought might happen is that as the pocket gets deeper, the outline changes and the the sides need to be extended. All due to the curve of the neck.
But in due course the flower part of the thistle is glued and clamped after reshaping the clamping caul. I also found that binding tape was needed to hold down the tips, as well as keeping things in position as I clamped.

IMG_20231207_162159717.jpg

After the glue had dried I could do a clean up and rough flush of the surfaces

So Gentle Reader, I present to you, The Thistle.

IMG_20231207_201726864.jpg
That is AMAZINGLY cool, Chris. Putting that kind of detail and effort into an area of the neck that no one will ever appreciate except the player. I really admire that! And, that is intensely cool. If I ever commission a guitar, I will have to ask for something like that! Wow!
 

AcornHouse

Venerated Member
Joined
May 22, 2011
Messages
10,361
Reaction score
7,688
Location
Bidwell, OH
Guild Total
21
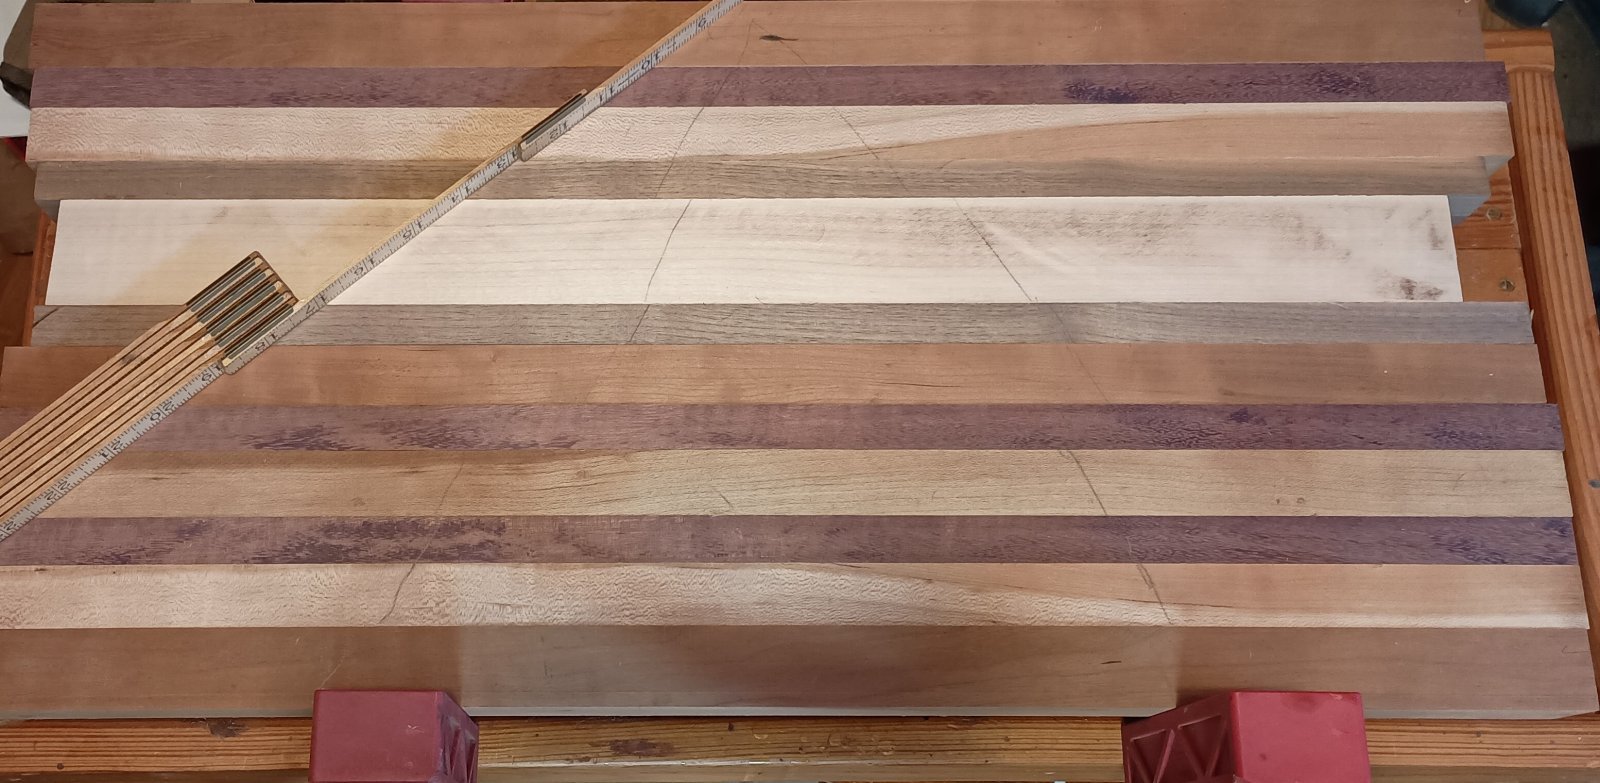
Just to forestall any questions, I'll be taking a few days away to start on some Xmas gifts. Got various scraps milled up today for a cutting board that were in the unheated workshop. I'll let them acclimate tomorrow when I'm up in Columbus and glue up on Sunday after retrieving more heavy duty clamps.

IMG_20231208_165005576~2.jpg
 

AcornHouse

Venerated Member
Joined
May 22, 2011
Messages
10,361
Reaction score
7,688
Location
Bidwell, OH
Guild Total
21
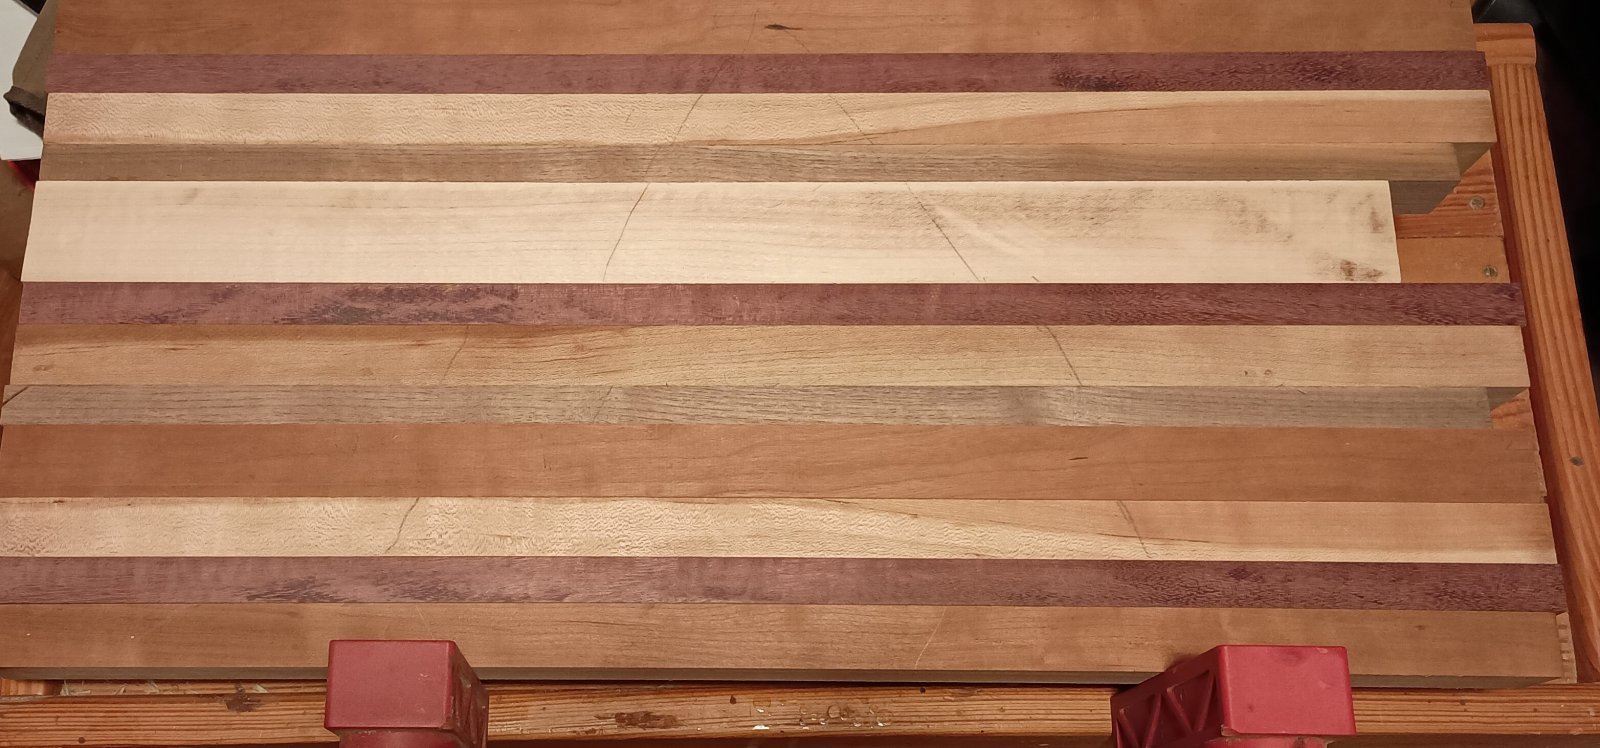
A little time reflecting on the arrangement does wonders. I've done some tweaking and think I have a better balance of asymmetry amongst the 4 (and a half) species. I'm counting the cherry as 1-1/2 since some of the pieces are more sapwood than Heartwood and that will be more of a difference as it ages.

IMG_20231209_190937051~2.jpg
 
Top