You are using an out of date browser. It may not display this or other websites correctly.
You should upgrade or use an alternative browser.
You should upgrade or use an alternative browser.
New Build Pics
- Thread starter Steelpickin'
- Start date
zulu
Senior Member
- Joined
- Dec 14, 2008
- Messages
- 2,170
- Reaction score
- 1,870
- Location
- NV west of Los Angeles
- Guild Total
- 4
One of the greatest threads ever!! Loving it. And learning from it!
Really like the choices you've made. Thanks so much for taking us along for the ride!
Really like the choices you've made. Thanks so much for taking us along for the ride!
Steelpickin'
Senior Member
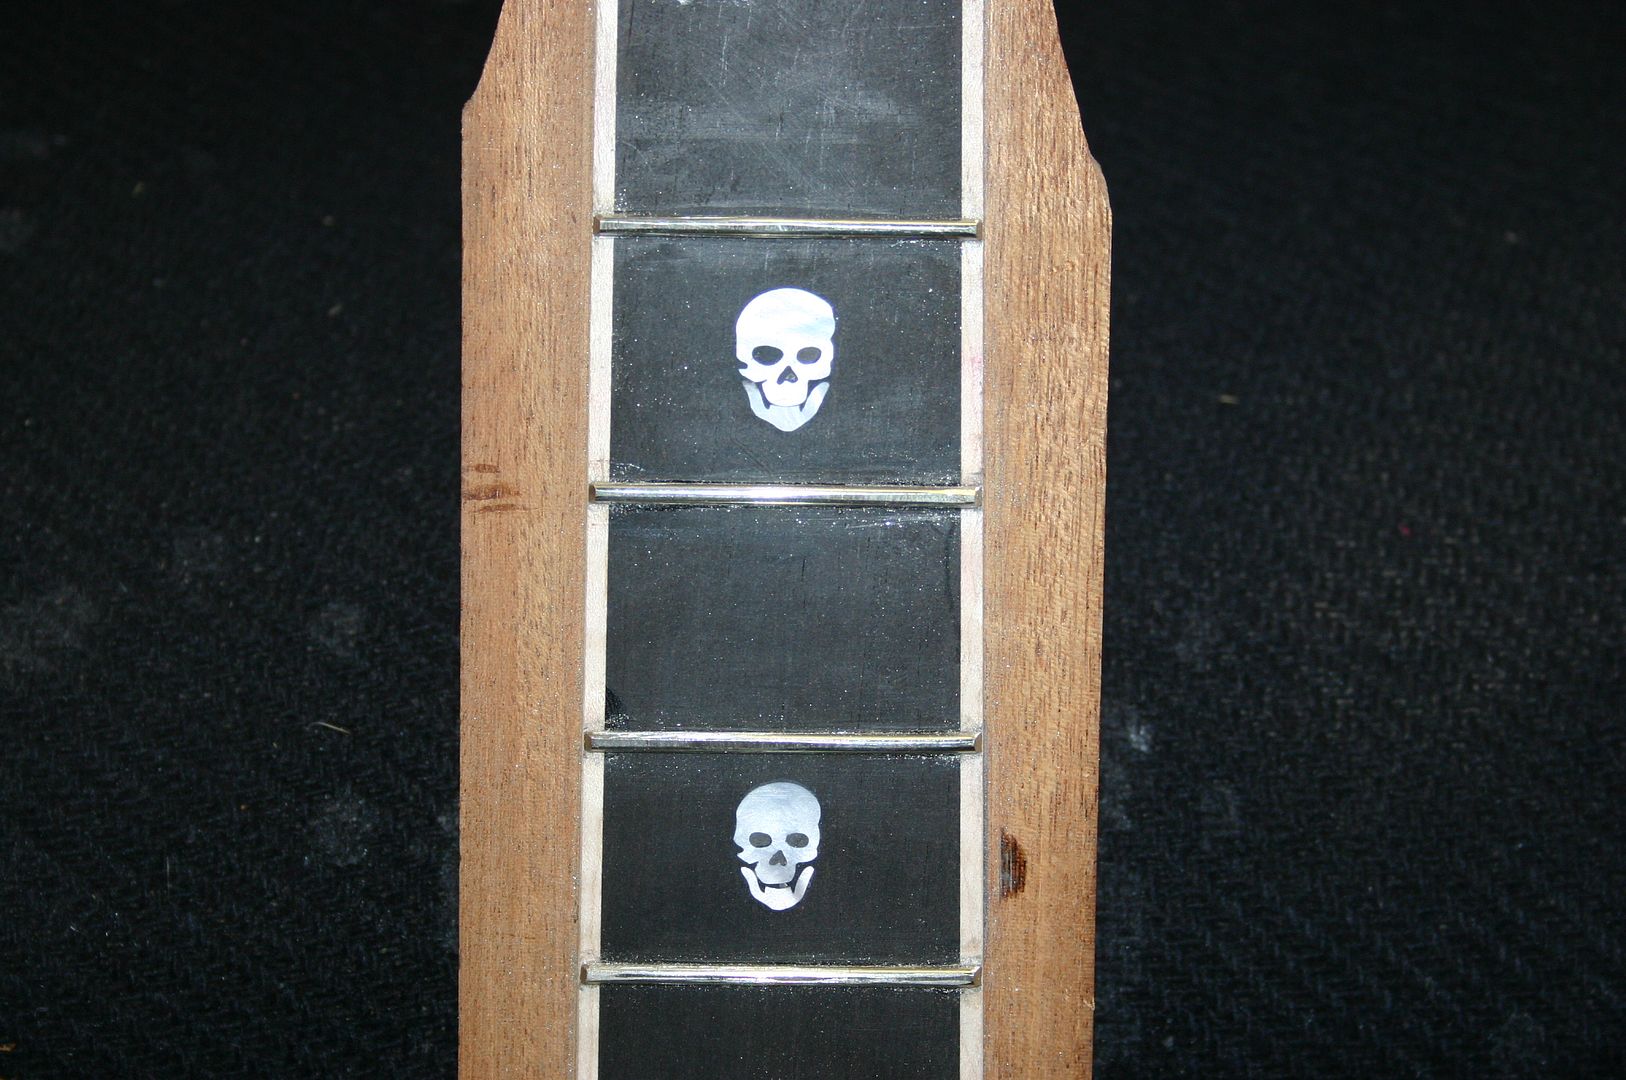
got the frets roughed in
rough cut the neck down to size.....getting a lil nervous...dont want to end up with an expensive piece of firewood! :lol:
....I'm sure I'll be fine :wink: Mothers Day stuff this weekend...got to wait till early next week to carve the neck...more pix then

Steelpickin'
Senior Member
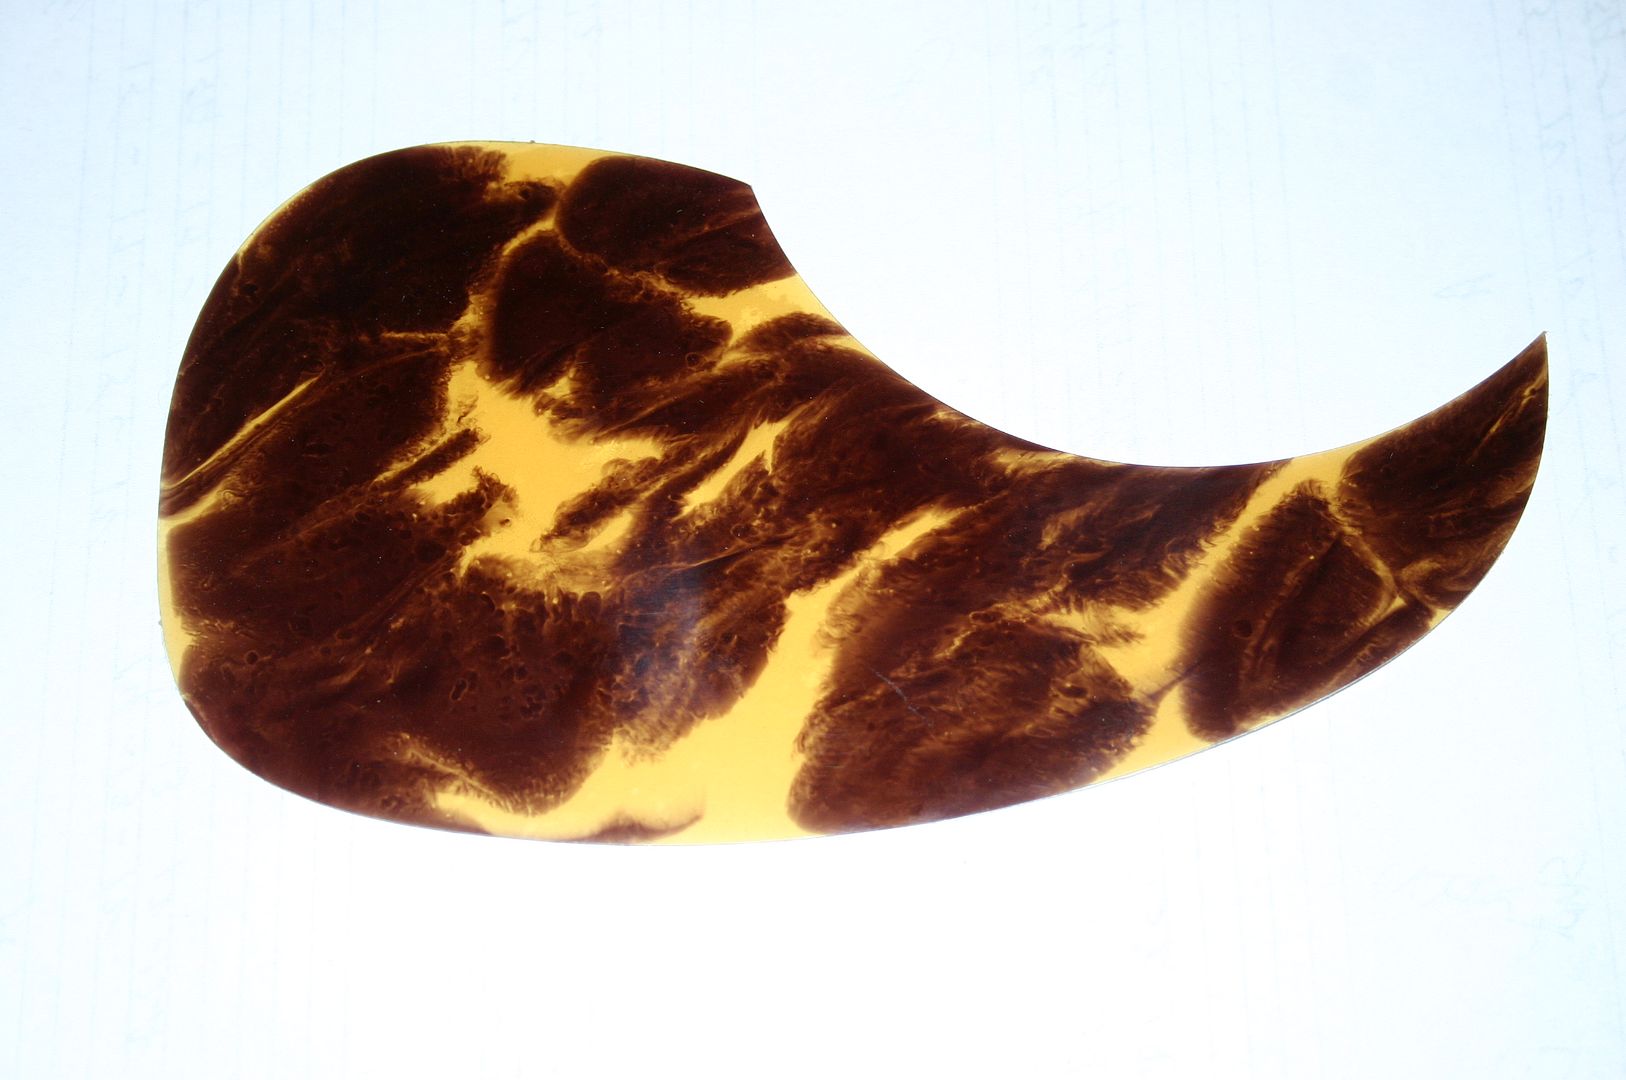
almost forgot..here is the pickgaurd I'll be using.
Its one of those "Tortoloid " pickgaurds from StewMac.
When the backing is removed you can see through most of it 8)
Thanks all for your kind words and support
Steelpickin' said:
almost forgot..here is the pickgaurd I'll be using.
Its one of those "Tortoloid " pickgaurds from StewMac.
When the backing is removed you can see through most of it 8)
Thanks all for your kind words and support
Perfect!! :mrgreen:
George
Steelpickin'
Senior Member
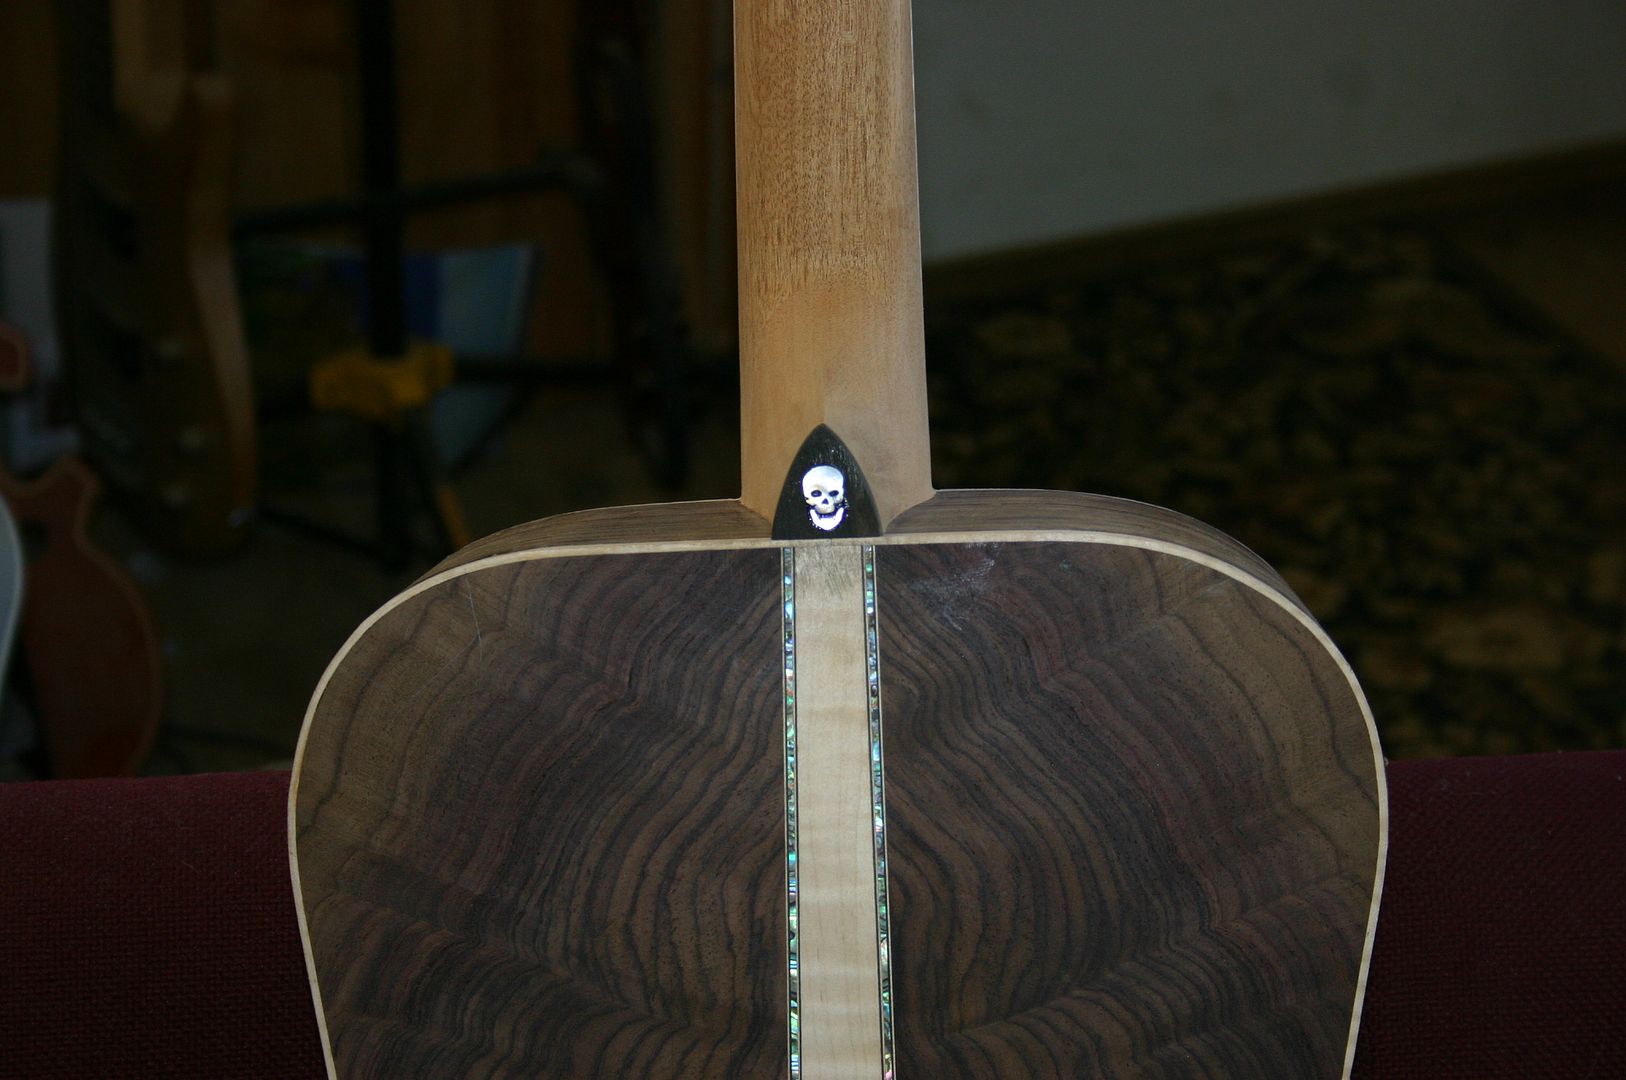
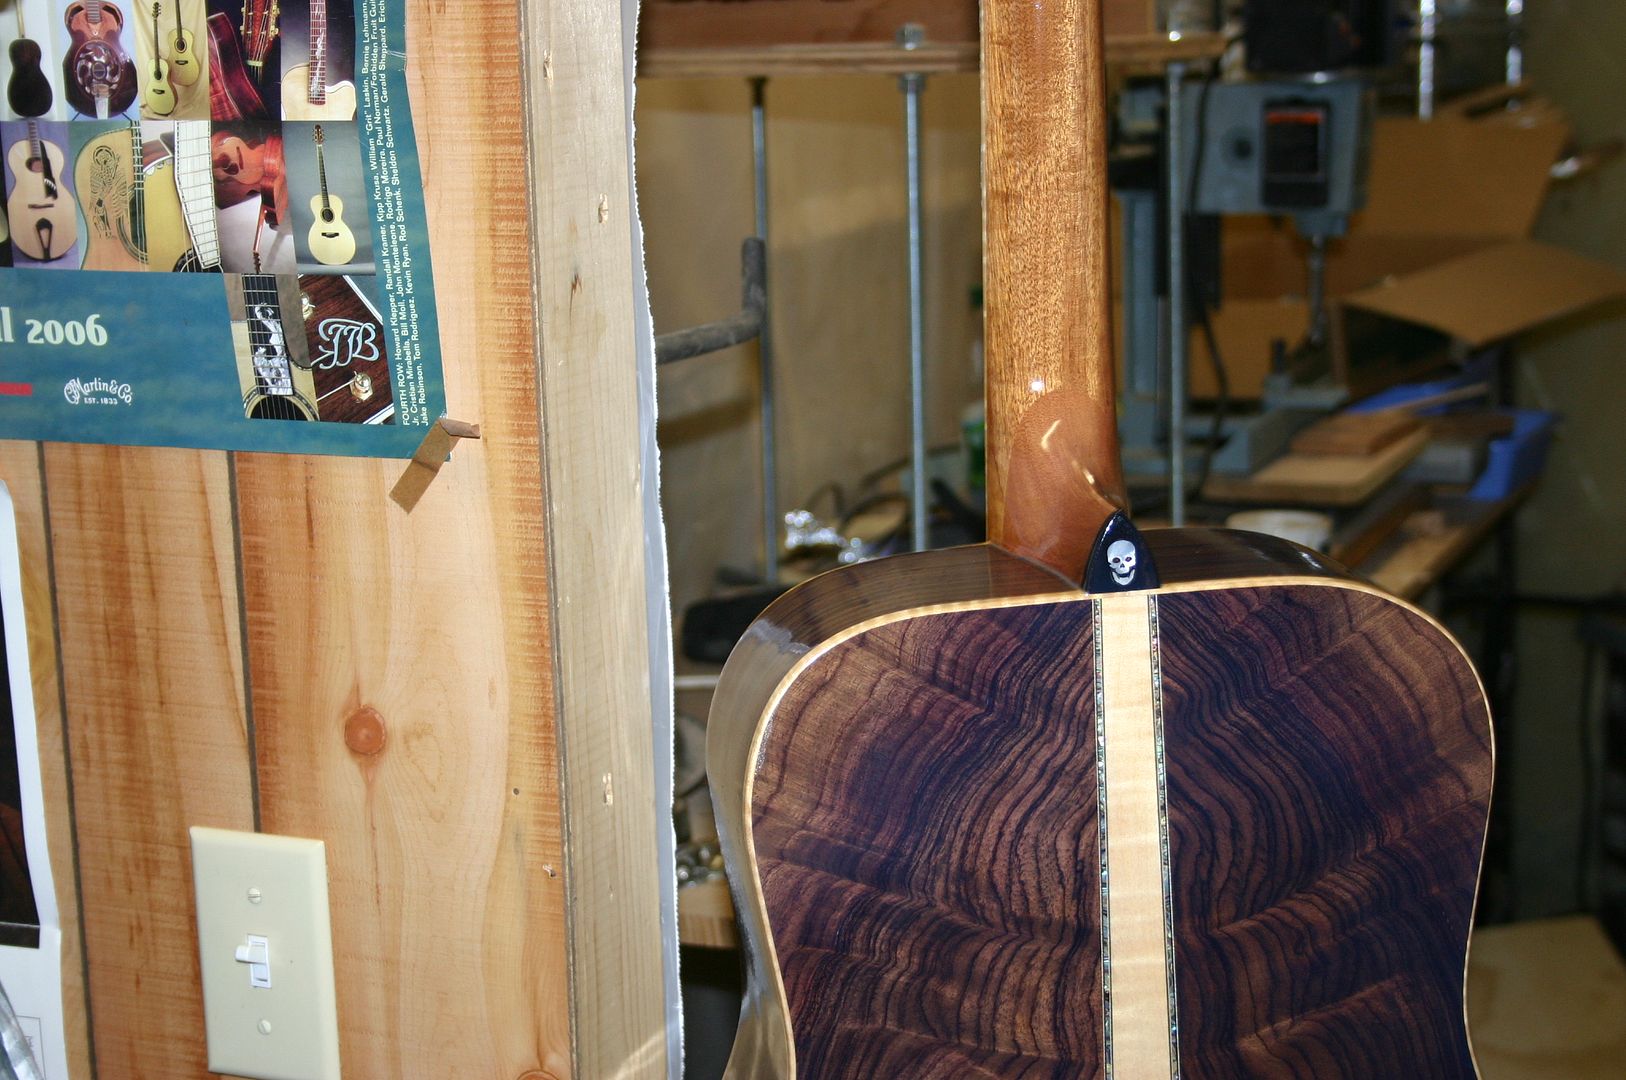
got the healcap inlaid and the neck rough carved
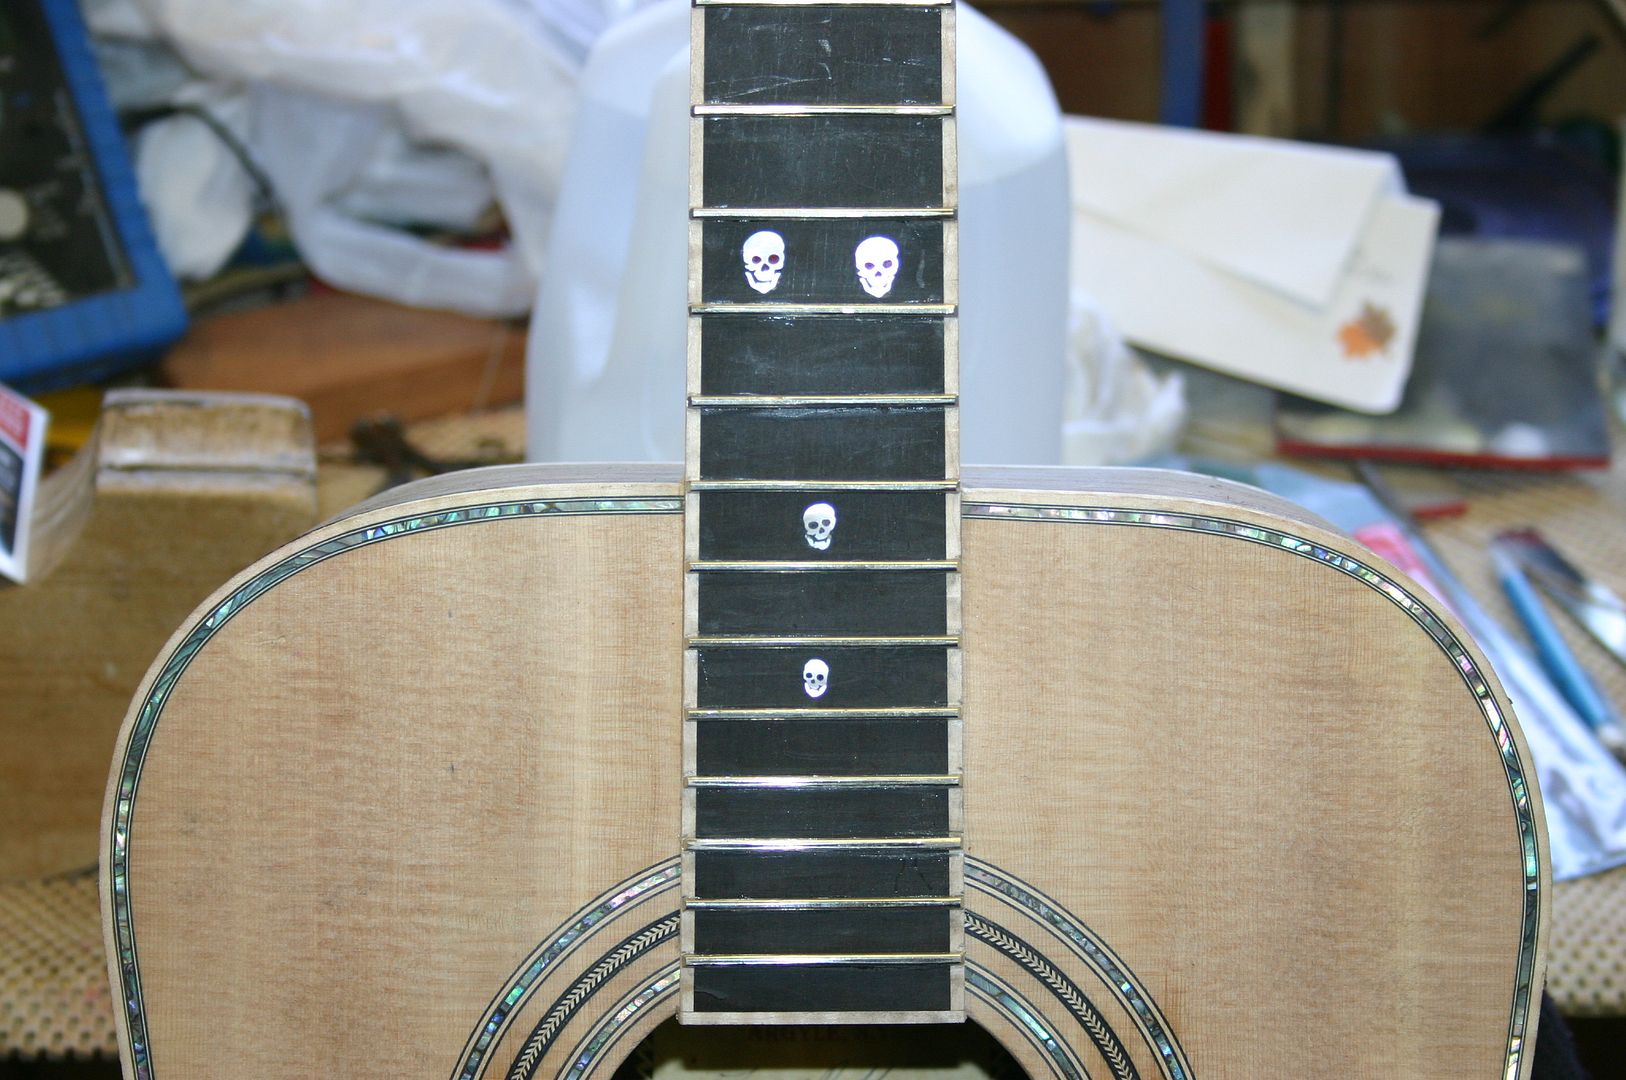
couldn,t resist hahaha!!!
about another four ...maybe five weeks out...a lot of scraping, sandingand finishing to go in between the day job :shock:
still got to build the bridge...install the electronics...ect...
but soon!! 8)
Larry
couldn,t resist hahaha!!!
about another four ...maybe five weeks out...a lot of scraping, sandingand finishing to go in between the day job :shock:
still got to build the bridge...install the electronics...ect...
but soon!! 8)
Larry
Beautiful guitar Larry. I love the skull motif. 8)
Steelpickin' said:about another four ...maybe five weeks out...a lot of scraping, sandingand finishing to go in between the day job :shock:
still got to build the bridge...install the electronics...ect...
but soon!! 8)
Larry
Quit your day job Larry. You're a guitar builder now. 8)
Beautiful Job. Can't wait to see it with a nice finish on it. :mrgreen:
George
Steelpickin'
Senior Member
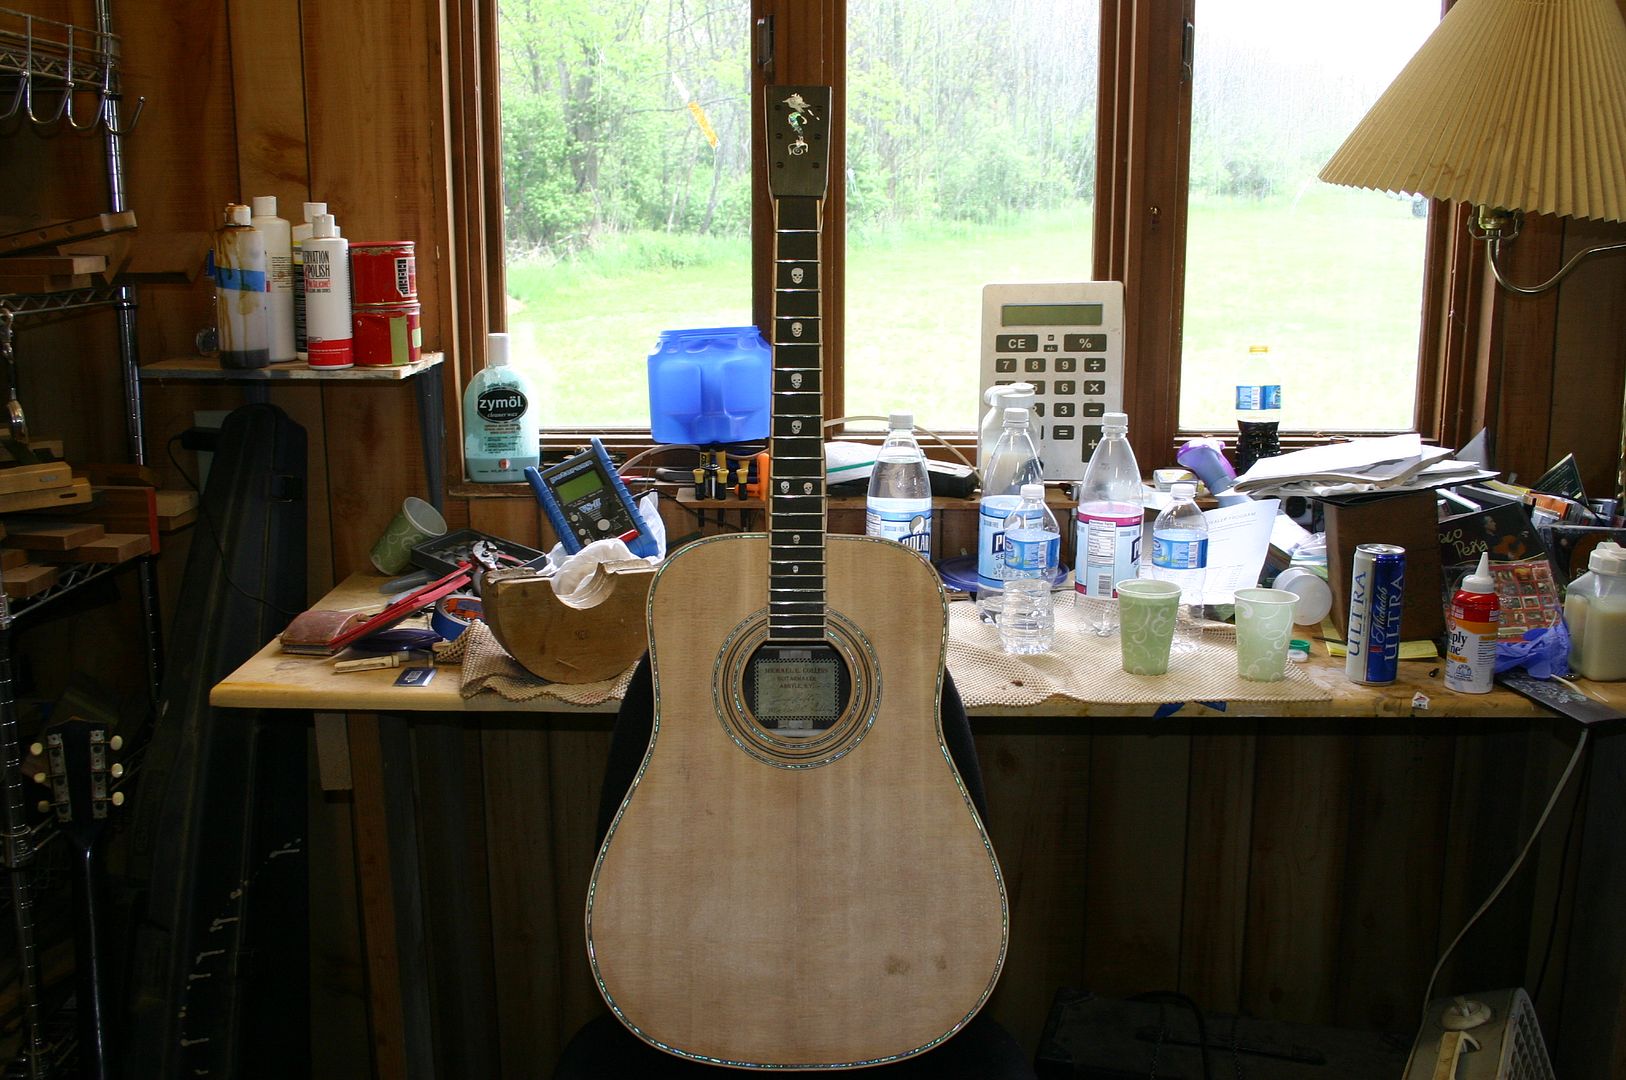
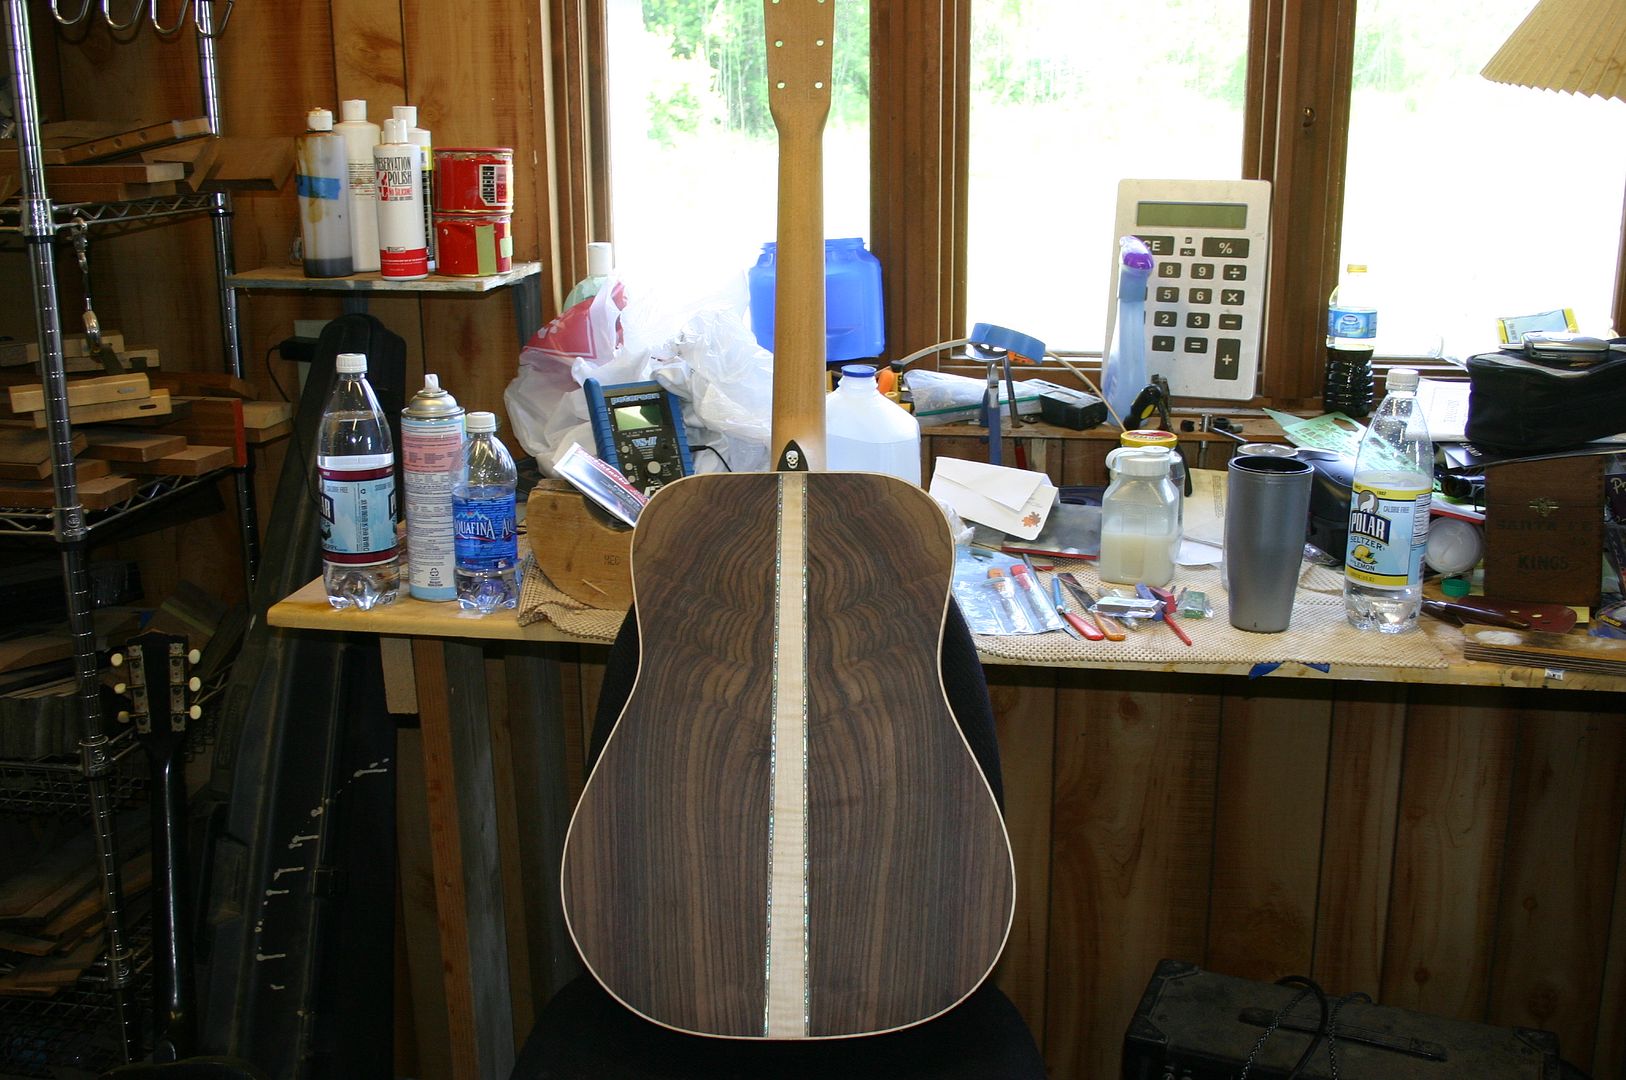
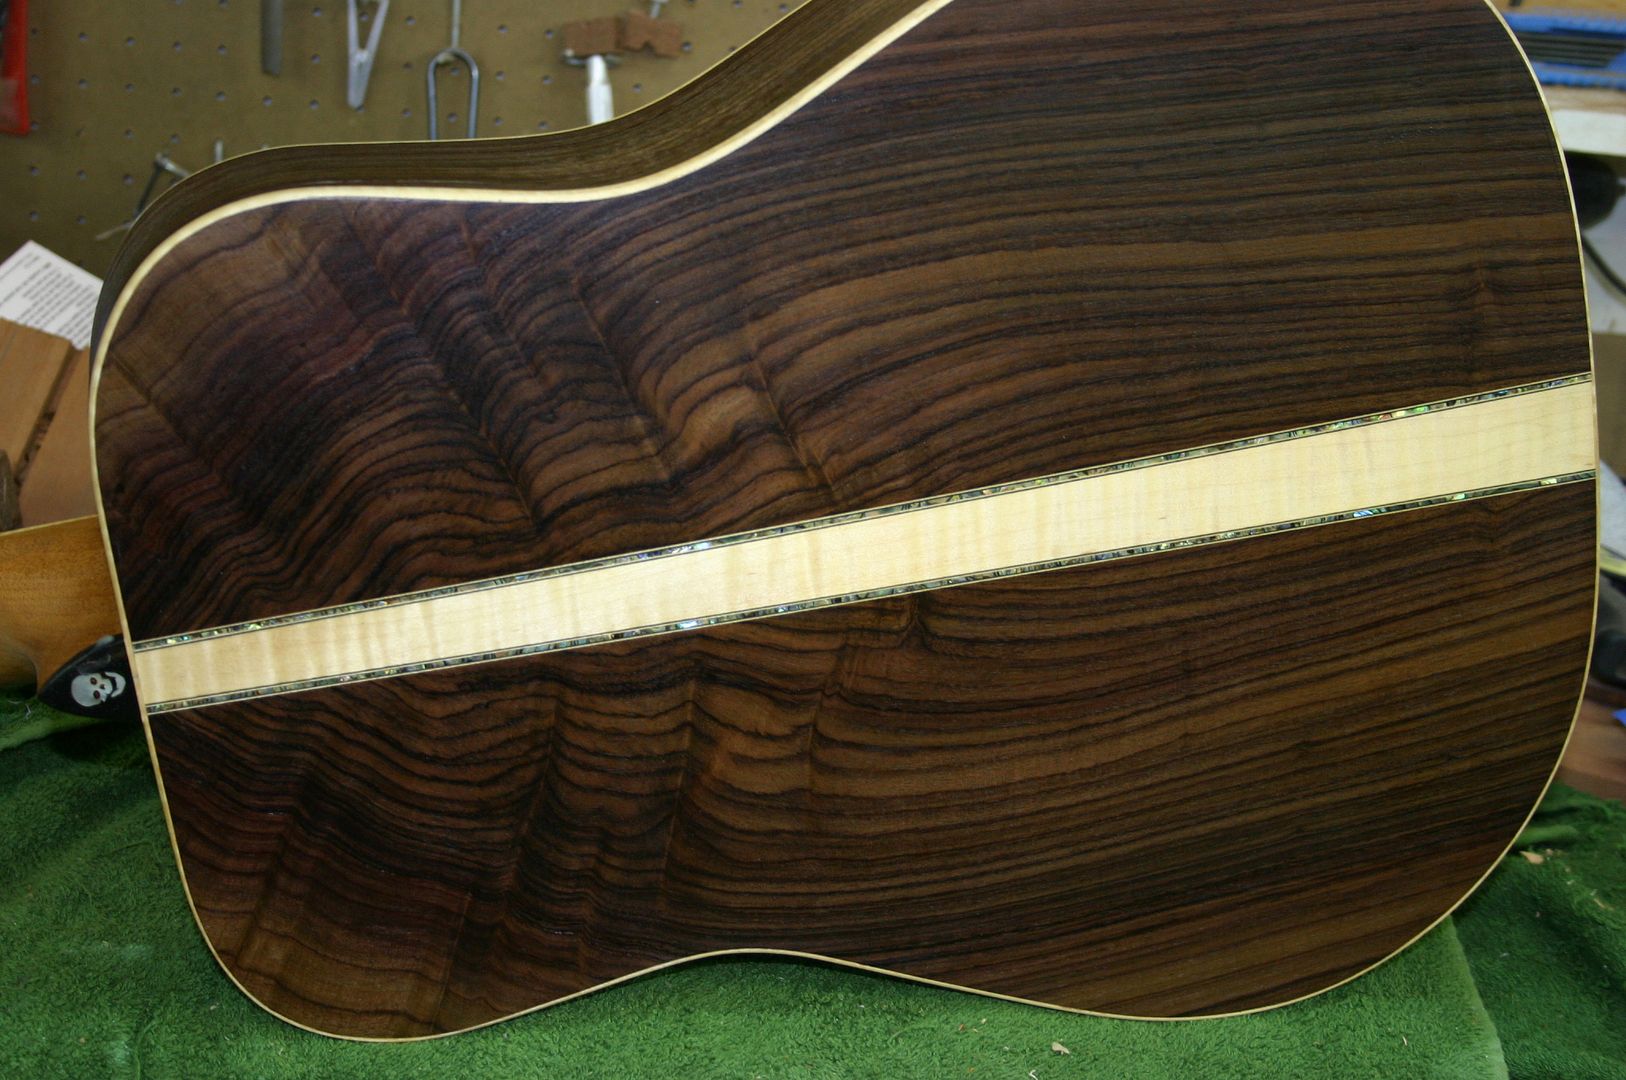
okay I made some time ( took a "sick" day :wink: ) and got all scraped and sanded and got a coat of sealer on!
The grain is really starting to pop! Here are a few pics...
Lovin' it!
Holiday weekend coming up but got a couple of gigs..probably wont get much work done for a few days...its getting there!
The grain is really starting to pop! Here are a few pics...
Lovin' it!
Holiday weekend coming up but got a couple of gigs..probably wont get much work done for a few days...its getting there!
davismanLV
Venerated Member
- Joined
- Mar 24, 2011
- Messages
- 19,388
- Reaction score
- 12,233
- Location
- U.S.A. : Nevada : Las Vegas
- Guild Total
- 2
Yeah, once you start putting sealers and finishes on .... that wood grain just LIGHTS UP like a Christmas tree!! I am LOVIN' watching this guitars birth...... amazing job, Larry!!!
Steelpickin'
Senior Member
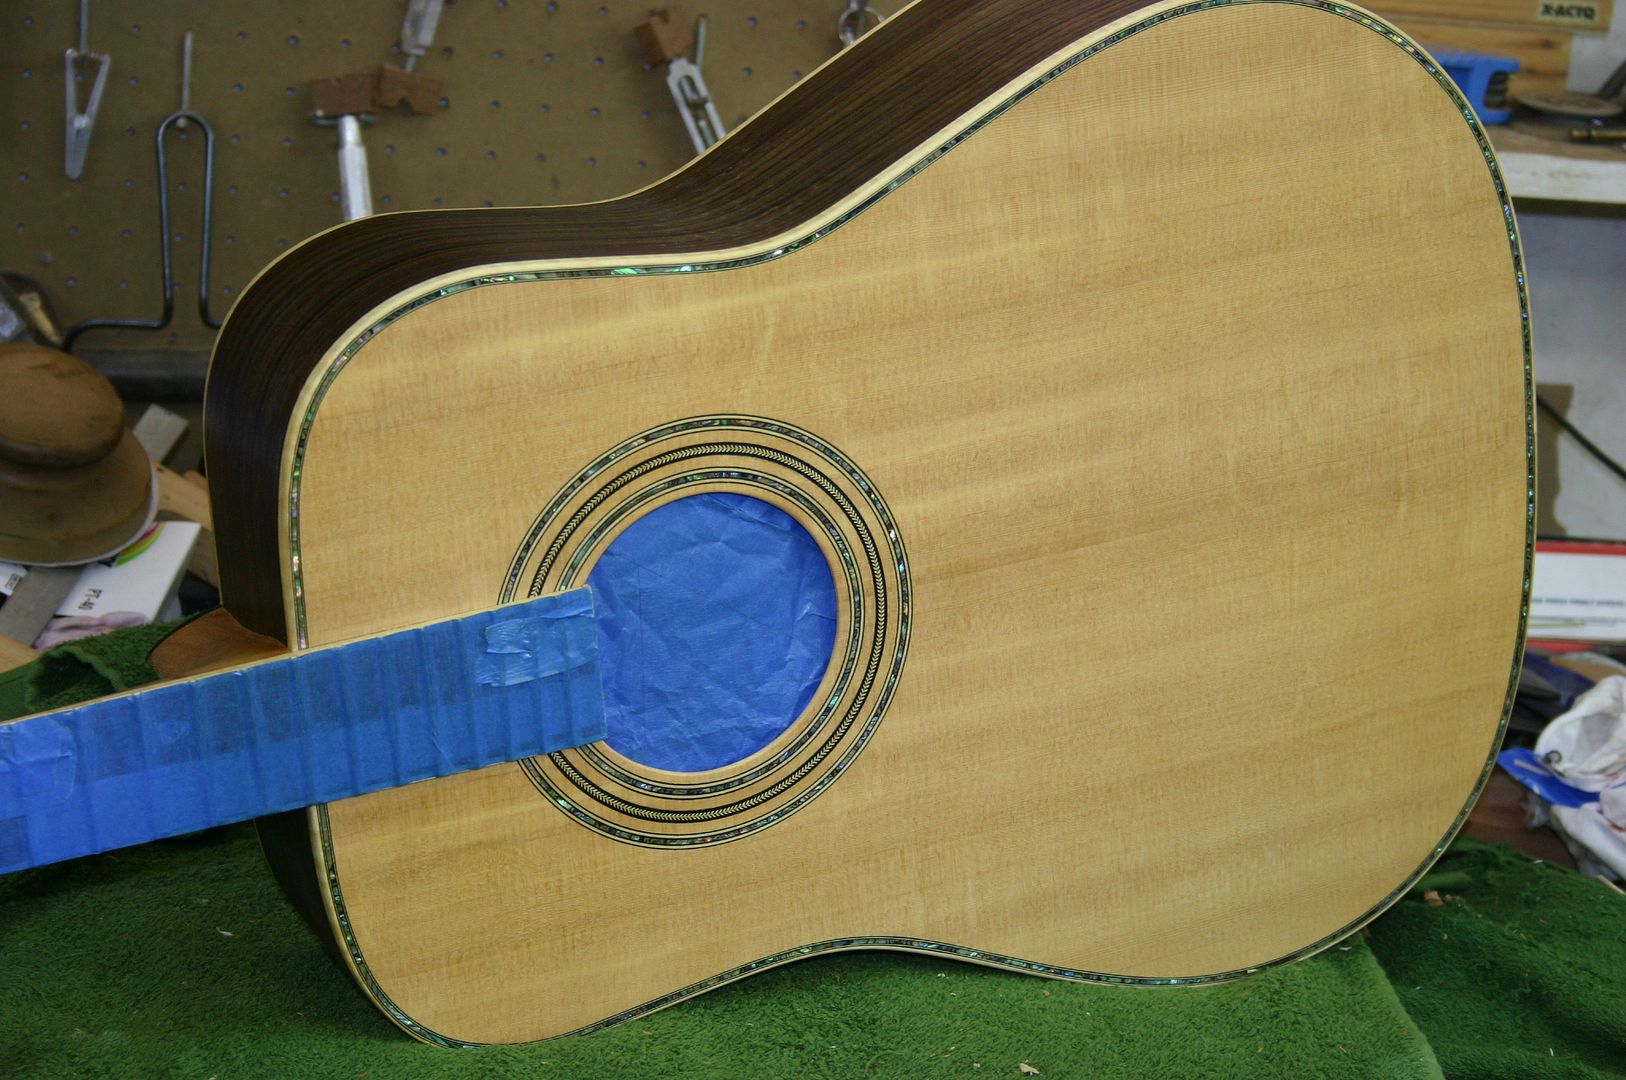
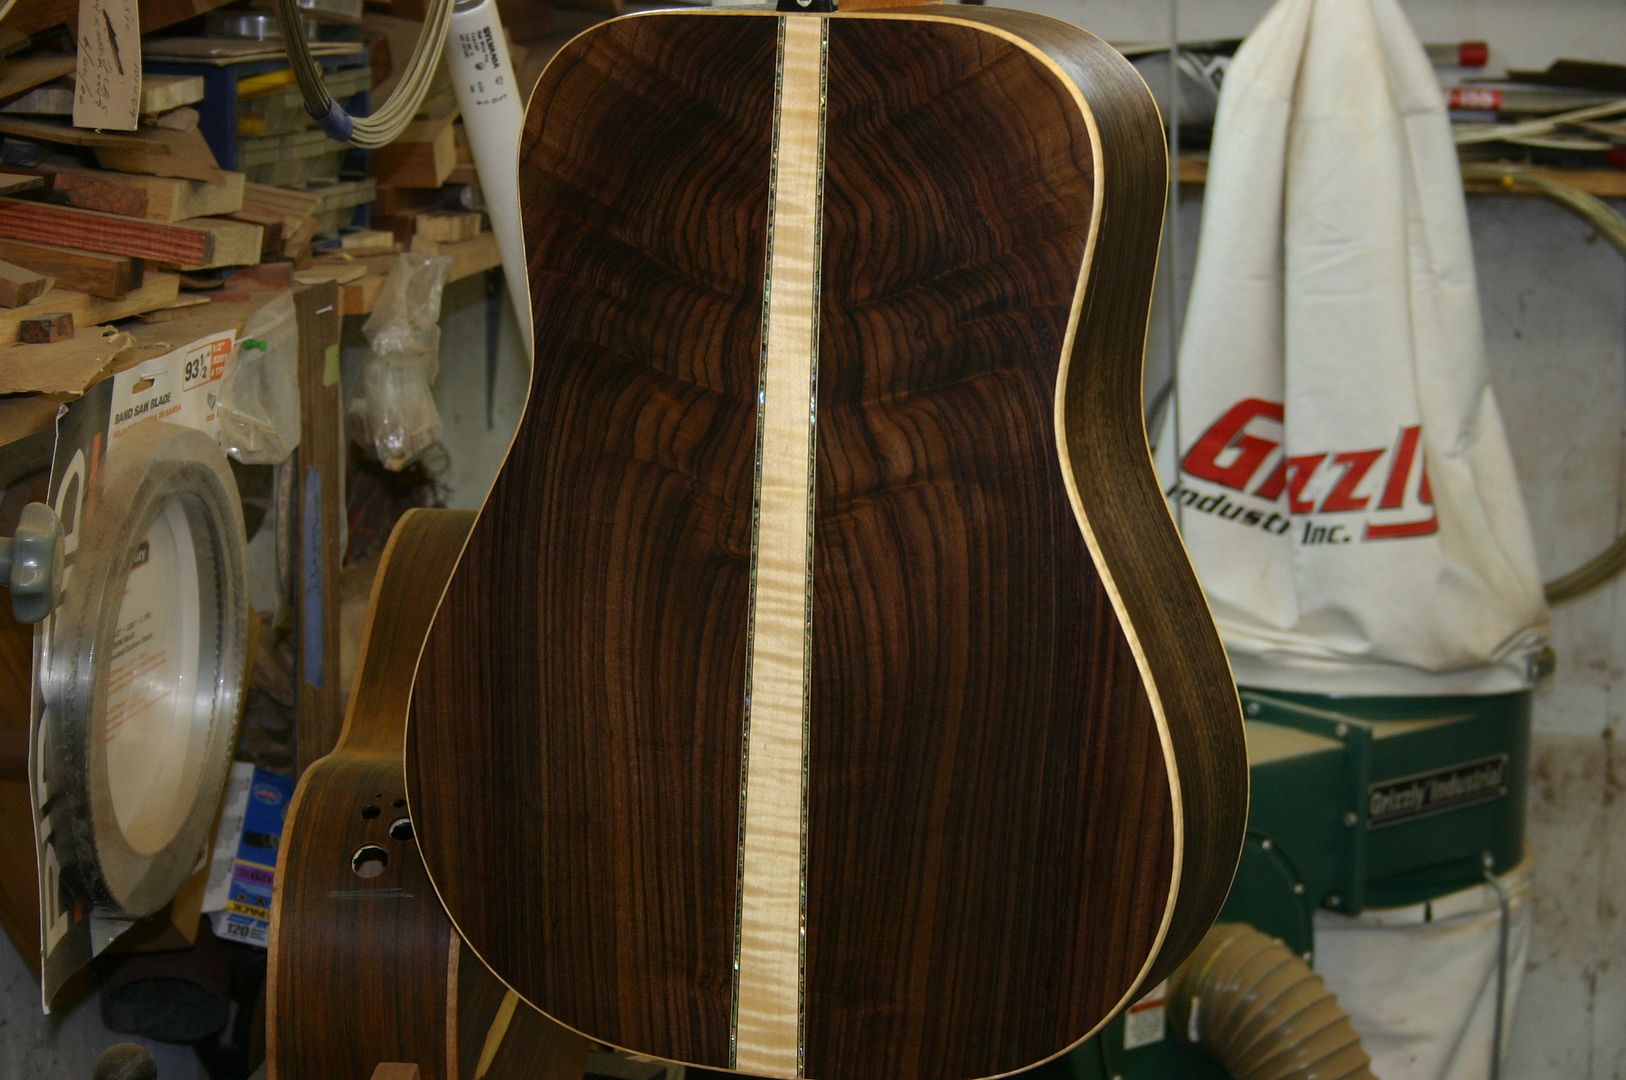
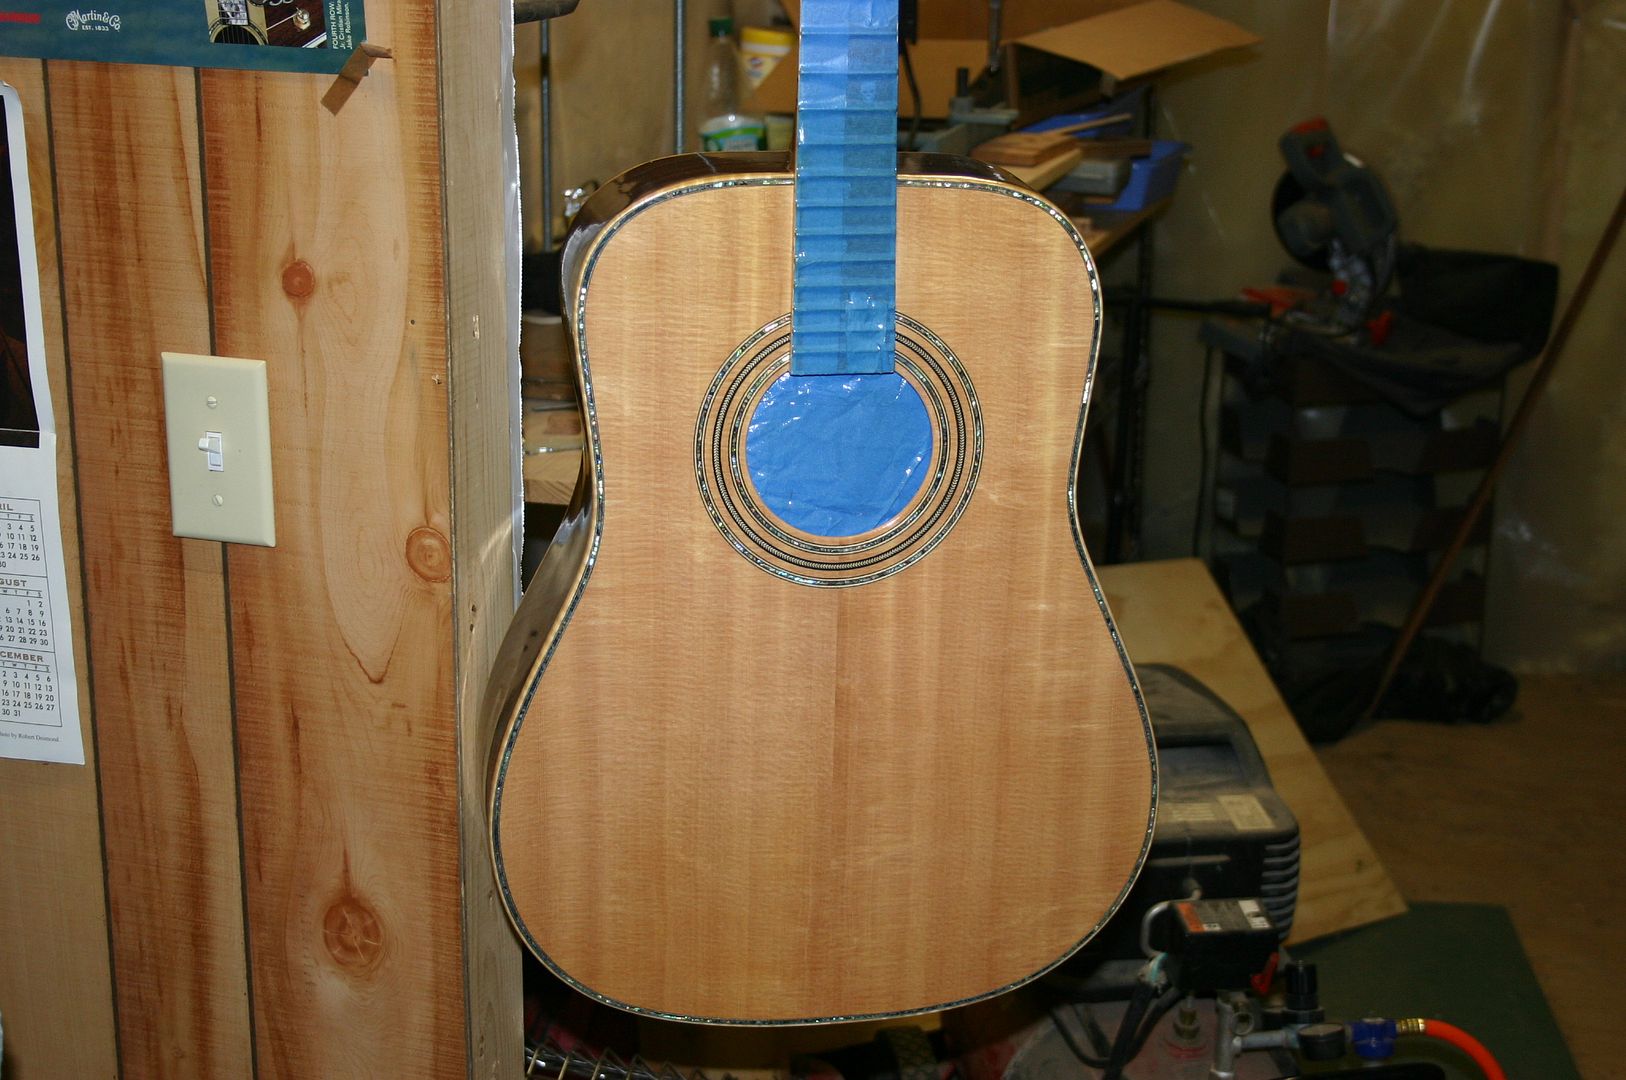
got most of the finish on..just a couple more coats and then buffing:
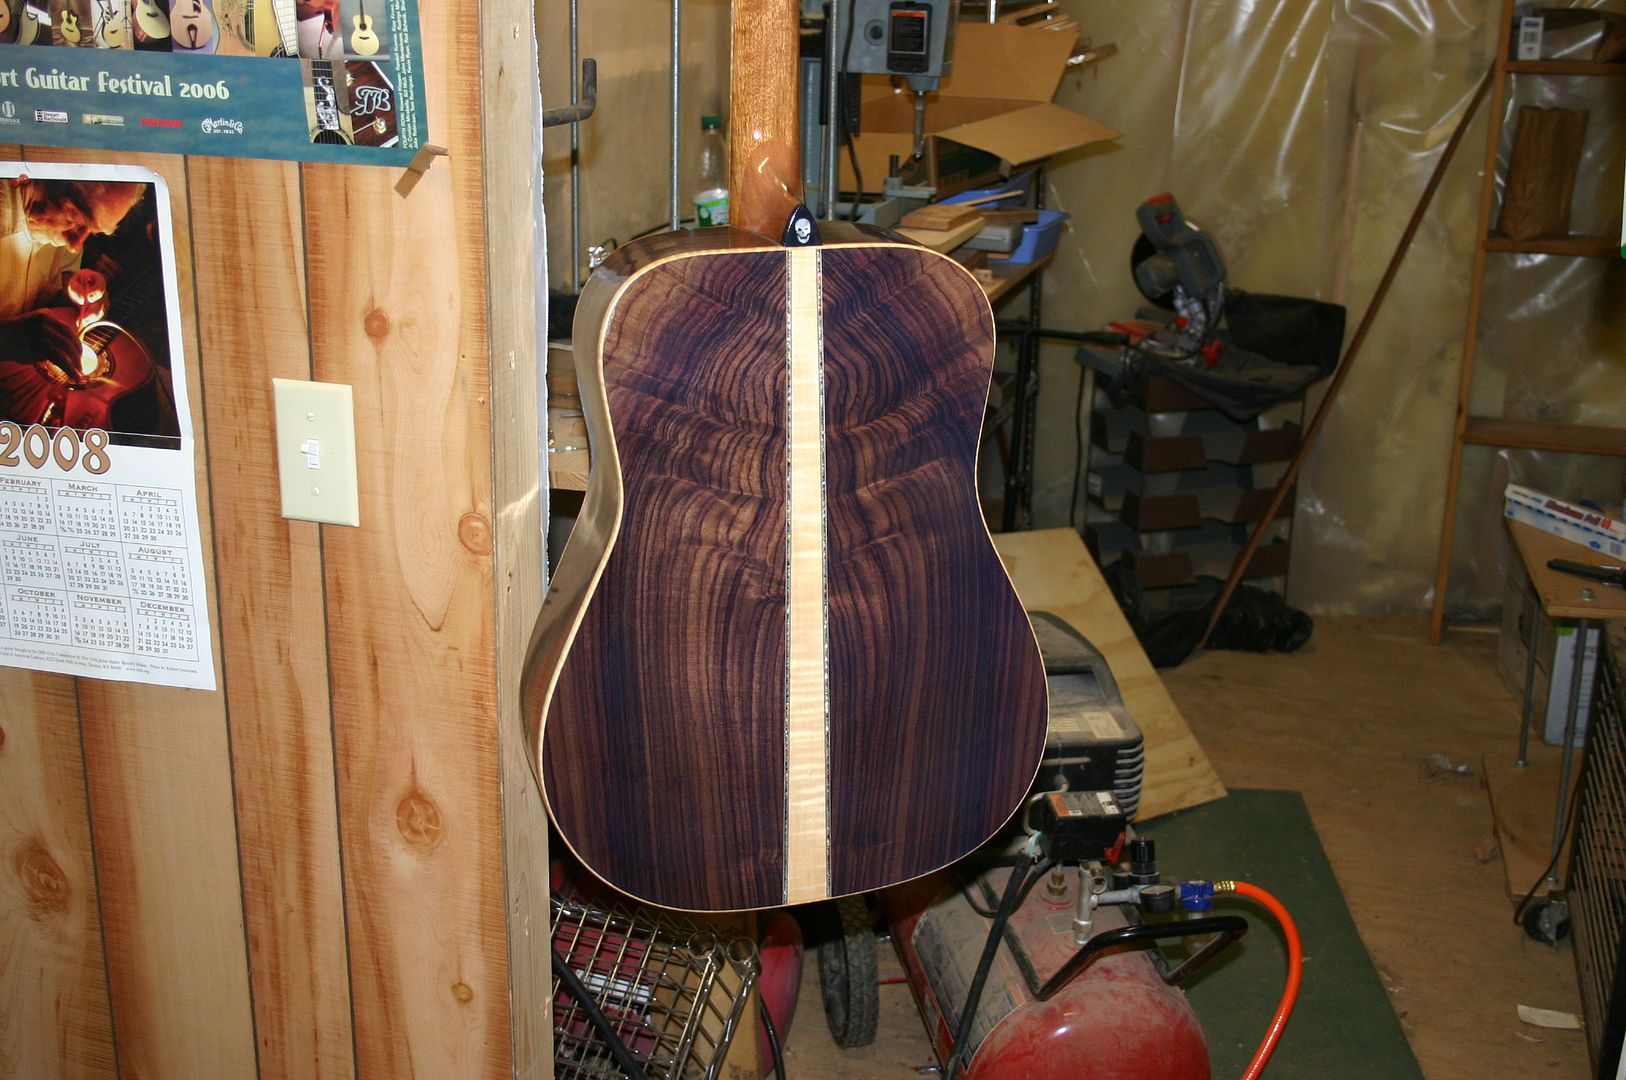
really starting to pop!
Pickup came today!
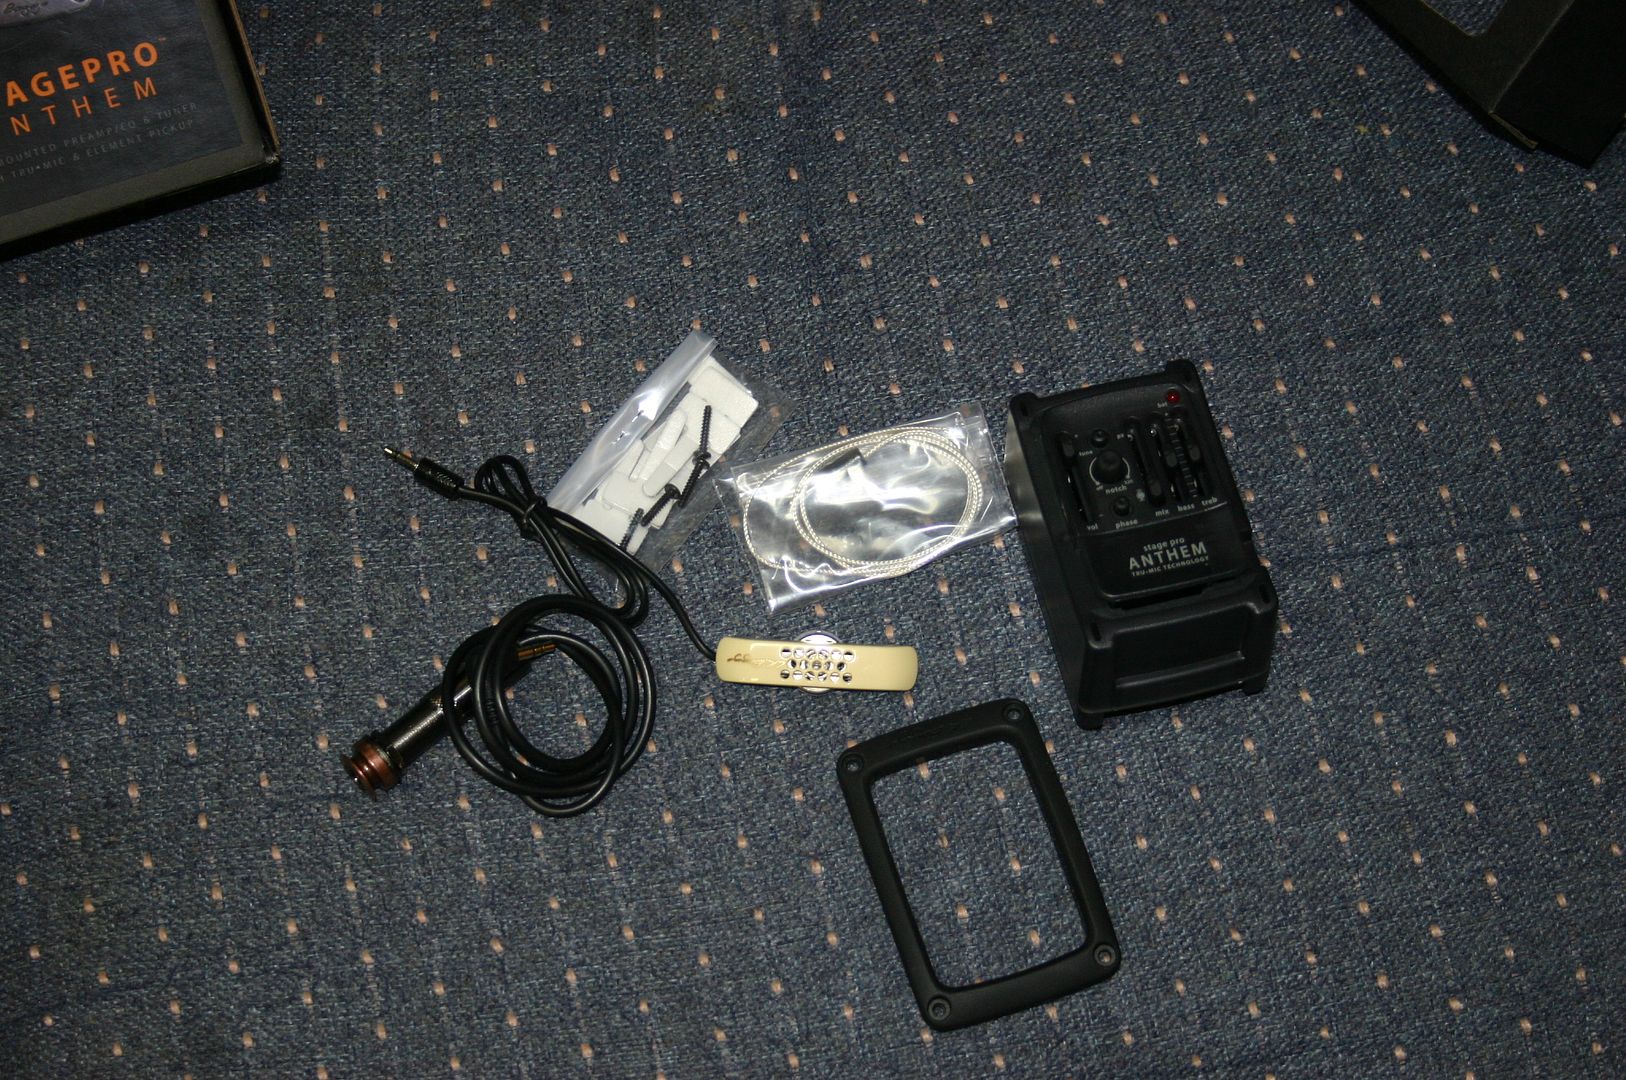
as well as the double archtop case!
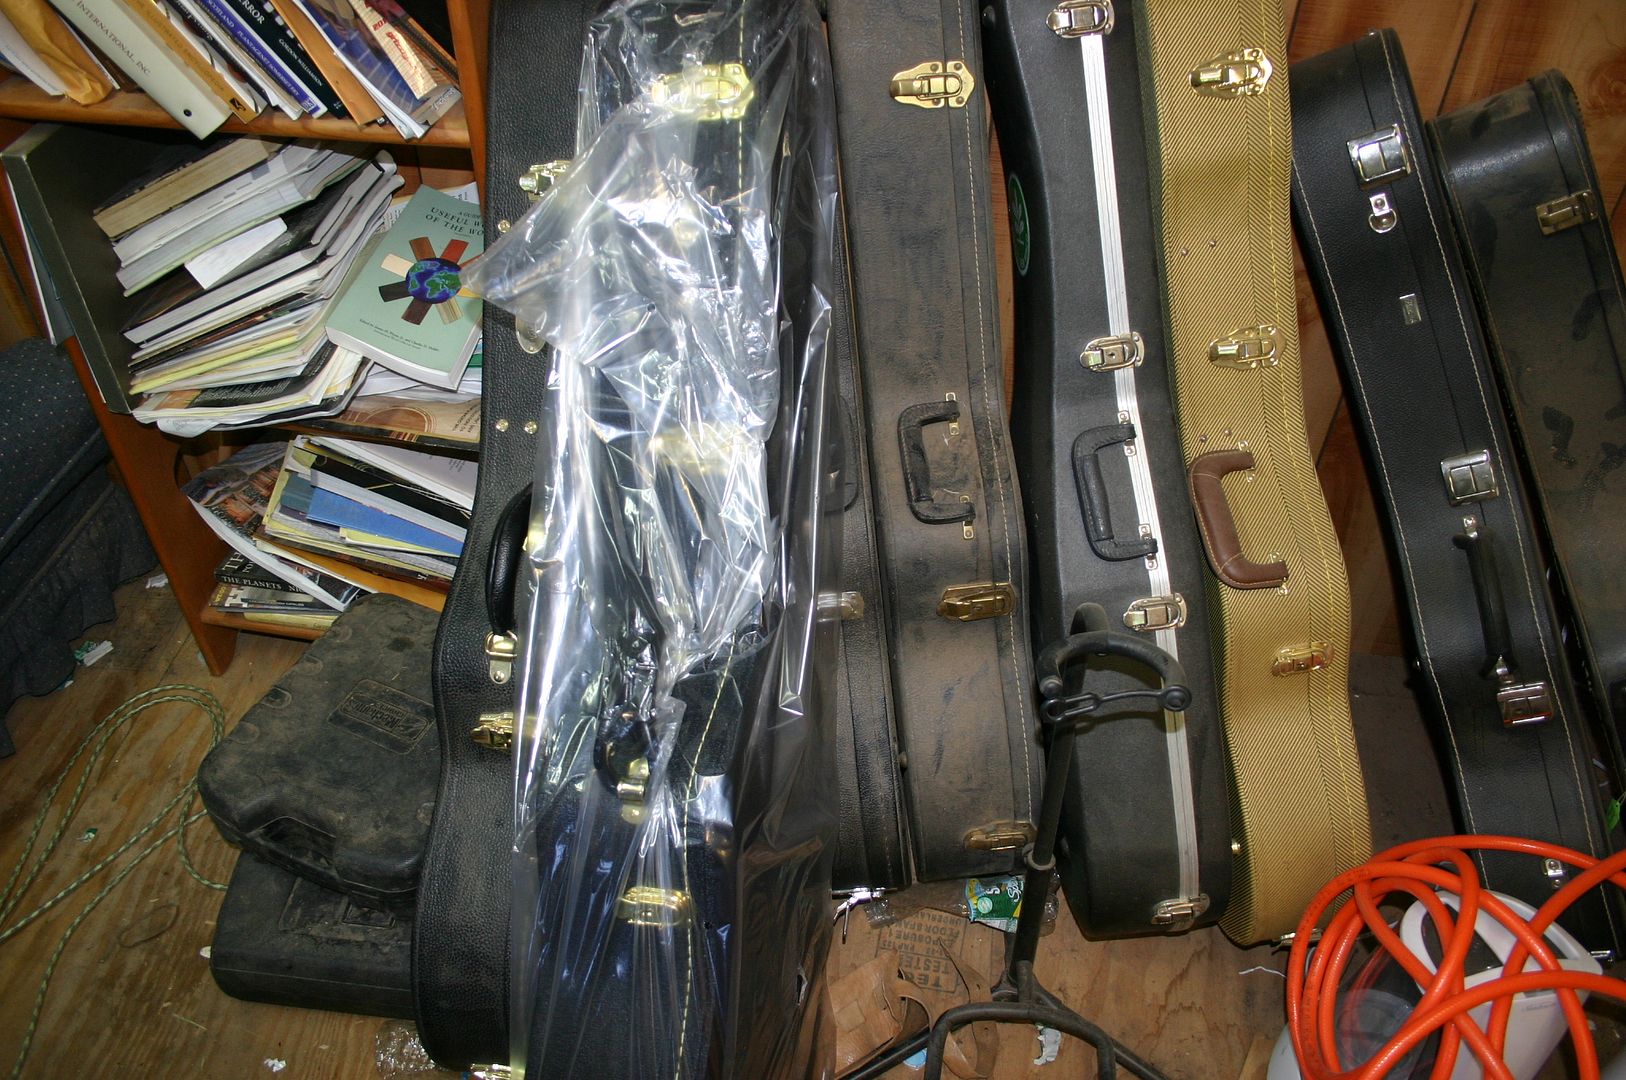
now to make the bridge......should only be a couple more weeks!!!!!
have to let the finish cure for a while though before I can install the electronics and take her home
really starting to pop!
Pickup came today!
as well as the double archtop case!
now to make the bridge......should only be a couple more weeks!!!!!
have to let the finish cure for a while though before I can install the electronics and take her home
DasBeef
Member
I have no words to describe how impressed I am.
The front ain't half bad either! So your really getting ready to route out a big ol' hole in the side for the P/U controls huh ....... :shock: :? ?AlohaJoe said:That back is spectacular! :shock:
davismanLV
Venerated Member
- Joined
- Mar 24, 2011
- Messages
- 19,388
- Reaction score
- 12,233
- Location
- U.S.A. : Nevada : Las Vegas
- Guild Total
- 2
Okay guys and gals, I have a technical question. I thought the bridge was glued on BEFORE the top was finished. Obviously in this case, I'm wrong. But what is standard procedure? Or does it vary? I know from working with wood glue that the best bond is from raw wood to raw wood. So, what is the normal procedure? Finish the top and then glue on the bridge? And what kind of glue do you use in that case?
I've taken a guitar apart but never built one. What's the story? 8)
I've taken a guitar apart but never built one. What's the story? 8)
