Successful Pickup Ring Swap In 2000 Starfire V for Aftermarket Humbuckers.

Sleeko

Member
Joined
Sep 2, 2013
Messages
230
Reaction score
8
Location
Hampstead, North Carolina
This is best accomplished with strings off the guitar. Have a small container availlable to put the hardware in so it doesn't get lost. Also a dry washcloth or clean rag to protect the body. And of course the right size screwdrivers.
1) Remove pick guard
a) 2 small screws holding the bracket to the rim
b) 1 screw holding it to the top by the neck
2) Mark you bridge position with masking tape if you are unsure of how to set the intonation.
3) Remove strings.
4) With guitar on its back, remove the 4 small screws in the corner of the pickup support ring.
5) The pickup assembly is now mechanically free of the guitar and you should be able to slowly and carefully pull it upwards and out of the guitar. There may not be much extra slack in the wires so be gentle and lay the pickup rag placed on the body.
6) Assess how much slack you have and work carefully here. Inspect the unit(take pictures) and you'll see the adjustment screws simply go through the ring to the metal feet on the bottom of the bracket. There is a spring sleeved over the screw between the bottom of the ring and the top of the foot.
7) Remove the screws without losing the springs and the plastic ring is now free of the pickup
8) As they say in the Haynes manuals, "Installation is the reverse of removal."

I haven't attempted this yet. I'm ok until I get to the spring part. Is this tricky (meaning will they shoot out) or is this pretty easy and straight foward? Thanks in advance. :unconscious:
 

cc_mac

Member
Joined
Jan 4, 2009
Messages
417
Reaction score
0
Location
North Carolina
I haven't attempted this yet. I'm ok until I get to the spring part. Is this tricky (meaning will they shoot out) or is this pretty easy and straight foward? Thanks in advance. :unconscious:

It's not a big deal. Once you have the unit out you'll see how the adjustment screw/spring work together. As long as you are careful it won't fly away to never be seen again.
 

Sleeko

Member
Joined
Sep 2, 2013
Messages
230
Reaction score
8
Location
Hampstead, North Carolina
Though not a guitar tech by any means, I am a jeweler by trade so i'm used to working with my hands fixing things. Well I tackled this task today and it wasn't difficult at all. Plus I learned how to work on my guitars. The thought of this gave me the willies - what if I screw it uP? The directions were spot on and I followed them to a tee. Thank you again. :unconscious:
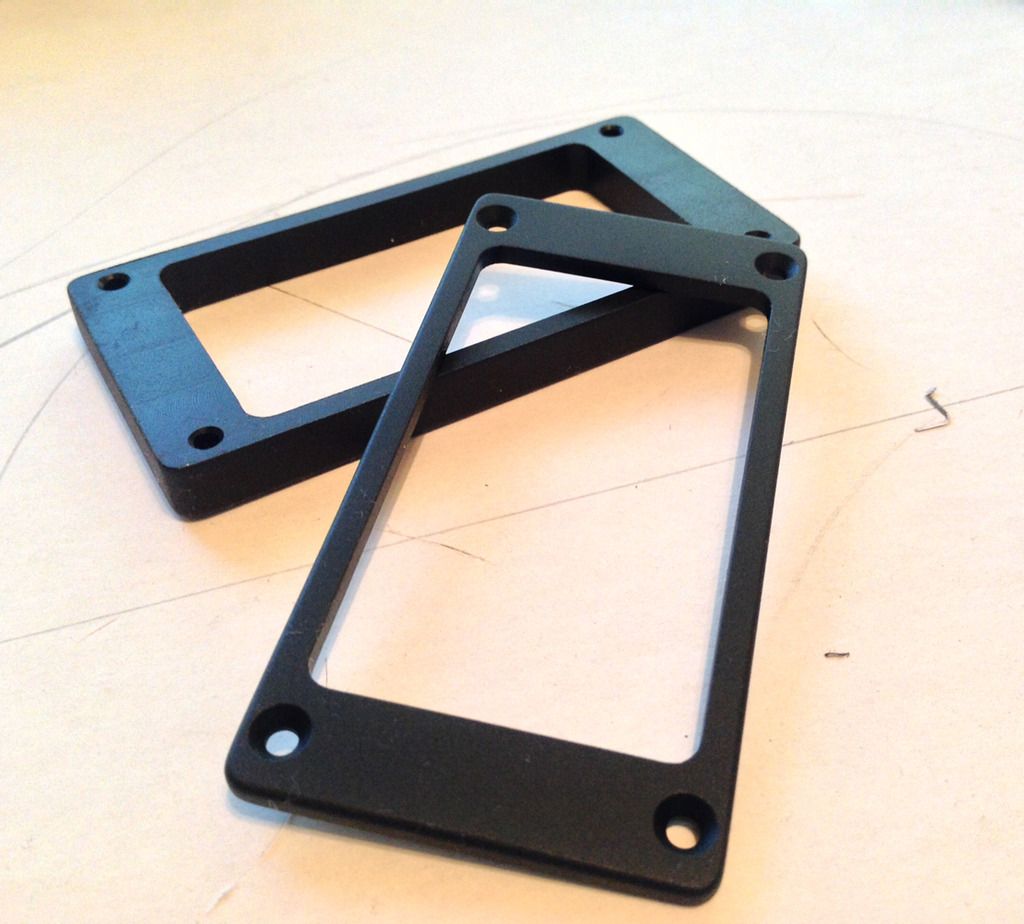
I noticed after I removed the original ring that the new one was about 1/16" taller all around and the two and one adjustment holes were reversed. Oh boy, I thought this was going to be a problem. Nope, and it alerted me to the fact that the pickup was way off height-wise this whole time.
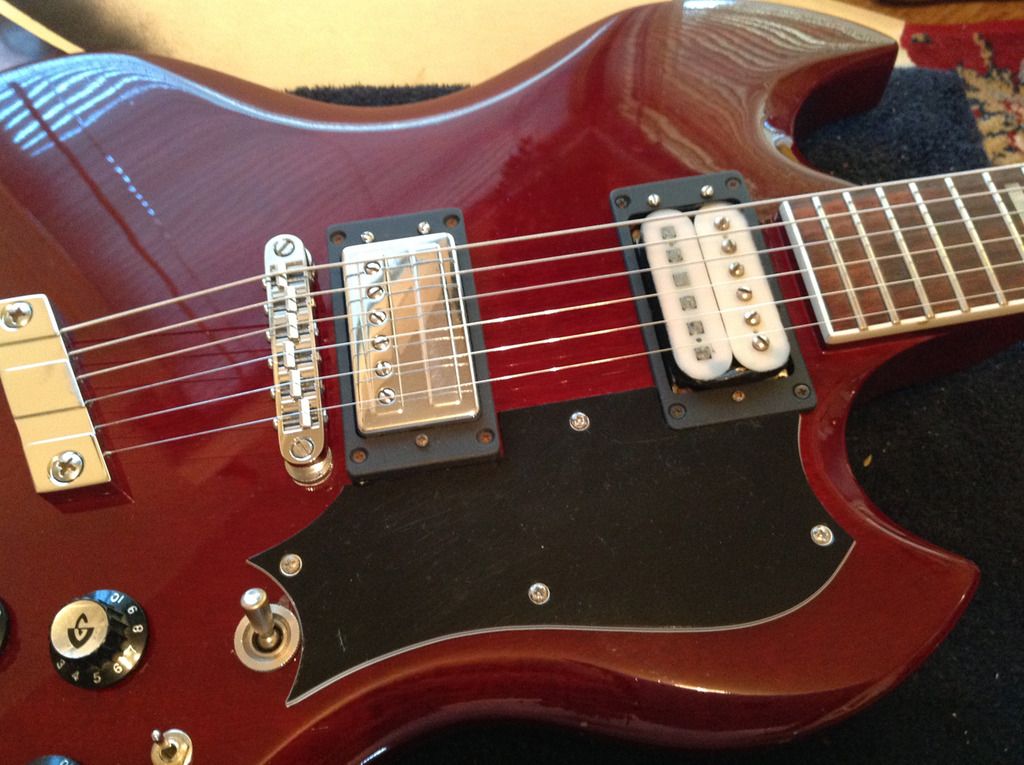
I did a little comparo with my other guitars to get a feel for how much distance is supposed to be between the strings and the top of the screws. All of my others are approx. 1/8" untouched and 1/16" when pressed down on the fingerboard. This is on the bass side. The treble side is a hair less. I followed this rule of thumb while setting up the Guild and holy crap - what a difference. Not only was the original ring lower in profile, but the pickup was cranked all the way down in it - just about flush with the top of the ring. Not anymore and what a difference in tone quality. This was one of the best mods, besides converting back to the one piece bridge base that I've done so far. As far as the two and one adjuster screws being reversed, both feet have the two needed holes (actually 3 as mentioned earllier for Gibson style rings) so it doesn't make a difference. I remember Hans addressing this issue in another thread so alls well that ends well.

*** "The Fender-designed humbuckers were made so that the tilt-adjustment screws could be on either side; they may have turned the mounting ring 180 degrees. It could be a bridge humbucker though, but the real proof is in the pole piece spacing.

Sincerely,

Hans Moust" ***

On another note, I was suprised at how weighty these pups are. I had no idea.
Here is a pic of when I first removed the pup with the original ring. Like was mentioned, not a lot of slack to work with but very doable none the less.

 
Last edited:

TVeye

Member
Joined
Oct 23, 2014
Messages
335
Reaction score
5
I just checked out the web site and I am intrigued. When all is said and done then please post more about what you were working to accomplish and your experience with him and the rings you had made.

Here's the second set I had made (undrilled, obviously.)

Rings1_zpsglk4velm.jpg


And here was the purpose......

HB-1s1_zpsm9ykx1b2.jpg


Dave is very professional and easy to deal with. It's just him though so, be patient or look somewhere else.
He told me no gloss material is available to him and these are too small to polish. I don't mind the matt finish
and they are very well made. http://www.fretsonthenet.com/

Mike_
 

DThomasC

Senior Member
Joined
Oct 10, 2014
Messages
1,283
Reaction score
187
Location
Finger Lakes, New York, USA
They are nice. I'd looked at fretsonthenet.com before. I was considering having him make rings so that I could mount HB1's on a Nightbird. I had assumed that if I sent him a drawing with precise dimensions he could drill all the holes for me.

I don't know what the material is, but it doesn't look difficult to polish and buff by hand with sandpaper and polishing compound.

In the end, didn't order rings because I discovered the rings used to mount the EMG's from hell would work as-is. In fact, the guitar was routed for HB-1's! :glee:
 

The Anal Finn

Junior Member
Joined
Feb 1, 2014
Messages
70
Reaction score
0
Location
Scranton, PA
I'm thinking of replacing the SD1's in my 97 Starfire IV with boutique pups. Will these rings work with SD1's?
 

txbumper57

Enlightened Member
Joined
Sep 6, 2014
Messages
7,591
Reaction score
83
Location
Texas
I was really hoping someone could answer if these rings will work with SD1's.

Hey Finn, Sorry but i just noticed your question. If you are referring to the pickup rings in the first Post that I put on my SFV and have part numbers listed on then the answer is no, They will not fit the SD1 humbuckers. They are for the Standard sized humbuckers to replace the smaller Fender HB1's. The SD1's should have the same dimensions as the original HB1's from the 70's. Those are fatter than the Fender HB1's and will not fit a standard ring. There has been a seller on ebay recently selling cream colored SD1 rings from the early 90's as NOS for $10-$15 a ring. Problem is that once they are listed they don't last long. You can check with Hans Moust and see if he has any extras, Also I believe TVeye just had a set made and can direct you towards where that was and how much they cost. Hope this helps!:rugby:
 

TVeye

Member
Joined
Oct 23, 2014
Messages
335
Reaction score
5
Hi, not sure I understand the question. You say you want to replace the SD-1's with other pickups then ask if "these rings" will work with SD-1's.
Your SD-1 rings will work with another pickup. All you need to do is drill one hole in the center of the two hole side. Other rings will work but, at least 2 of
the mounting holes in the body will not line up as "other rings" are smaller. Hope this helps, feel free to clarify.

Mike_
 

The Anal Finn

Junior Member
Joined
Feb 1, 2014
Messages
70
Reaction score
0
Location
Scranton, PA
I'm sorry, my question was phrased poorly and thanks for getting back to me. I'm thinking of installing a set of Electric City pickups in my Starfire IV that currently has SD1's. I was hoping to find rings that would fit the new pickups without the need to drill holes. I don't have experience with these matters, (I'm fairly new to playing electric), but the rings currently around the SD1's will work with the new pickups even though SD1's are larger than standard pickups?
 

TVeye

Member
Joined
Oct 23, 2014
Messages
335
Reaction score
5
Yes, there will only be a slightly larger gap and the need for a single hole between the 2 existing holes.
You could also have a set made (like I did.....see previous page) and have them drilled to 2 adjuster hole specs.
Thinking now that's what you meant originally.
 
Top