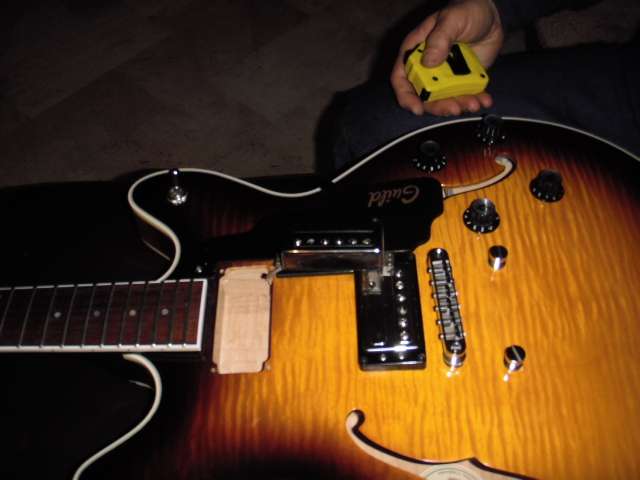
I purchased a new set of Duncans to put in my Corona SFIV. I researched here to find out how to swap them out. The answer is spread thru several threads so I thought I would document what I did. I was nervous because I have no experience at this, but it is an easy procedure. Guild Snobs already know all of this stuff - I only post for those of us less qualified.
At some point Fender/Guild abandoned their HB1 pickups and started putting conventional size pickups in the Starfires. Guild cleverly used a 3 point suspension system with their pickups that was carried over with the new pickups, where as Gibson (and lot's more) used a 2 point suspension system to mount the pickups to the rings. In order to use the three point mounting system, Guild had the pickups manufactured with an 11/16's wide tab drilled with three holes. Duncan pickups have a 1/2 inch tab drilled with one hole.
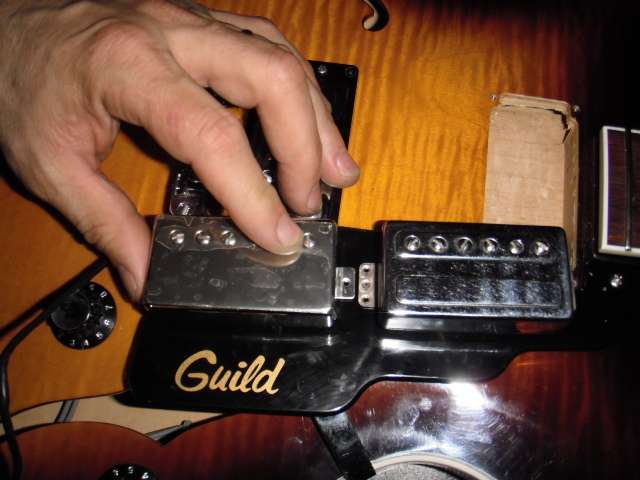
In order to use the Guild 3 point rings, the Duncan pick up needs an extension added to one side of the pickup. Confused? So was I. I had to read it all several times.The following pictures will clear it all up. I am no picture guy as evidenced by the blur below. It took me quite a while to figure out I needed to use the flower function to get the focus right.
Here I have unscrewed the four mounting screws holding the neck ring to the body. I have also disassembled the three adjustment screws and springs from the ring and separated the ring from the pickup. Be careful not to let the springs get away from you.
Here we see the difference between the two pickup tabs. The Guild tab is 11/16's wide. The Duncan is 8/16's.
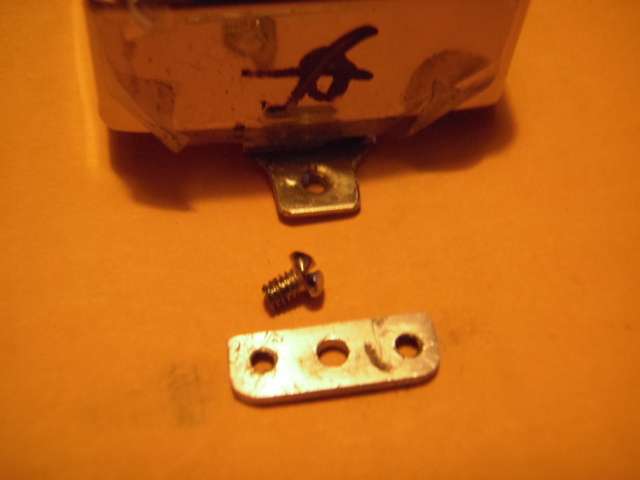
The Duncan pickups come with springs and screws. We need the screws, but keep the springs in case one of your originals flies into orbit. Should this happen, use one of your remaining Guild springs as a template and cut the Duncan spring down to match the stock length.

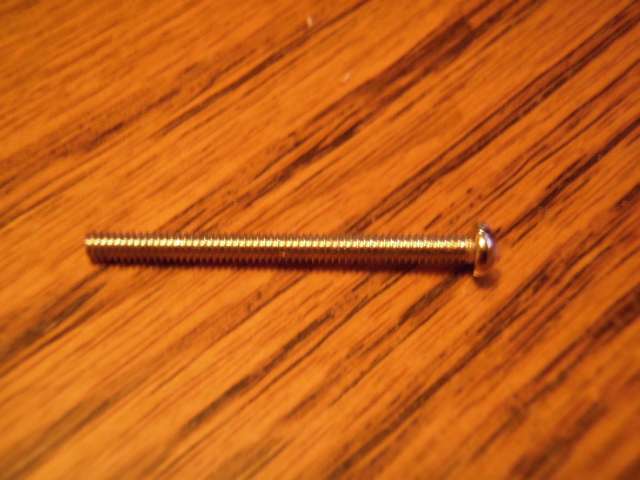
Here is a Duncan supplied screw. We will need him soon.
We need to build a tab that can be screwed onto the new pickup that will have an extended length such that the Guild adjustment screws can be threaded into it. The following picture shows the new tab, the Duncan cut down screw, and the Duncan tab narrowed to 5/16". This has to be done to provide clearance for the Guild adjustment screws. This tab is 11/16", but it could be wider there is plenty of room in the cavity. We just tried to keep it close to stay away from unforeseen problems. There are none with respect to this dimension.
The tab on the Duncan is around .040 thick. We chose a piece of metal around .070 thick. This assured us of adequate thread for the Guild adjustment screws. We did not run into any problems with the screws - the screw thread pitch was the same on both pickups.
Here the tab has been assembled onto the Duncan pickup with a cut down Duncan screw. The center hole of the tab is thru drilled. The two outside adjustment screws are threaded. Here you can see the narrowed Duncan tab relative to the two outside holes. Looks like we did not have to narrow the tab as much as we did.
Guild ring assembled to the Duncan pickup using our surrogate tab.
Duncan on left. Guild on right. I did not measure the hole positions. I just put a white piece of paper under the guild pickup and using a red pencil marked the three holes onto the paper. We then transferred the three dots onto the tab for drilling and tapping - close enough.
Thanks to all who previously posted on this subject - I would have just taken it to the Luthier, but that could bring it's own set of problems,compromises, and/or extra expense. This way I have easily preserved the Guild mounting system without modifying the rings - cool.
Next week I can have them installed - cooler. 8)
Pearly Gates
At some point Fender/Guild abandoned their HB1 pickups and started putting conventional size pickups in the Starfires. Guild cleverly used a 3 point suspension system with their pickups that was carried over with the new pickups, where as Gibson (and lot's more) used a 2 point suspension system to mount the pickups to the rings. In order to use the three point mounting system, Guild had the pickups manufactured with an 11/16's wide tab drilled with three holes. Duncan pickups have a 1/2 inch tab drilled with one hole.
In order to use the Guild 3 point rings, the Duncan pick up needs an extension added to one side of the pickup. Confused? So was I. I had to read it all several times.The following pictures will clear it all up. I am no picture guy as evidenced by the blur below. It took me quite a while to figure out I needed to use the flower function to get the focus right.
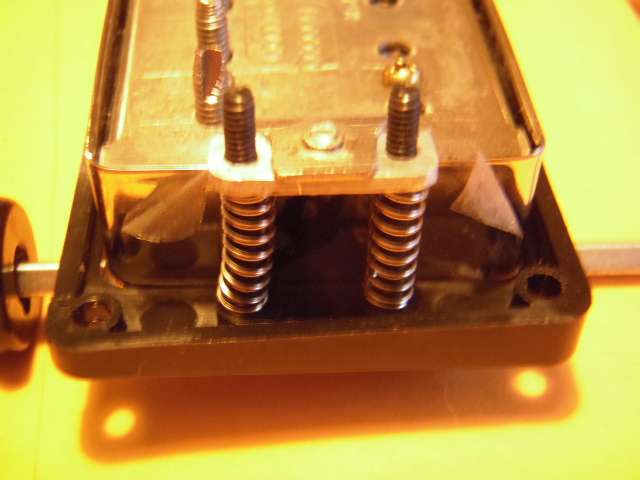
Here I have unscrewed the four mounting screws holding the neck ring to the body. I have also disassembled the three adjustment screws and springs from the ring and separated the ring from the pickup. Be careful not to let the springs get away from you.

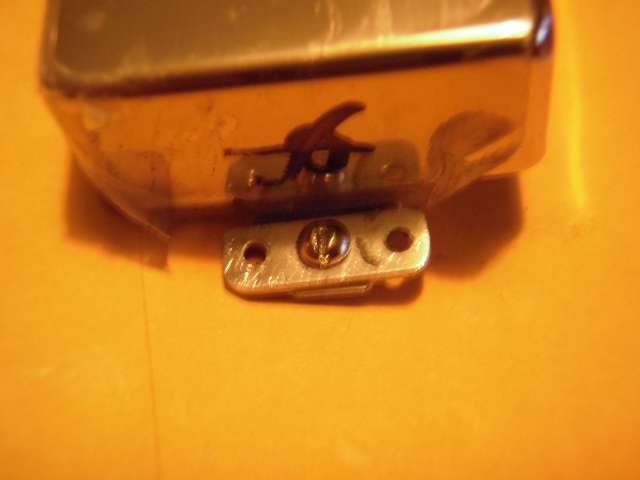
Here we see the difference between the two pickup tabs. The Guild tab is 11/16's wide. The Duncan is 8/16's.

The Duncan pickups come with springs and screws. We need the screws, but keep the springs in case one of your originals flies into orbit. Should this happen, use one of your remaining Guild springs as a template and cut the Duncan spring down to match the stock length.

Here is a Duncan supplied screw. We will need him soon.

We need to build a tab that can be screwed onto the new pickup that will have an extended length such that the Guild adjustment screws can be threaded into it. The following picture shows the new tab, the Duncan cut down screw, and the Duncan tab narrowed to 5/16". This has to be done to provide clearance for the Guild adjustment screws. This tab is 11/16", but it could be wider there is plenty of room in the cavity. We just tried to keep it close to stay away from unforeseen problems. There are none with respect to this dimension.
The tab on the Duncan is around .040 thick. We chose a piece of metal around .070 thick. This assured us of adequate thread for the Guild adjustment screws. We did not run into any problems with the screws - the screw thread pitch was the same on both pickups.

Here the tab has been assembled onto the Duncan pickup with a cut down Duncan screw. The center hole of the tab is thru drilled. The two outside adjustment screws are threaded. Here you can see the narrowed Duncan tab relative to the two outside holes. Looks like we did not have to narrow the tab as much as we did.

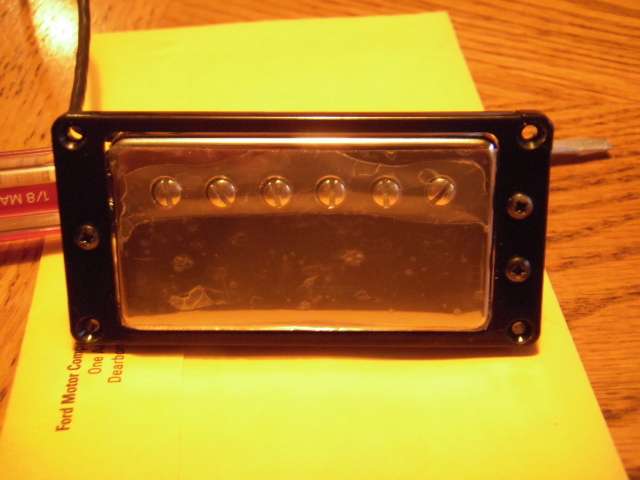
Guild ring assembled to the Duncan pickup using our surrogate tab.


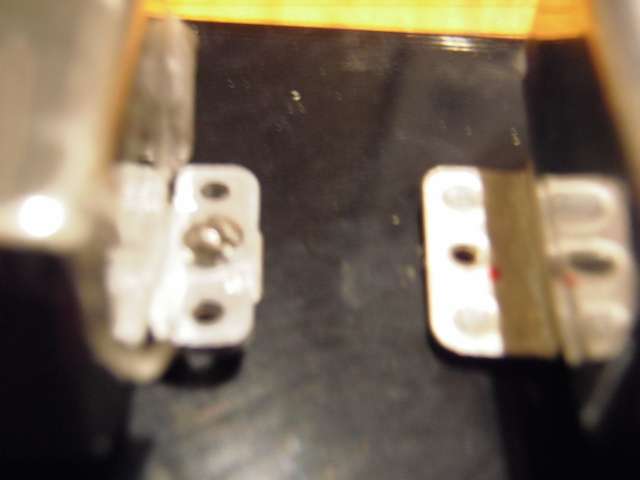
Duncan on left. Guild on right. I did not measure the hole positions. I just put a white piece of paper under the guild pickup and using a red pencil marked the three holes onto the paper. We then transferred the three dots onto the tab for drilling and tapping - close enough.

Thanks to all who previously posted on this subject - I would have just taken it to the Luthier, but that could bring it's own set of problems,compromises, and/or extra expense. This way I have easily preserved the Guild mounting system without modifying the rings - cool.
Next week I can have them installed - cooler. 8)
Pearly Gates
 You're going to be so happy..... Steffan