Another project!

SFIV1967

Venerated Member
Joined
Nov 20, 2010
Messages
18,531
Reaction score
9,078
Location
Bavaria / Germany
Guild Total
8
Are you saying you only painted the back of that pickguard? Not the top?
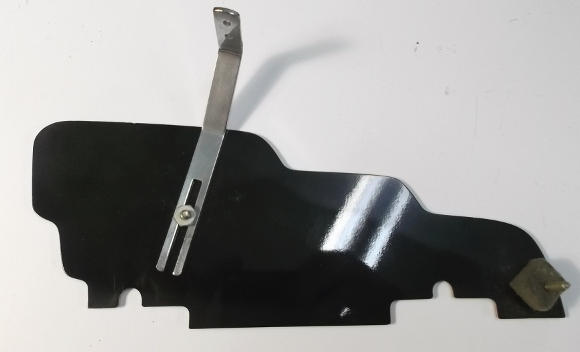
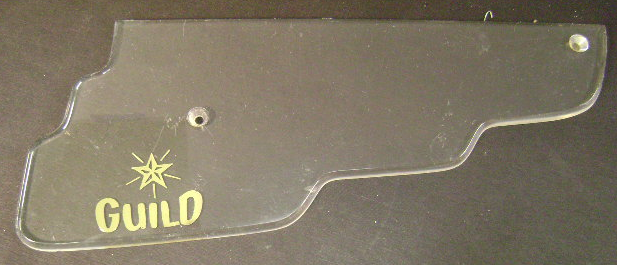
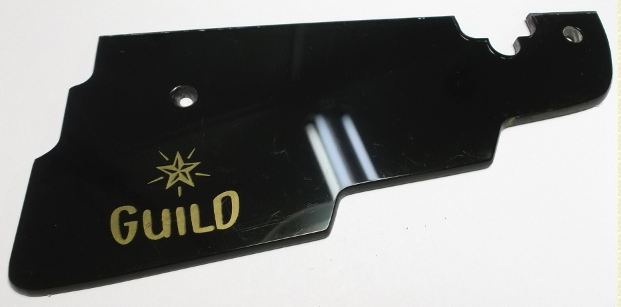
That is the way how the Guild pickguards are done!
The gold script and/ or frame is done first from the back and the black goes on top! If you would spray black on both sides you never would see the gold again!
1670188452990.png

1670188489324.png

And the tape protects that you scratch through the black:
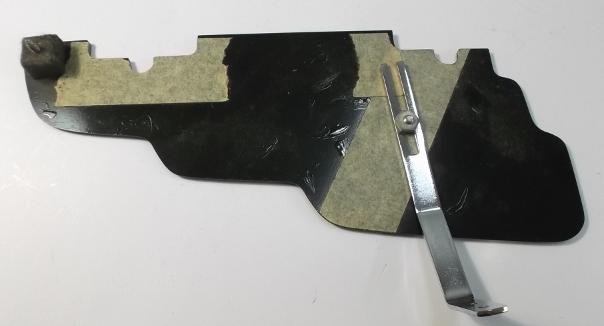
1670188596803.png

That would be not good:

1670188676967.png

Ralf
 
Last edited:

walrus

Reverential Member
Gold Supporting
Joined
Dec 23, 2006
Messages
24,125
Reaction score
8,213
Location
Massachusetts
Thanks Ralf! I always thought the gold "Guild" was done last. Clearly, I should have looked closer, although I always took them off immediately and stored them away.

walrus
 

BradHK

Senior Member
Joined
Jul 1, 2014
Messages
1,084
Reaction score
2,806
Are you saying you only painted the back of that pickguard? Not the top?

walrus
Yes. The edges are slightly rounded and polished like the top and the logos and black goes on the back. It gives it a nice deep look.

Edit: sorry…missed the post above already answering this question!
 

mavuser

Enlightened Member
Joined
Sep 15, 2010
Messages
8,278
Reaction score
2,789
Location
New York
I have Franz, anti-hum, DeArmonds, Mickey mouse and HB1 pickups in other Guilds but this will be my first Guild with this pickup. Can’t wait!

this one has come to be known as a "Todd" pickup (wound by Todd, built out by Guild) aka the "Ploara" pickups. fantastic pickup.

amazing work you have done! enjoy the Freshman
 

The Guilds of Grot

Enlightened Member
Joined
Oct 10, 2006
Messages
9,615
Reaction score
4,833
Location
New Jersey Shore
Guild Total
117
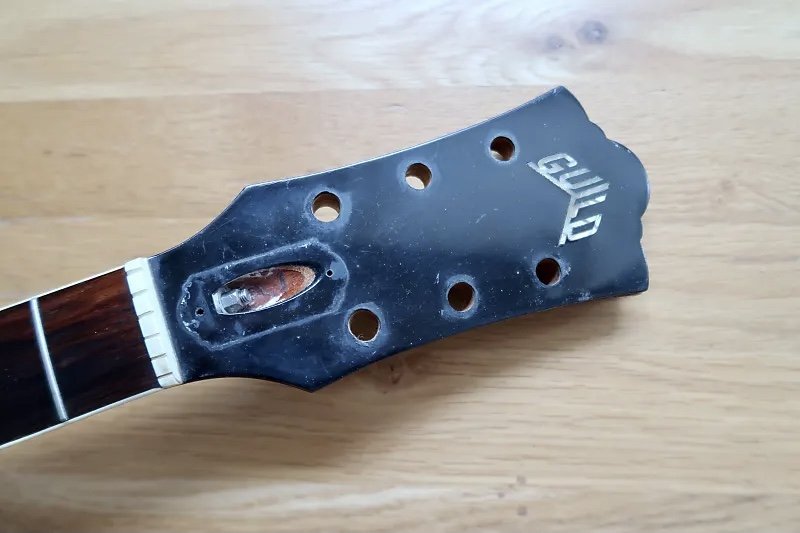
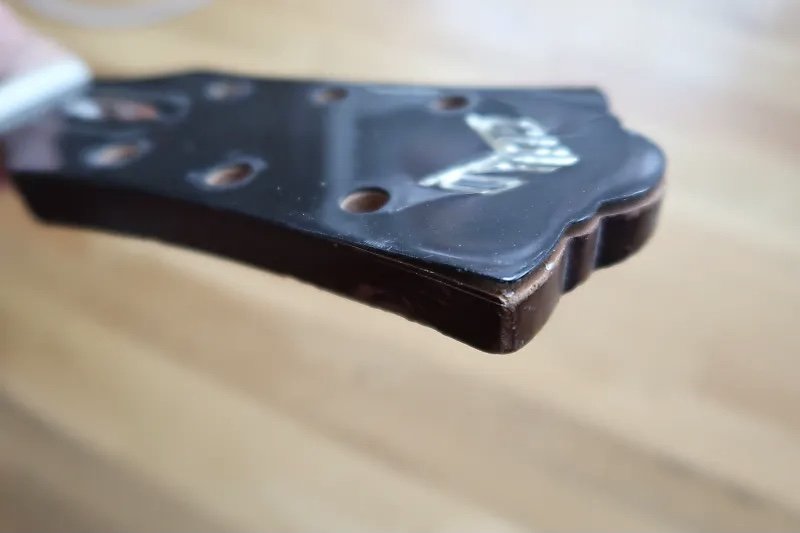
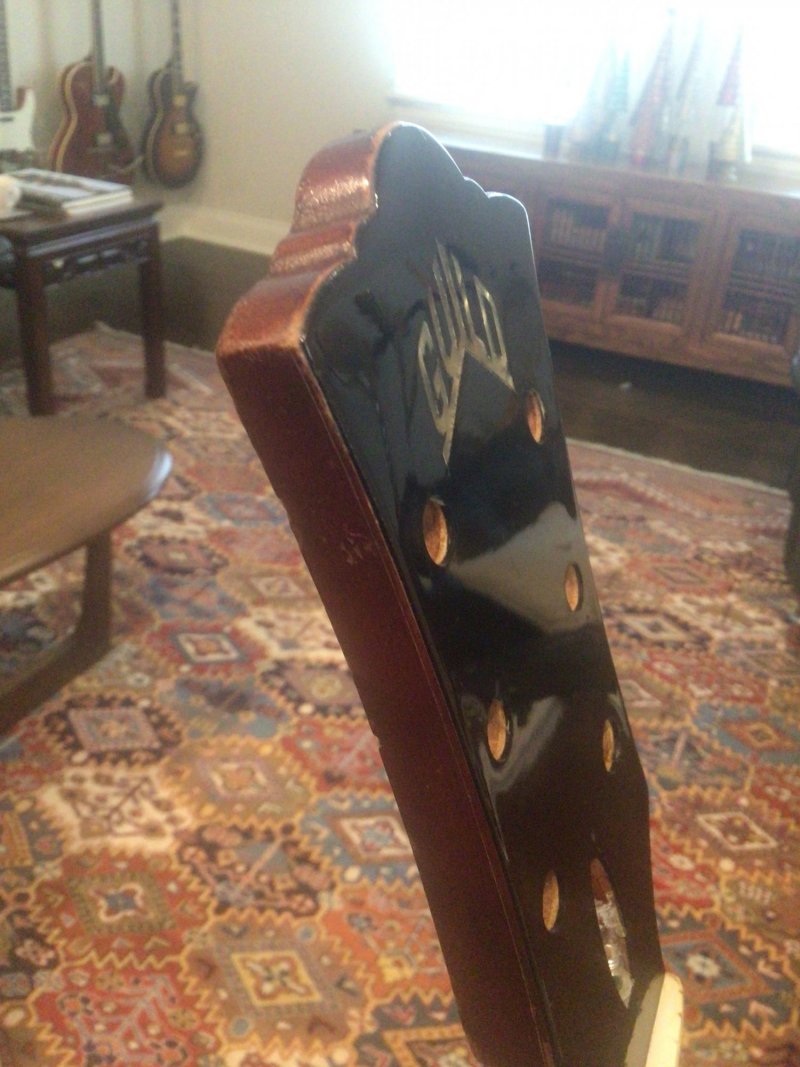
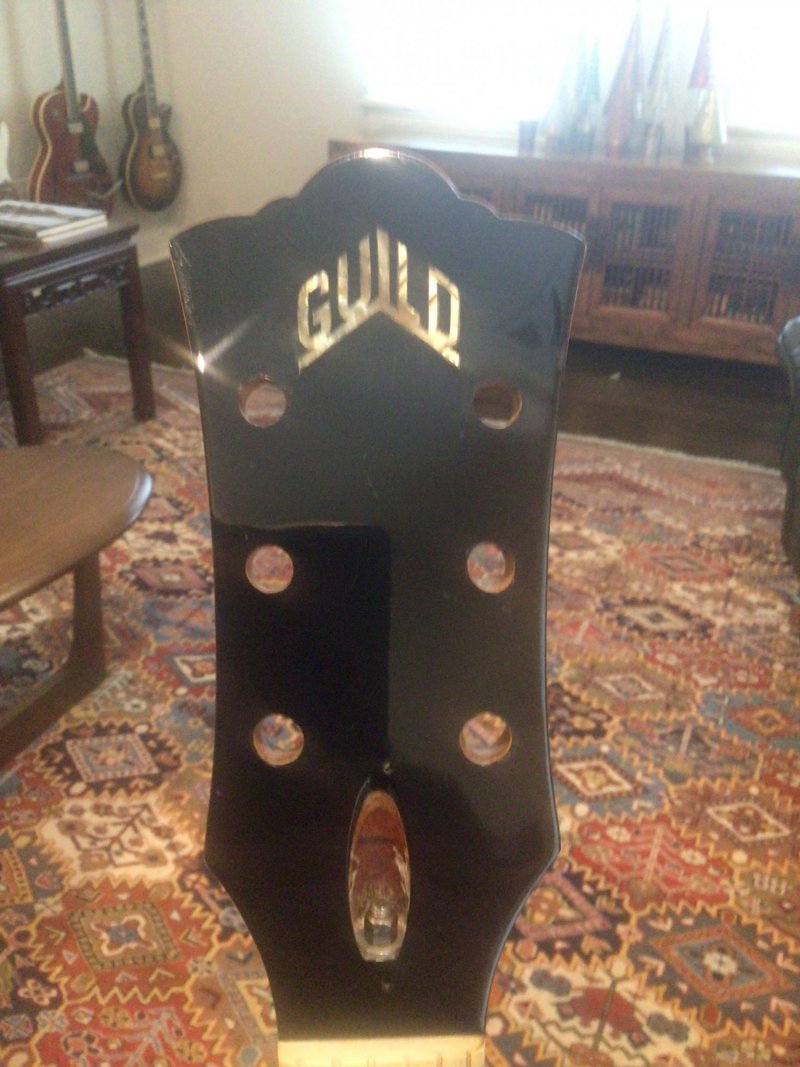
Ok, this update is not that exciting but it is something most of us have dealt with on vintage Guilds. Plastic headstock veneer shrinkage and peeling away from the headstock. This guitar does not have really bad shrinkage but it was peeling
away and warped. This is what it looked like when I received the guitar:

1669568004648.jpeg

1669568195104.jpeg

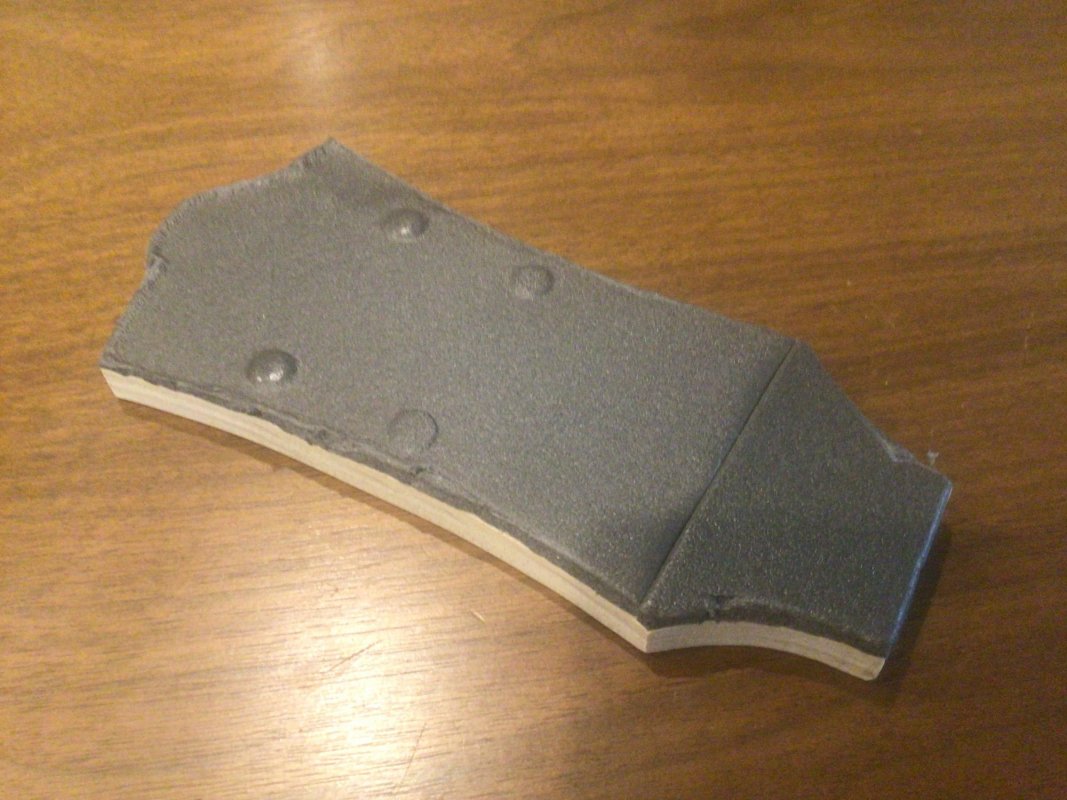
While everything was apart I figured I would address this item. I made a wooden caul the shape of the headstock, installed a thin layer of closed call foam on one side to protect the finish, then got out the fish glue and clamps. A little clean up and polish and now it is ready for tuners.

caul:

1669568469536.jpeg

results:

1669568529127.jpeg

1669568576956.jpeg

Why go though the effort of shaping the caul like the headstock? Seems a simple rectangle would work just as well to distribute even pressure.
 

BradHK

Senior Member
Joined
Jul 1, 2014
Messages
1,084
Reaction score
2,806
Why go though the effort of shaping the caul like the headstock? Seems a simple rectangle would work just as well to distribute even pressure.
My rational (which could be faulty!) was that it gave me full access around the edge to clean off any fish glue that squeezed out before it cured. It worked pretty good and no glue removal was required after it dried.
 

BradHK

Senior Member
Joined
Jul 1, 2014
Messages
1,084
Reaction score
2,806
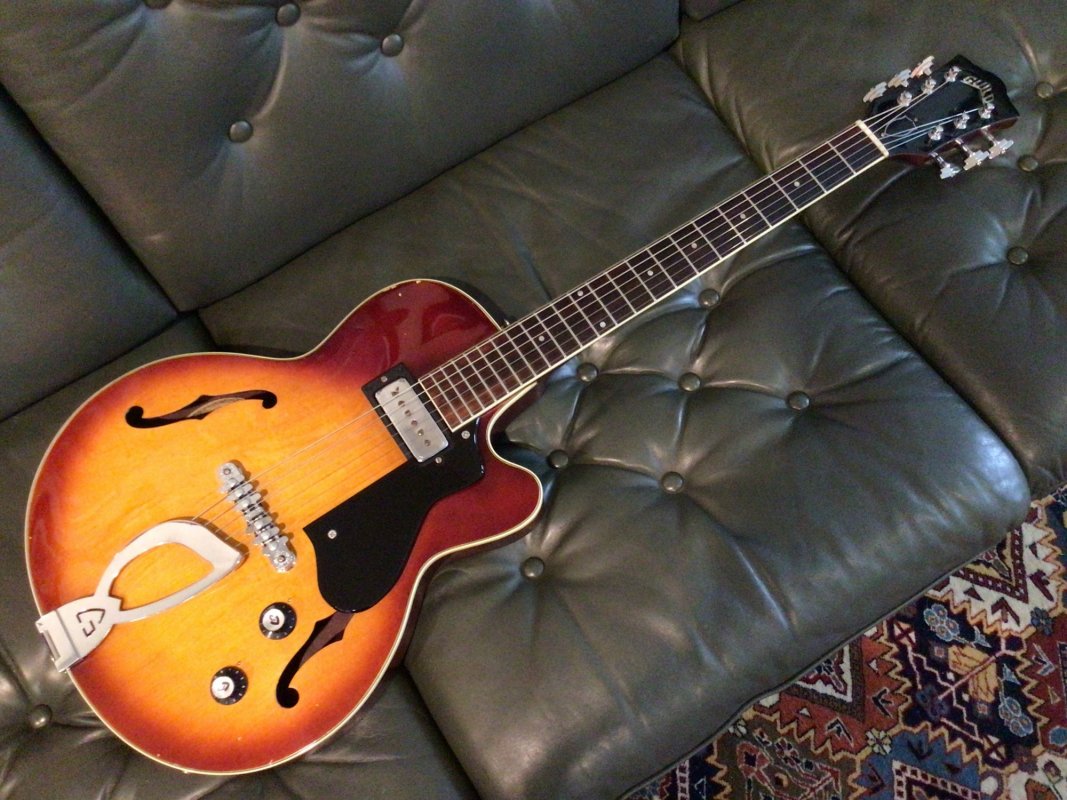
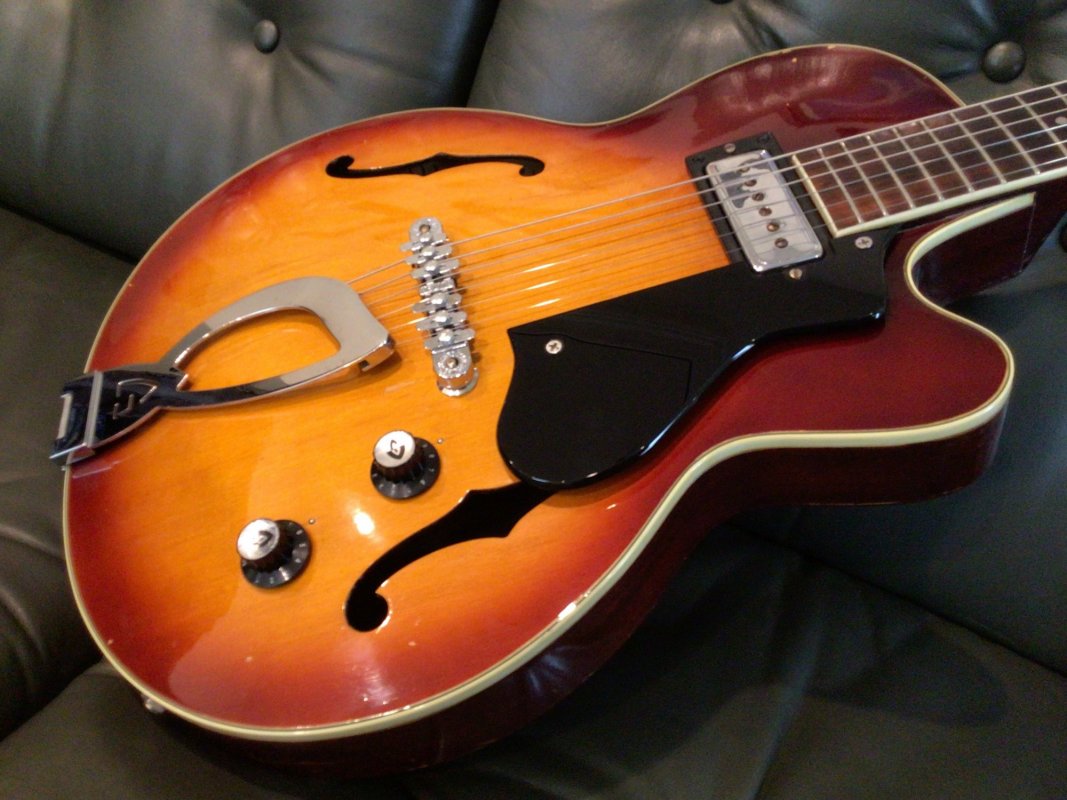
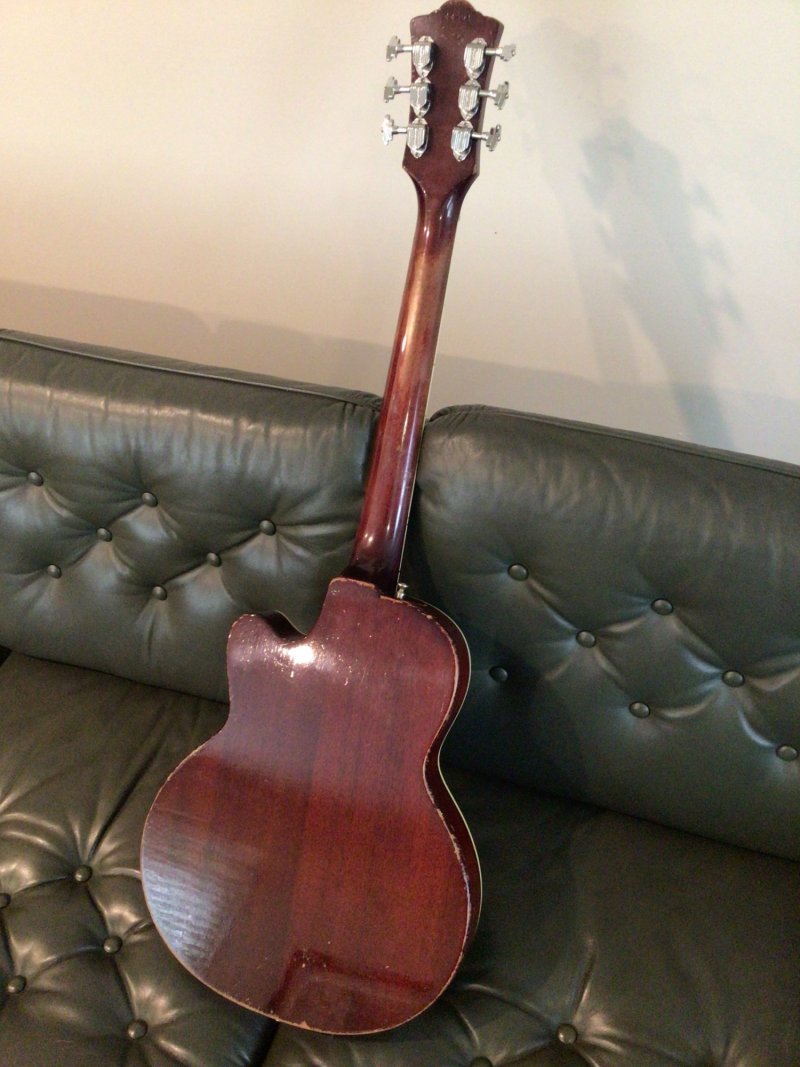
The guitar is back alive! I made and installed the wiring harness last night and then spent this morning polishing the frets, getting everything adjusted and playing it a while. You never know what problems you are going to run into when you buy just an old body that had been parted out and sometimes issues don’t come to light until you get it back up and playing. Other than needing to adjust the action at the nut I ran into no surprises. No buzzing on any frets and I was able to adjust the action very low (0.025 on the treble and 0.030 on the bass) with 11s.

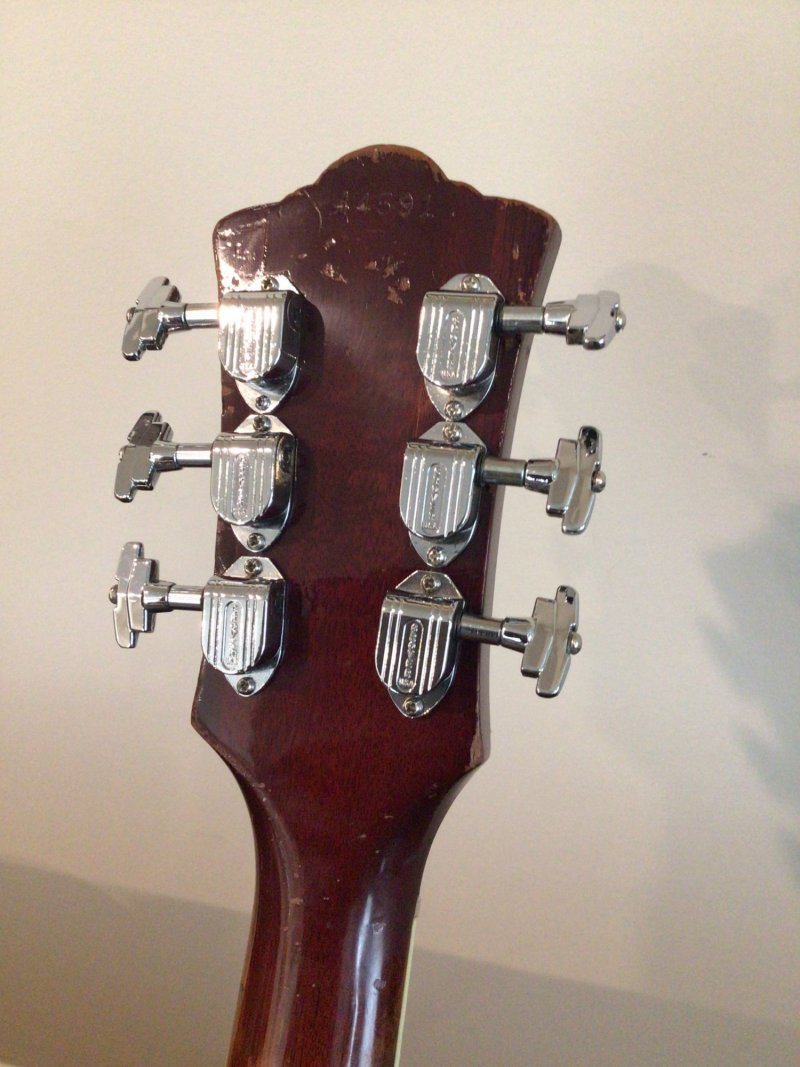
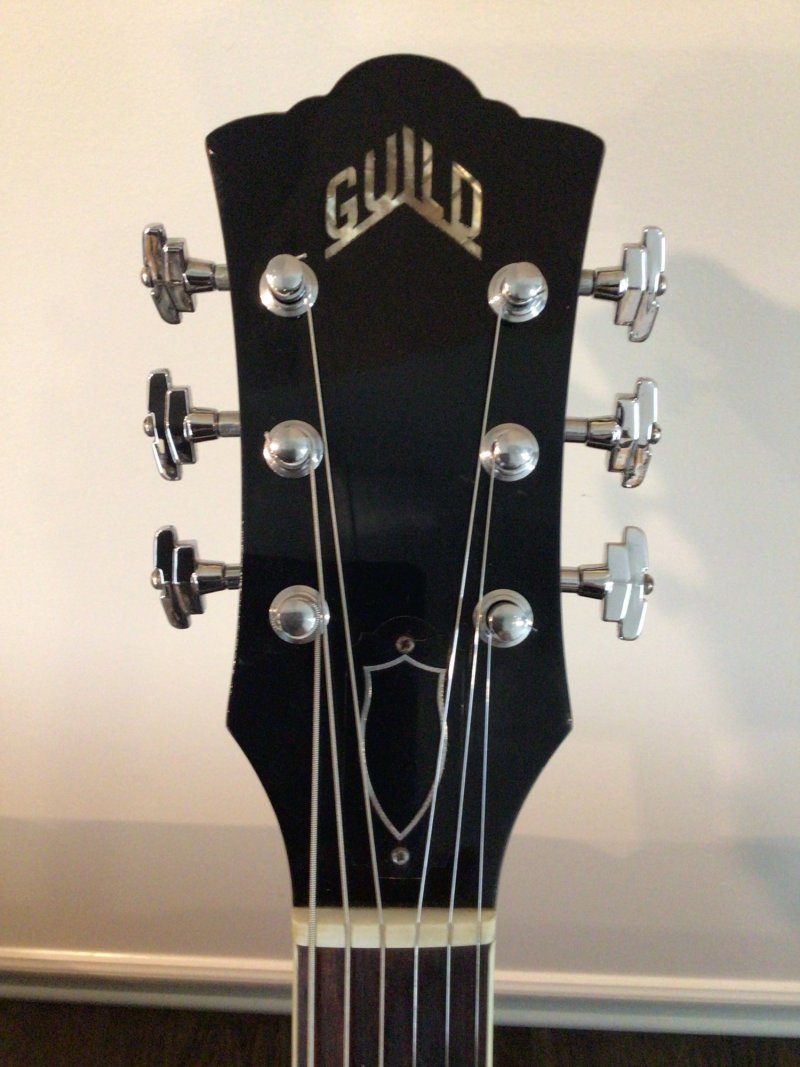
I used parts from my parts box so it is a little bit of a random collection of parts from the 1960’s but It works. The harp tailpiece is a small hinged chrome one that I think would be from a little later in the 1960’s into the early 1970’s. The bridge is a vintage Melita that Guild offered as an option but it is sitting on the little metal “feet” that are used on the Aristocrats and Freshman. I was going to put the typical wooden saddle on but after playing it today I think I will just stick with the Melida for the time being. The most obvious non-original component is the tuners. The guitar had been drilled out for modern tuners and had a few sets of extra holes on the back of the headstock. I tried strip tuners with no luck and then tried a set that did a great job covering the extra holes, had press in bushings, but still worked with the larger tuner holes. Grover Imperials! It is kind of funny to see a “student” guitar with Imperial tuners. I will be switching the tuner buttons out for the normal Grover buttons but I thought I would take the photos with the Imperial buttons. It almost works, almost, as everything is chrome and the hinged harp tailpiece, the Melita bridge and the tuners all have a kind of art deco look. I think the tuners weigh more than the guitar body!

I have two 1960’s M-65 guitars. This one and a 1969 with a Mickey Mouse pickup (it is interesting that this guitar has fretboard binding but no chesterfield and my other one has a chesterfield but no fretboard binding). Not sure if it is the guitar or other parts effecting the sound but I like this pickup in this guitar better. It sounds more full but very airy at the same time. I am really pleased as this is my first Guild with the frequency tested pickup. I put in 500k pots with a .022 cap. Not much effect from the cap so I might go up to a .047 at some time.

photos:

1670690545315.jpeg

1670690583747.jpeg

1670690628449.jpeg

1670690674490.jpeg

1670690716642.jpeg
 

hearth_man

Member
Gold Supporting
Joined
Dec 30, 2008
Messages
485
Reaction score
454
Location
Eastern, PA
I really like the look of the hinged harp tailpiece which is very similar in size to a full sized harp tailpiece. I have seen M-65s with the small harp tailpiece, full sized tailpiece as well as the hinged tailpiece you installed. My '64 came with a full sized tailpiece but I purchased a small tailpiece thinking it was more appropriate, like on an M-75. But I didn't like the look and kept the original full sized tailpiece.
 
Top