Another project!

BradHK

Senior Member
Joined
Jul 1, 2014
Messages
1,084
Reaction score
2,806
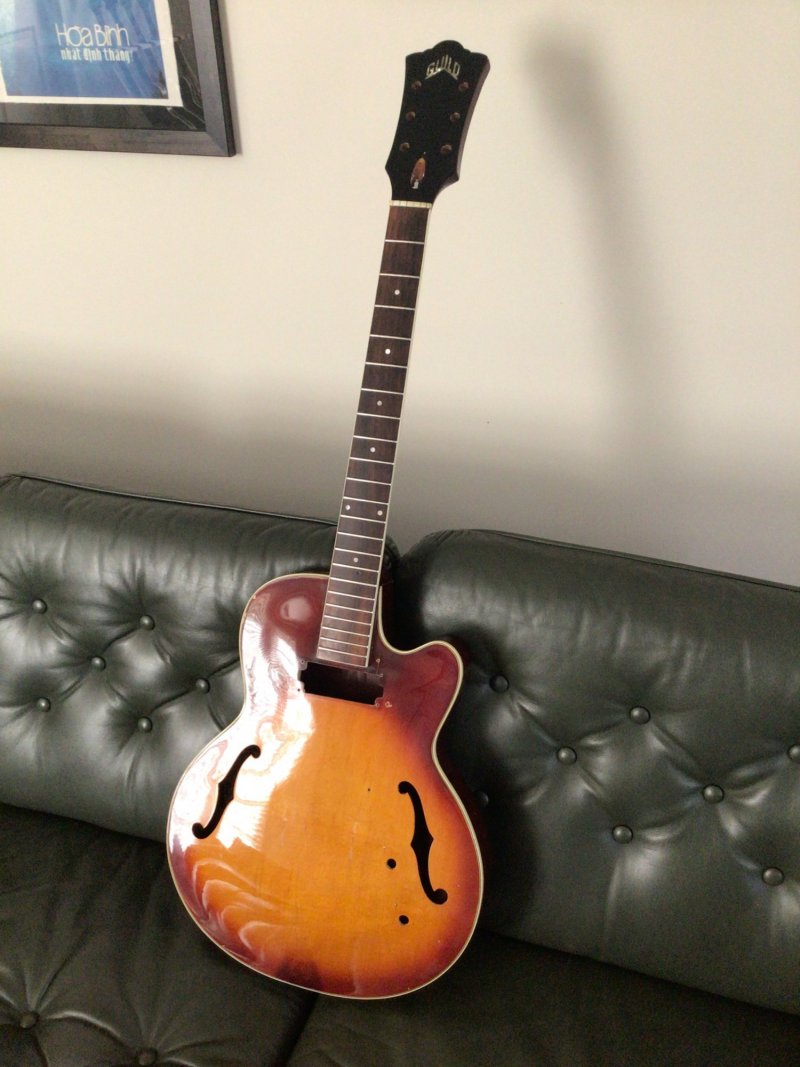
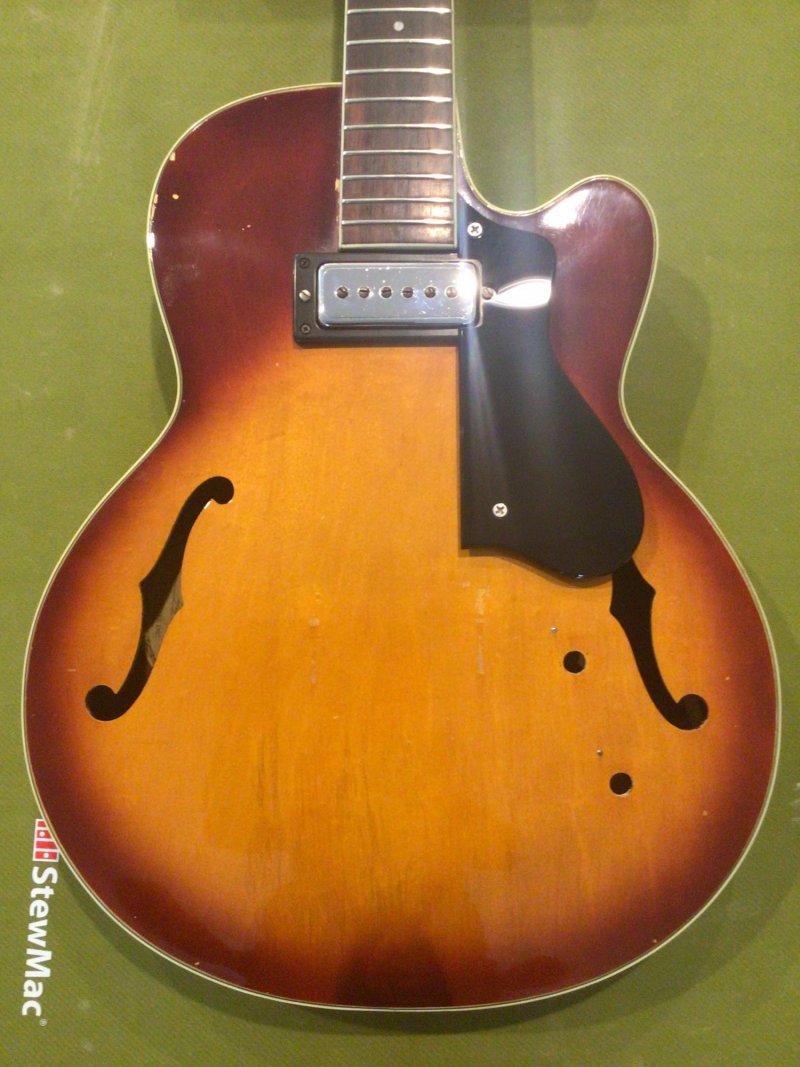
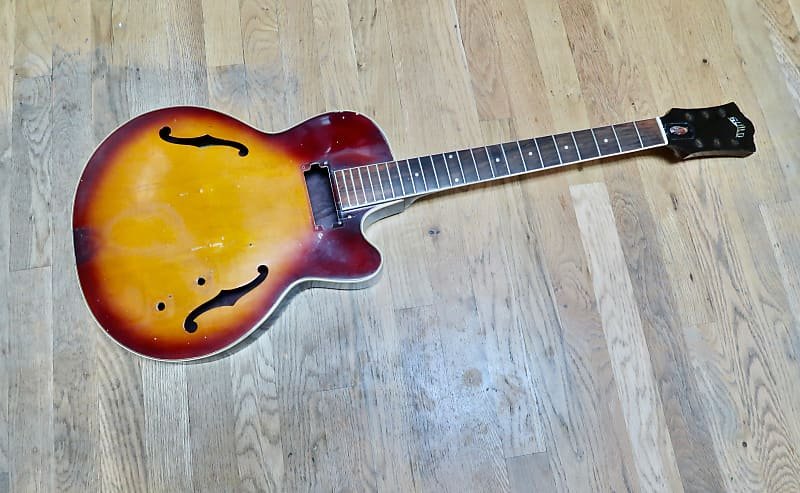
Ok, I just finished one project Guild today and I just bought another one! And I have another project Guild halfway done. I just can’t help myself when I see a cool old Guilds in need of being brought back to life. I need to stay off Reverb. I purchased a stripped body of a 1964 M-65 full scale with a 1 11/16” nut. Should be a fun project. I have all of the needed parts in my spare parts collection so it should be relatively easy to bring this back to life. More to come…
1668290141507.jpeg
 

GGJaguar

Reverential Member
Joined
Jan 17, 2011
Messages
22,312
Reaction score
32,820
Location
Skylands
Guild Total
50
Wow, you sure do love projects! :)
Looking forward to the adventure with this one.
 

BradHK

Senior Member
Joined
Jul 1, 2014
Messages
1,084
Reaction score
2,806
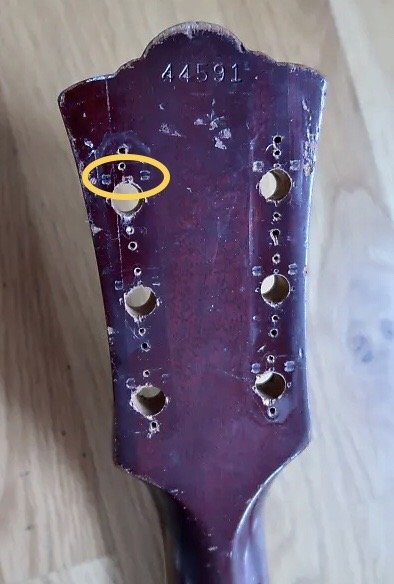
Trying to determine the year of this body as the serial number is in that transition area in the mid-1960’s. The serial number is 44591. I am also trying to determine what original tuners would have been on this guitar from the factory. Obviously somebody removed the original tuners and drilled out the holes for newer style tuners. The originals would have been three-on-a-strip based on the outline in the finish. The shape looks like Kluson but it has the two little indentions in the headstock above each hole that are usually present from open back tuners that have the two rivets. I don’t see the typical outline of the Japanese strip tuners Guild started using in 1966 or so. Below are some photos. The answer is probably in Hans’ book but mine is not handy currently. I would like to put on some three-on-a-plate tuners to cover the extra holes (definitely not the Japanese tuners Guild used) or if I can find individual tuners that are large enough to cover the extra holes. I know it is picky but I just hate seeing extra holes when the tuners are installed. Any insight is welcome. Thanks

1668529256667.jpeg

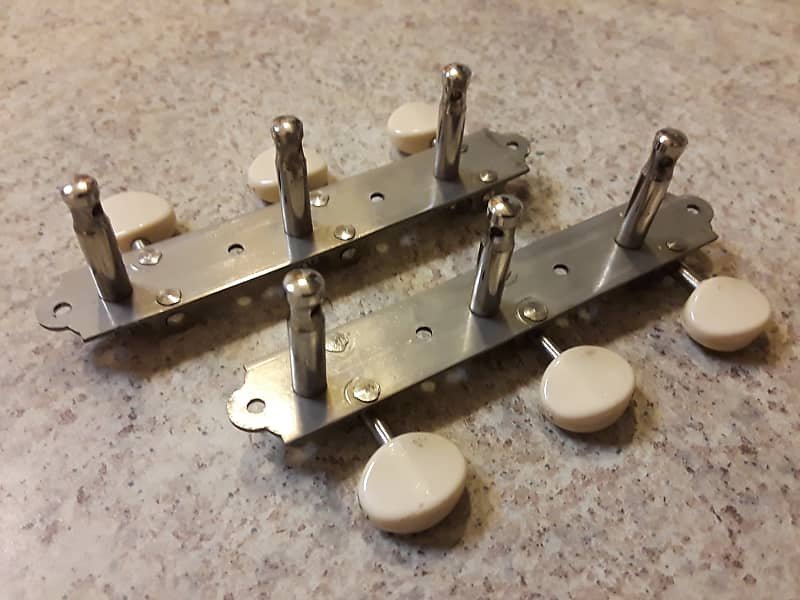
Open back vintage Waverly tuners with these rivets:

1668530534503.jpeg
 

BradHK

Senior Member
Joined
Jul 1, 2014
Messages
1,084
Reaction score
2,806
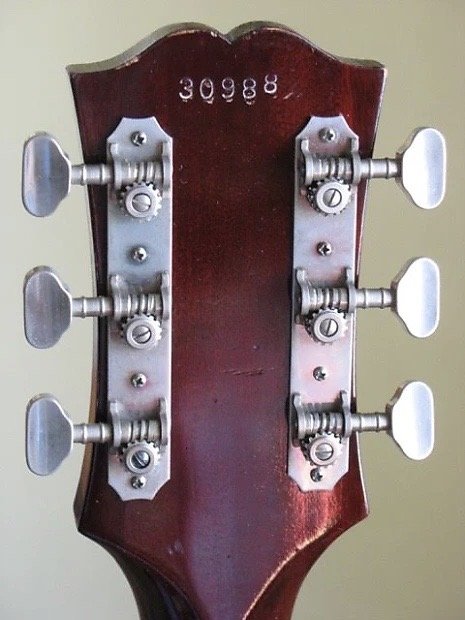
Ok, I found a picture of the tuners that I think came on this guitar. Anybody know who made them? I have a set of vintage 3-on-a-plate tuners that will work but I like keeping my eyes open for original parts. Thanks

1668535972998.jpeg
 

hansmoust

Enlightened Member
Joined
Jun 10, 2005
Messages
9,253
Reaction score
3,628
Location
Netherlands
Ok, I found a picture of the tuners that I think came on this guitar. Anybody know who made them? I have a set of vintage 3-on-a-plate tuners that will work but I like keeping my eyes open for original parts. Thanks

1668535972998.jpeg
Those are Van Ghent (in Holland spelled as Van Gent) tuners and the guitar was completed during the year 1965.

Sincerely,

Hans Moust
www.guitarsgalore.nl
 
Last edited:

Nuuska

Enlightened Member
Joined
Jan 18, 2016
Messages
7,747
Reaction score
6,131
Location
Finland
Guild Total
9
Hello

I have been wrong many times - but those indentions looks squareish - and the rivets on your picture look round - so . . .
 

BradHK

Senior Member
Joined
Jul 1, 2014
Messages
1,084
Reaction score
2,806
It arrived yesterday, I let it acclimate overnight and opened this morning. No shipping issues and no surprises. The nut measures out at just a hair over 1 11/16”, frets look good and I put a straight edge on the fretboard and everything is good and straight. This guitar has seen a good deal of play time so there is definite wear to the finish (mainly back of neck, rub marks from a strap and chips on the back edge of the lower bout) but no abuse and no buckle rash (for some reason I like honest play wear on old guitars but have an issue with buckle rash). Good start!

As you can tell from the photos above from the seller, it was dirty and needed a good cleaning. A damp cloth didn’t even make a dent. I cleaned everything with naphtha then used a polishing compound and then a polish. looks much better now! I have all of the parts to start assembly but I need to make a pickup mounting ring and pickguard. Does anybody have the dimensions for the pickup mounting ring for the Guild single coil chrome pickups used in the early to mid 1960’s? I just need the width, length and height.

Pictures after the cleaning and polish:

1669227820203.jpeg
 

BradHK

Senior Member
Joined
Jul 1, 2014
Messages
1,084
Reaction score
2,806
Well, I hit my first stumble. I tried to test fit the 3-on-a-plate tuners I had in my parts drawer and neither fit. I did some measurements and discovered that the distance between the tuner post holes is greater than the 1 3/8” needed for standard tuners on a plate. Ugh! Either the original Van Ghent tuners had slightly wider spacing or whoever drilled out the original holes for Grover rotomatics didn’t center the new holes properly. They are spaced the same on the left and right side so who knows. Oh well. Looks like I will be putting on individual tuners. I could just put on some Rotomatics (you can see a faint outline of where somebody installed them in the past) but it leaves too many visible holes and marks from the original strip tuners. I have some ideas of vintage tuners with larger backs but I am open for any recommendations that would do a better job covering the old holes and marks. Thanks!
 

hearth_man

Member
Gold Supporting
Joined
Dec 30, 2008
Messages
485
Reaction score
454
Location
Eastern, PA
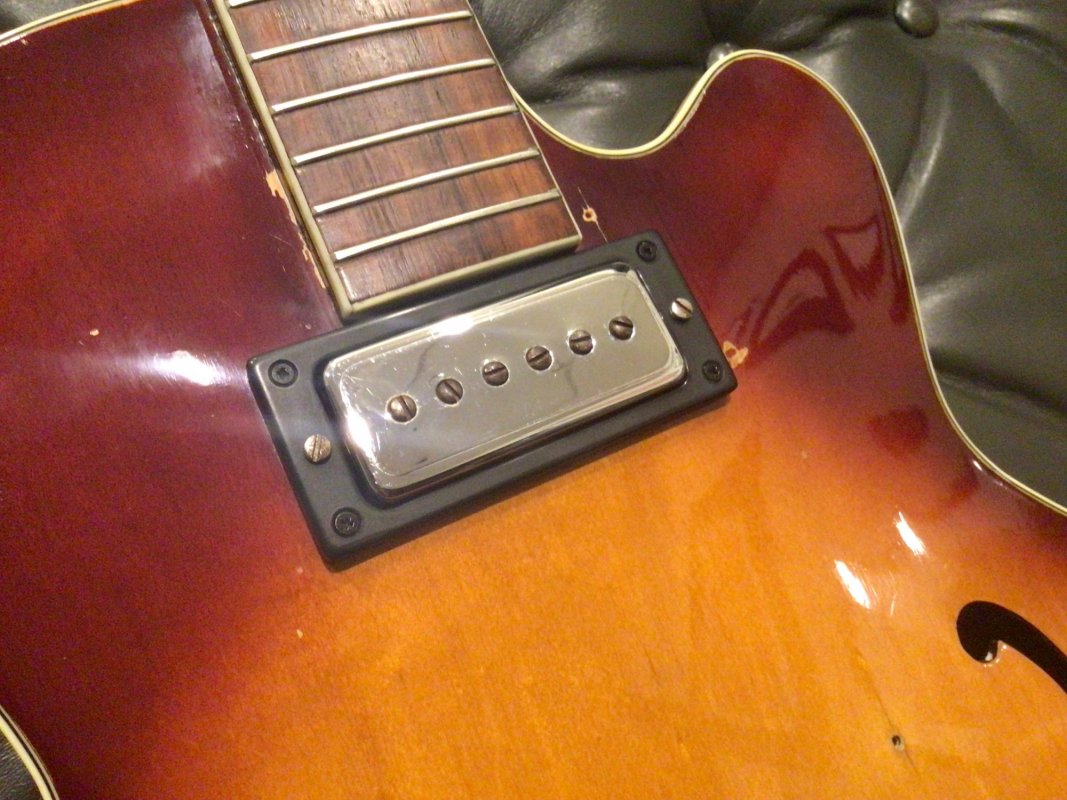
Next step completed. Pickup mounting ring fabricated. I was able to determine the dimensions from the shadow in the lacquer from the original and the original screw holes.

1669427122683.jpeg
Looking nice! The M-65 is a great little archtop. I really like the idea of a small hollow body with f holes. The flat back makes these cool little hybrids of sorts.

Always great to see people rescue a Guild.
 

BradHK

Senior Member
Joined
Jul 1, 2014
Messages
1,084
Reaction score
2,806
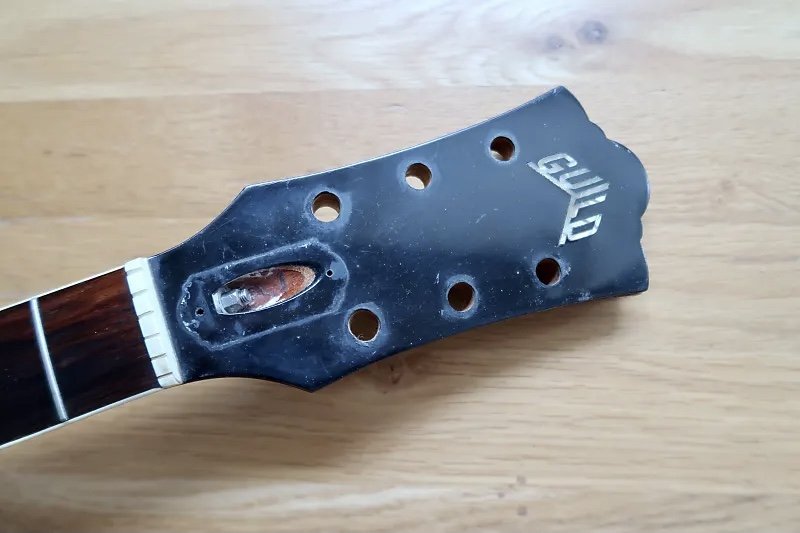
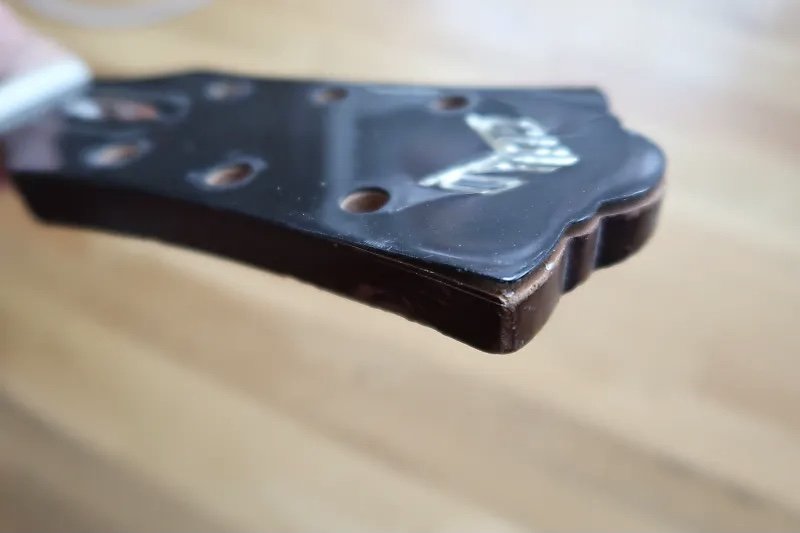
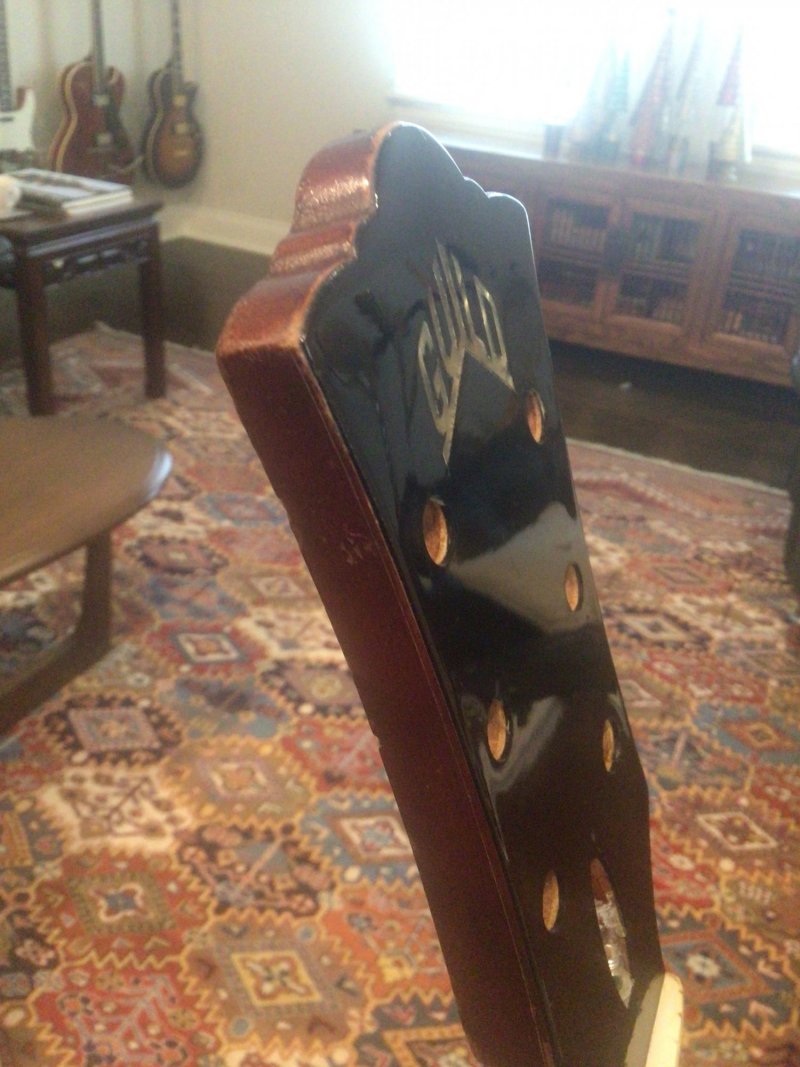
Ok, this update is not that exciting but it is something most of us have dealt with on vintage Guilds. Plastic headstock veneer shrinkage and peeling away from the headstock. This guitar does not have really bad shrinkage but it was peeling
away and warped. This is what it looked like when I received the guitar:

1669568004648.jpeg

1669568195104.jpeg

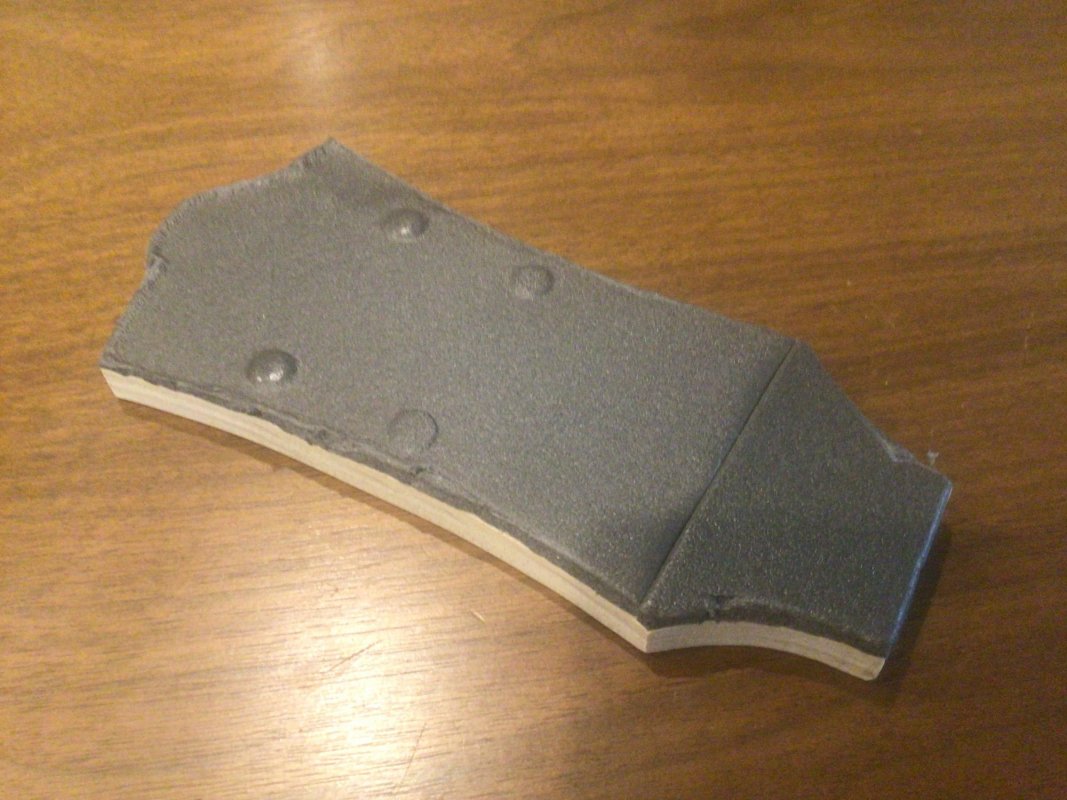
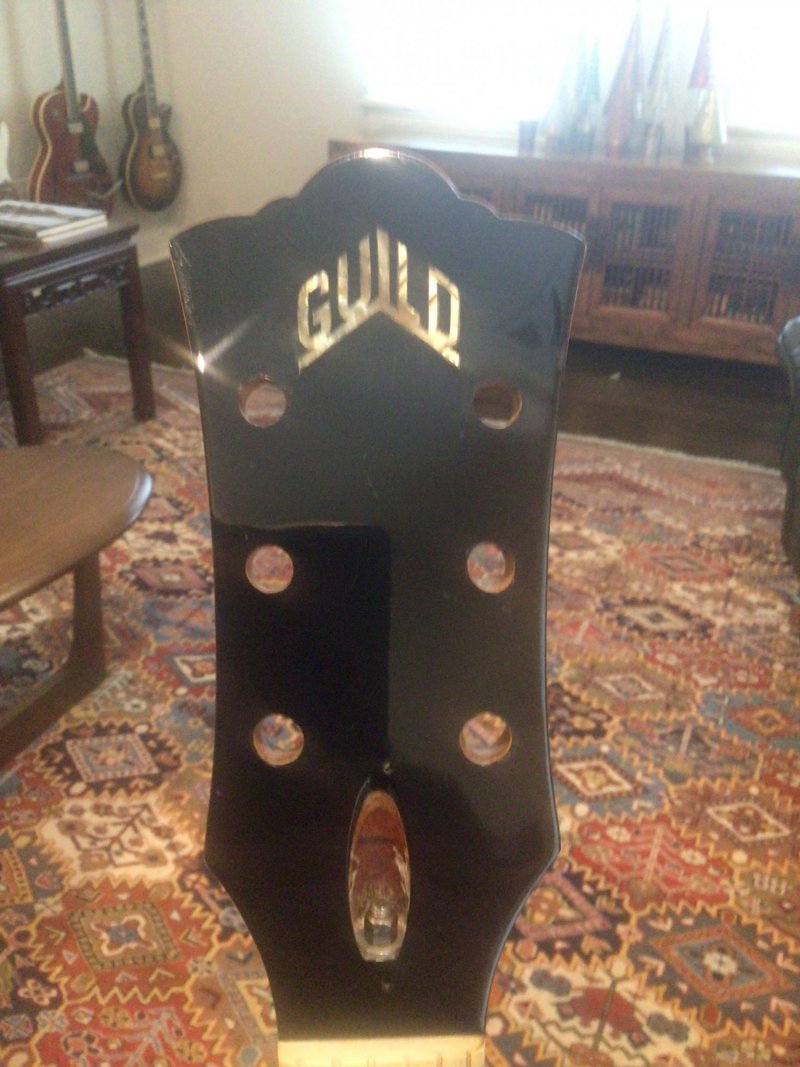
While everything was apart I figured I would address this item. I made a wooden caul the shape of the headstock, installed a thin layer of closed call foam on one side to protect the finish, then got out the fish glue and clamps. A little clean up and polish and now it is ready for tuners.

caul:

1669568469536.jpeg

results:

1669568529127.jpeg

1669568576956.jpeg
 

hearth_man

Member
Gold Supporting
Joined
Dec 30, 2008
Messages
485
Reaction score
454
Location
Eastern, PA
Next step completed. Pickup mounting ring fabricated. I was able to determine the dimensions from the shadow in the lacquer from the original and the original screw holes.

1669427122683.jpeg
The other great feature of the 1965 version you have is this pickup. It gives the small body a big full sound! A very nice match.
 

BradHK

Senior Member
Joined
Jul 1, 2014
Messages
1,084
Reaction score
2,806
The other great feature of the 1965 version you have is this pickup. It gives the small body a big full sound! A very nice match.
I am really looking forward to hearing this pickup. I have had it for a while trying to find a second one to put in my 1964 Polara and then this body came up for sale and I figured it was meant to be. It only needed one pickup and I only had one pickup! I have Franz, anti-hum, DeArmonds, Mickey mouse and HB1 pickups in other Guilds but this will be my first Guild with this pickup. Can’t wait!
 

BradHK

Senior Member
Joined
Jul 1, 2014
Messages
1,084
Reaction score
2,806
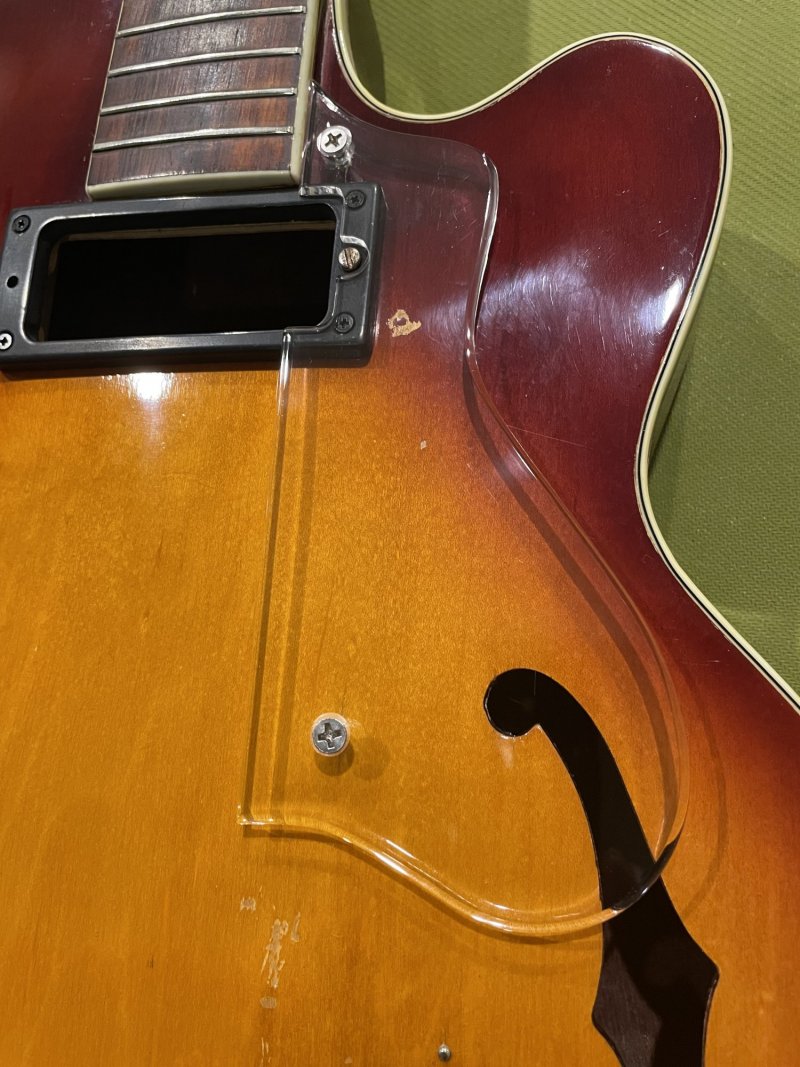
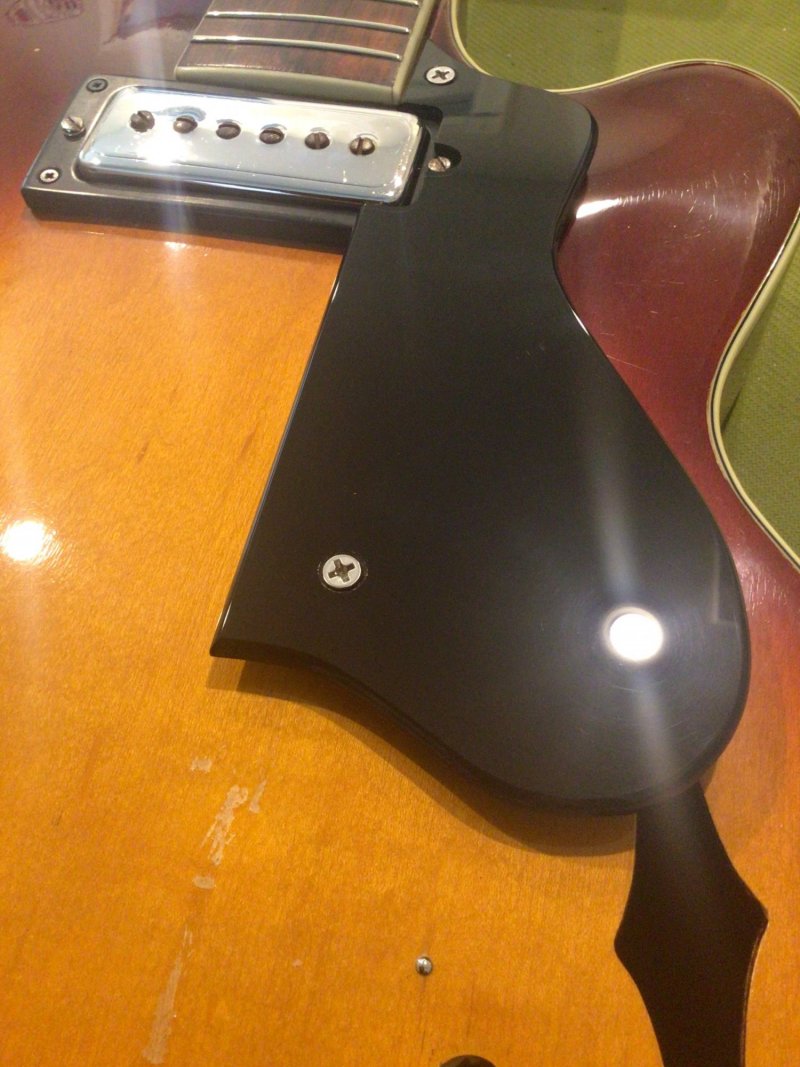
Ok, another update but nothing exciting. There were two components I did not have for this build: pickup mounting ring and a pickguard. Last weekend was the mounting ring and this weekend was the pickguard. The pickguards for the M-75 and M-65 are smaller due to the smaller body and the mounting hole by the bridge is in a different position due to no pickguard bracket. None of my current pickguards would fit properly and I tried the usual sources to find a used one with no luck. I also wanted the rounded pickguard used in the early versions rather than the stairstep. Unfortunately, this is probably the only pickguard from the 1960’s I don’t have on another guitar to copy. I ended up using photos to get the shape, matched the size from reference to the f-hole and such, made a template to use with the router, then recreated a pickguard using the same type materials and such as the original. I did not put on the Guild gold logo as I wanted to keep it clean. One more task complete…

results before the black paint on the back:

1670167784611.jpeg

completed pickguard:

1670167866972.jpeg

1670167907470.jpeg
 

SFIV1967

Venerated Member
Joined
Nov 20, 2010
Messages
18,531
Reaction score
9,078
Location
Bavaria / Germany
Guild Total
8
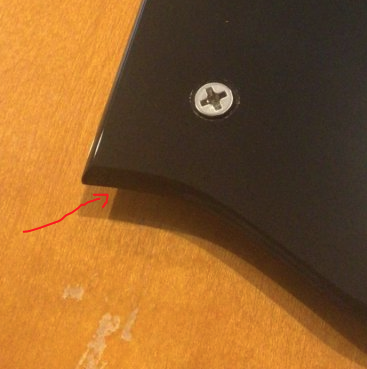
Just curious: Did you put some felt around the screw to create the proper distance?

1670181413797.png

Ralf
 

BradHK

Senior Member
Joined
Jul 1, 2014
Messages
1,084
Reaction score
2,806
Just curious: Did you put some felt around the screw to create the proper distance?

1670181413797.png

Ralf
Yes. I might have to adjust the thickness of the felt when I put the strings on but it is a good starting place.
 

walrus

Reverential Member
Gold Supporting
Joined
Dec 23, 2006
Messages
24,125
Reaction score
8,214
Location
Massachusetts
Ok, another update but nothing exciting. There were two components I did not have for this build: pickup mounting ring and a pickguard. Last weekend was the mounting ring and this weekend was the pickguard. The pickguards for the M-75 and M-65 are smaller due to the smaller body and the mounting hole by the bridge is in a different position due to no pickguard bracket. None of my current pickguards would fit properly and I tried the usual sources to find a used one with no luck. I also wanted the rounded pickguard used in the early versions rather than the stairstep. Unfortunately, this is probably the only pickguard from the 1960’s I don’t have on another guitar to copy. I ended up using photos to get the shape, matched the size from reference to the f-hole and such, made a template to use with the router, then recreated a pickguard using the same type materials and such as the original. I did not put on the Guild gold logo as I wanted to keep it clean. One more task complete…

results before the black paint on the back:

1670167784611.jpeg

completed pickguard:

1670167866972.jpeg

1670167907470.jpeg

Are you saying you only painted the back of that pickguard? Not the top?

walrus
 
Top