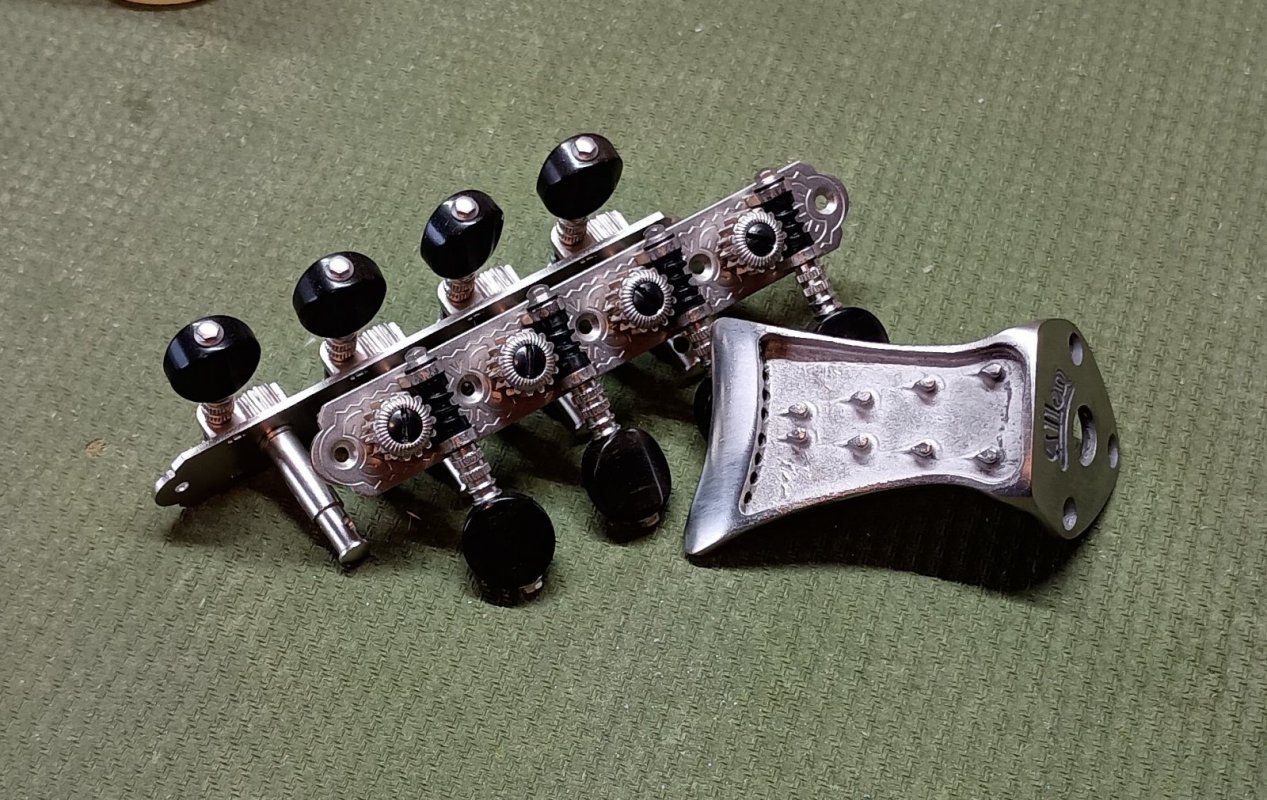
Nice set!
You are using an out of date browser. It may not display this or other websites correctly.
You should upgrade or use an alternative browser.
You should upgrade or use an alternative browser.
AHG octave mando build
- Thread starter AcornHouse
- Start date
- Joined
- Feb 11, 2009
- Messages
- 23,413
- Reaction score
- 19,278
- Location
- NJ (The nice part)
- Guild Total
- 112
The nickel wasn't harmed. It just moved around. 
- Joined
- Jul 30, 2007
- Messages
- 13,681
- Reaction score
- 3,117
- Location
- Philly, or thereabouts
- Guild Total
- 11
It migrated, like a beautiful butterfly made out of, uh, nickel.
AcornHouse
Venerated Member
Except for dissolved black bits at the bottom of the jar, floating down crying "Help Me!The nickel wasn't harmed. It just moved around.
- Joined
- Feb 11, 2009
- Messages
- 23,413
- Reaction score
- 19,278
- Location
- NJ (The nice part)
- Guild Total
- 112
Except for dissolved black bits at the bottom of the jar, floating down crying "Help Me!"
You can’t make an omelette without some sacrificial nickel.
AcornHouse
Venerated Member
Their cries haunt my dreams.You can’t make an omelette without some sacrificial nickel.
- Joined
- Feb 11, 2009
- Messages
- 23,413
- Reaction score
- 19,278
- Location
- NJ (The nice part)
- Guild Total
- 112
The secret ingredient... is tears.Their cries haunt my dreams.
AcornHouse
Venerated Member
AcornHouse
Venerated Member
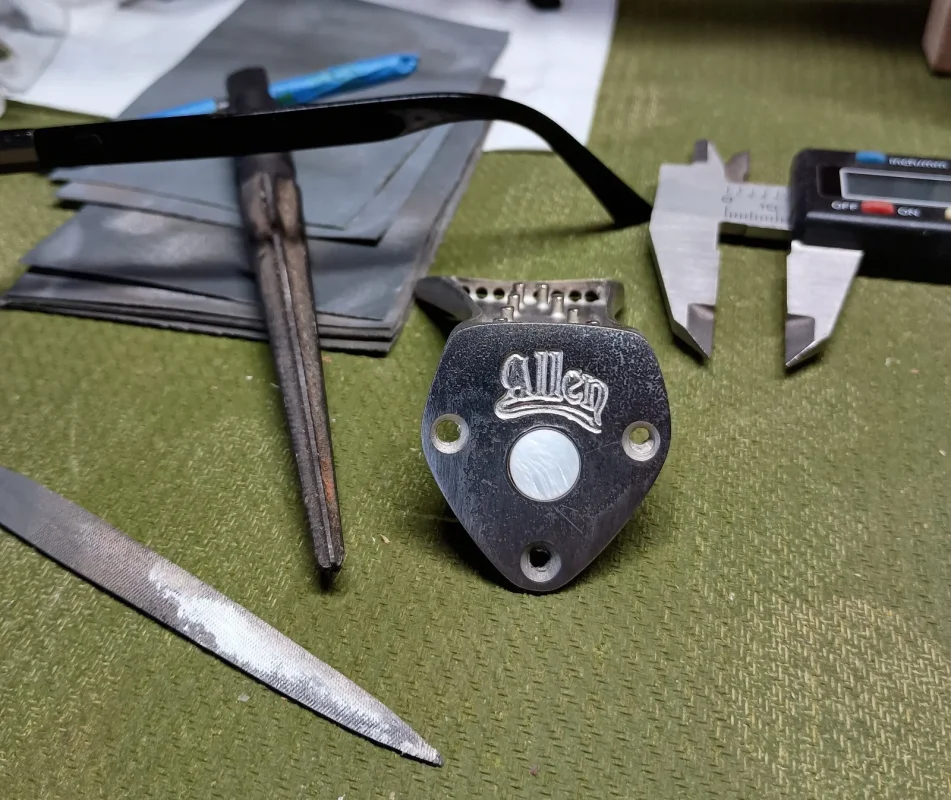
The plan has been to plug the strap button hole in the tailpiece. Because of the deep body of the Octo Mando, it would put it too close to the top, which I didn't like aesthetically and functionally. So the pickup jack/strap button is at the typical midway point on the body. That left the tailpiece hole.
So I kept (of course I did) the scrap of highly figured MOP that I'd cut the headstock logo to make a button to fill it with.
First step was to ream the hole perfectly round. Which exposed some of the original bronze so it got another dip in the electroplating jar.
Then I had to make a perfectly round, perfectly sized, perfectly domed, MOP with a little wood on the back to add thickness. I did that at the lathe using a small file as my tool, following with a little polishing up to 6000 "grit" with the Micro mesh cloths. (Here's where I really envied machinist lathes with all their dial and readouts. I just had my wood turning lathe.)
A little jewel for it's butt that will be seen by very few.

I got most of the metal machinery anyone needs and guarantee I could not have done the round piece as accurately. Amazing craftsmanship, Chris!!The plan has been to plug the strap button hole in the tailpiece. Because of the deep body of the Octo Mando, it would put it too close to the top, which I didn't like aesthetically and functionally. So the pickup jack/strap button is at the typical midway point on the body. That left the tailpiece hole.
So I kept (of course I did) the scrap of highly figured MOP that I'd cut the headstock logo to make a button to fill it with.
First step was to ream the hole perfectly round. Which exposed some of the original bronze so it got another dip in the electroplating jar.
Then I had to make a perfectly round, perfectly sized, perfectly domed, MOP with a little wood on the back to add thickness. I did that at the lathe using a small file as my tool, following with a little polishing up to 6000 "grit" with the Micro mesh cloths. (Here's where I really envied machinist lathes with all their dial and readouts. I just had my wood turning lathe.)
A little jewel for it's butt that will be seen by very few.

GGJaguar
Reverential Member
Butt bedazzling. Nice!A little jewel for it's butt that will be seen by very few.
AcornHouse
Venerated Member
I'd be careful if you Google that.Butt bedazzling. Nice!
James Hart
Member
A little jewel for it's butt that will be seen by very few.
Opsimath
Senior Member
Chris, I don't know what to say. Your skills, your workmanship, your eye for detail, and your heart that goes into everything you build. Astounding, inspiring, and absolutely beautiful doesn't come close to doing it justice.
I am really enjoying watching your builds. I wish I could do something even remotely similar.
I am really enjoying watching your builds. I wish I could do something even remotely similar.
AcornHouse
Venerated Member
Today is drilling holes day. An always clenching prospect with a finished instrument. (With good reason as I found out.) It still will need polishing and buffing, but that's one of the last jobs.
First I got the truss rod cover positioned.
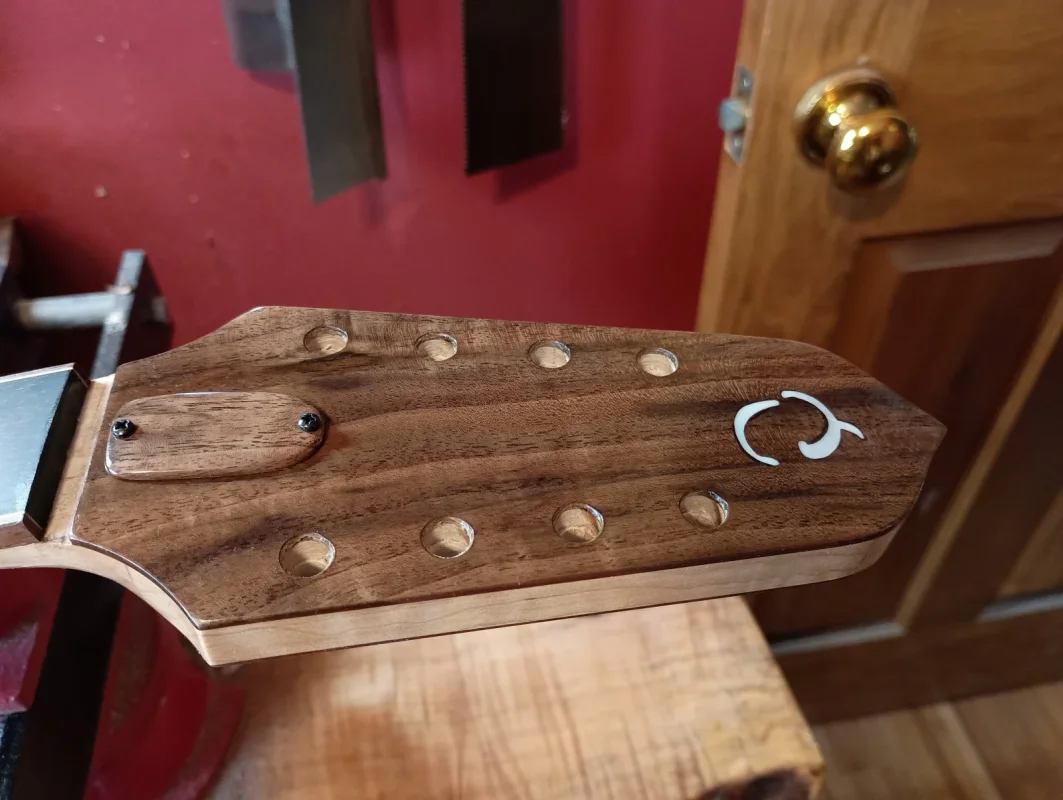
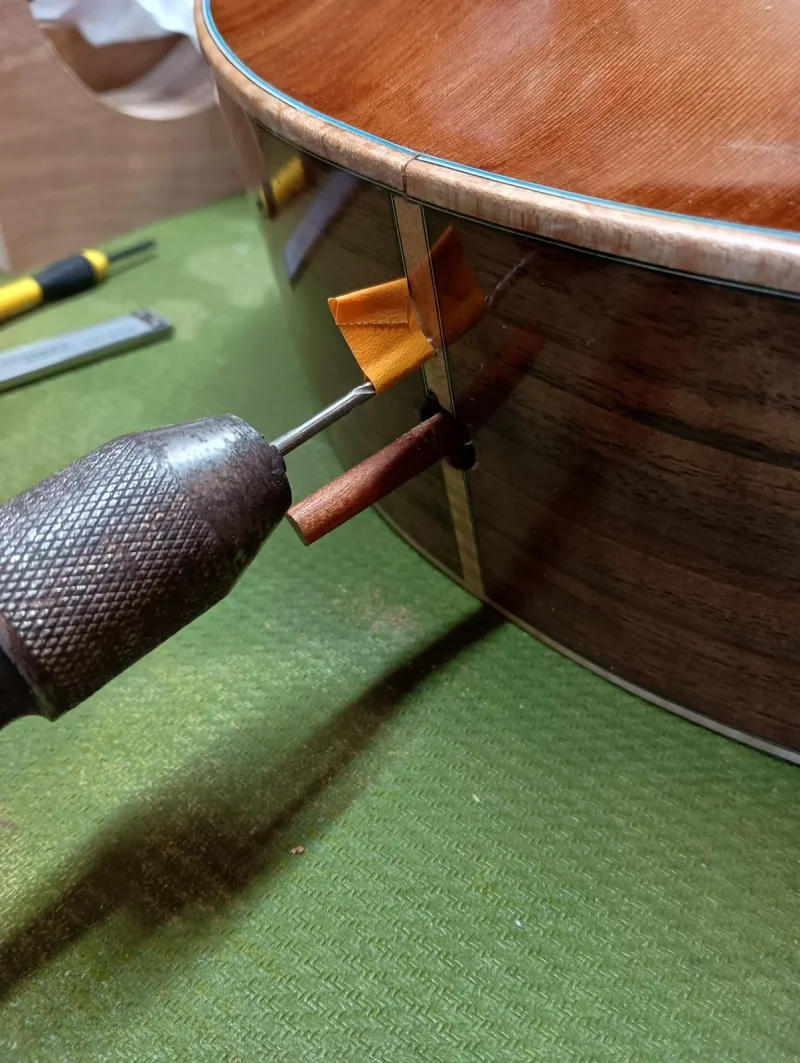
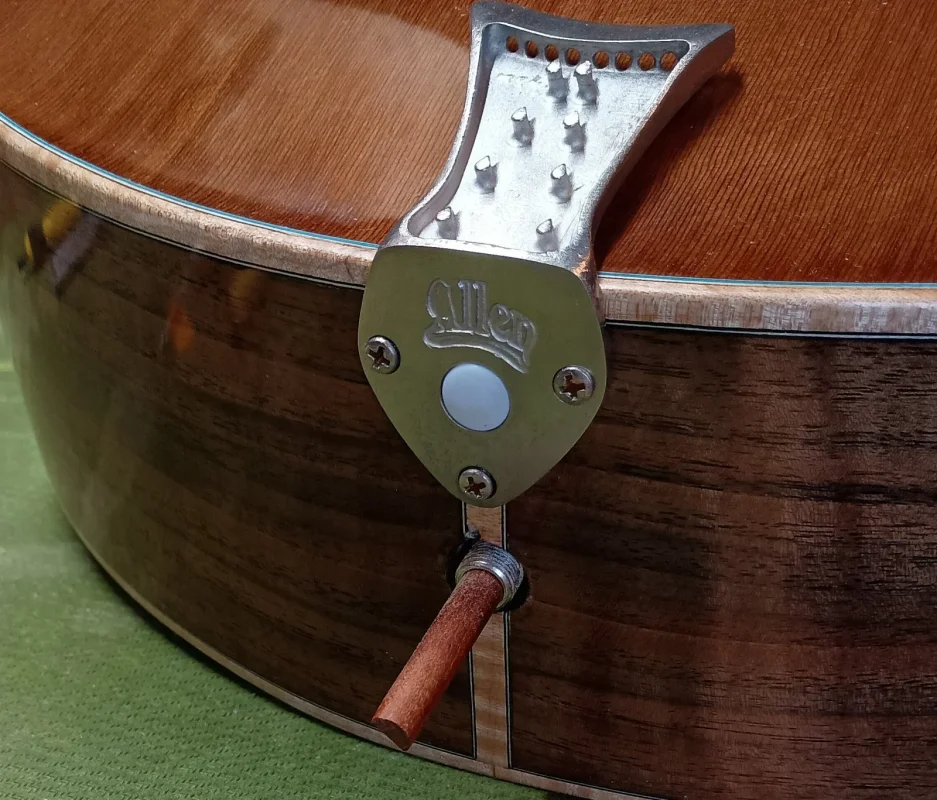
Then the tailpiece using my old Millers Falls hand crank. You can better see why I'm not using the strap button hole in the tailpiece in the installed pic.
Then, the fickle finger of fate appeared and put to rest any hint of mastery. I got things ready to drill the screws for the tuners. The pin drill is needed for these much smaller screws.
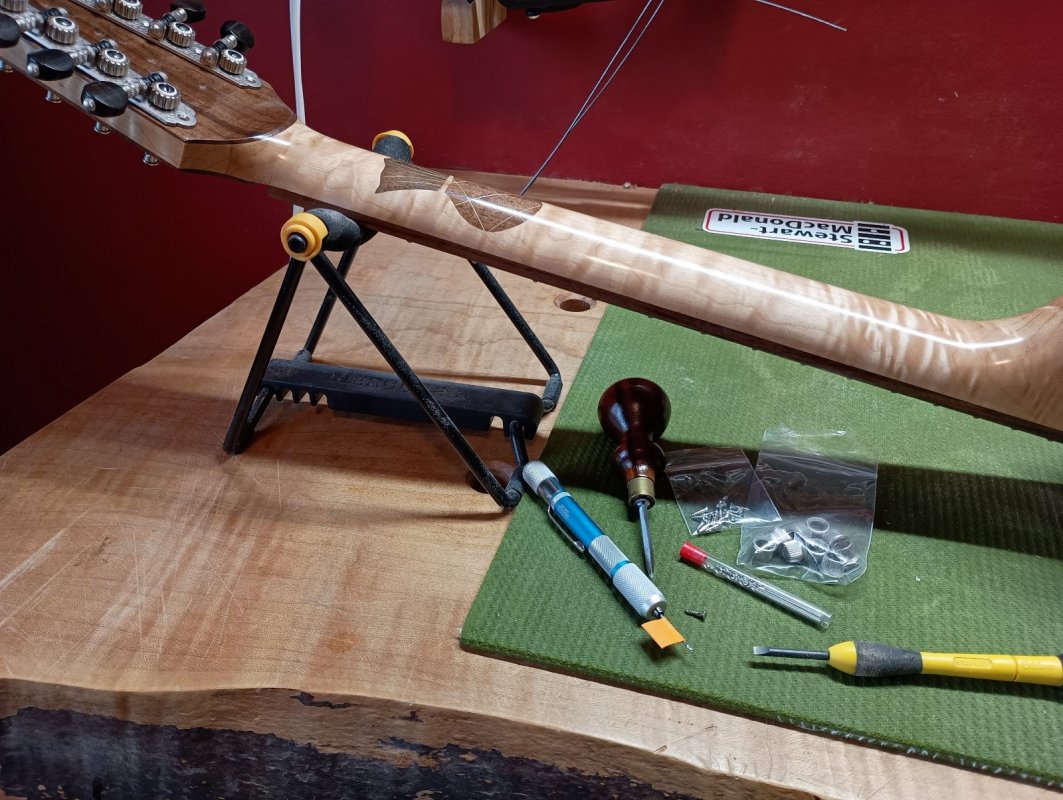
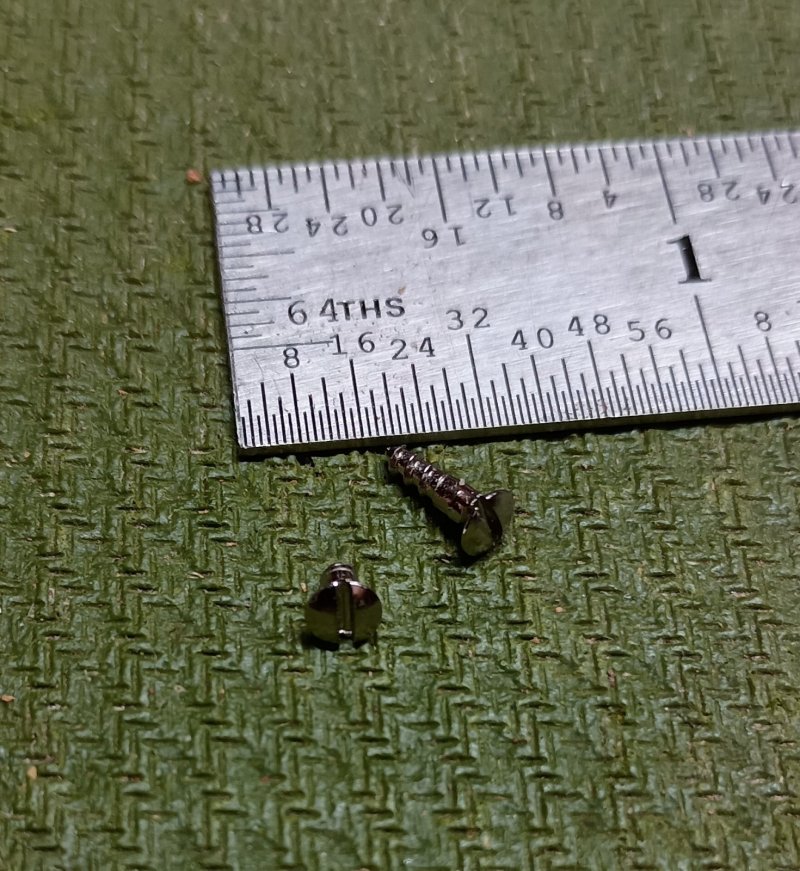
I thought I had chosen the right sized drill bit. Turns out I was too small. As I was driving the first screw in, it was going in, but not quickly. Then it started going in far too quickly. If you've dealt with tiny screws much before you immediately know what that means. The screw had broken half way down.
So after cursing and cooling off, I redrilled the other holes to a more appropriate size (as confirmed by another test screw) and went online to look at options.
Of course the one completely necessary part of the expensive Stew Mac Screw Extraction Kit (even by itself, quite pricey) is out of stock. The regular hardware store ones that cut a hole around the embedded part are too big. I need to find one that can dig in and back it out in extra tiny.
Luckily Rubner includes extra screws for when I do get the bit out. Until then, however, !
!
First I got the truss rod cover positioned.

Then the tailpiece using my old Millers Falls hand crank. You can better see why I'm not using the strap button hole in the tailpiece in the installed pic.


Then, the fickle finger of fate appeared and put to rest any hint of mastery. I got things ready to drill the screws for the tuners. The pin drill is needed for these much smaller screws.

I thought I had chosen the right sized drill bit. Turns out I was too small. As I was driving the first screw in, it was going in, but not quickly. Then it started going in far too quickly. If you've dealt with tiny screws much before you immediately know what that means. The screw had broken half way down.
So after cursing and cooling off, I redrilled the other holes to a more appropriate size (as confirmed by another test screw) and went online to look at options.
Of course the one completely necessary part of the expensive Stew Mac Screw Extraction Kit (even by itself, quite pricey) is out of stock. The regular hardware store ones that cut a hole around the embedded part are too big. I need to find one that can dig in and back it out in extra tiny.
Luckily Rubner includes extra screws for when I do get the bit out. Until then, however,
AcornHouse
Venerated Member
I'm thinking about ordering a stainless steel tube, 3/16" OD, and filing some cutting teeth in it. I only need it to work once.
Enough space to cut a smaller screw of sam metal in half and braze or tack weld to other screw and back it out?
Super glue or JBWeld?
Just thinking as I wait for a salad from Applebee's
Super glue or JBWeld?
Just thinking as I wait for a salad from Applebee's
AcornHouse
Venerated Member
No, wouldn't work. Any adhesive solution would just shear with the torque involved. We're talking proper tiny here. The broken bit is below the surface.Enough space to cut a smaller screw of sam metal in half and braze or tack weld to other screw and back it out?
Super glue or JBWeld?
Just thinking as I wait for a salad from Applebee's
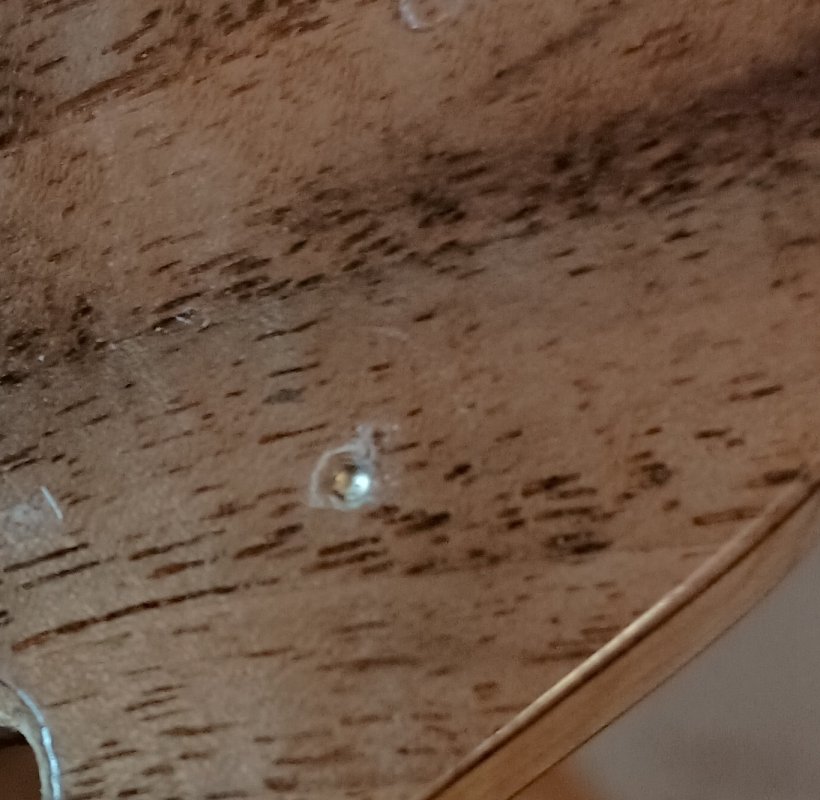
And there's not enough metal to contemplate any heat.
