JerryR
Enlightened Member
- Joined
- May 2, 2007
- Messages
- 7,636
- Reaction score
- 616
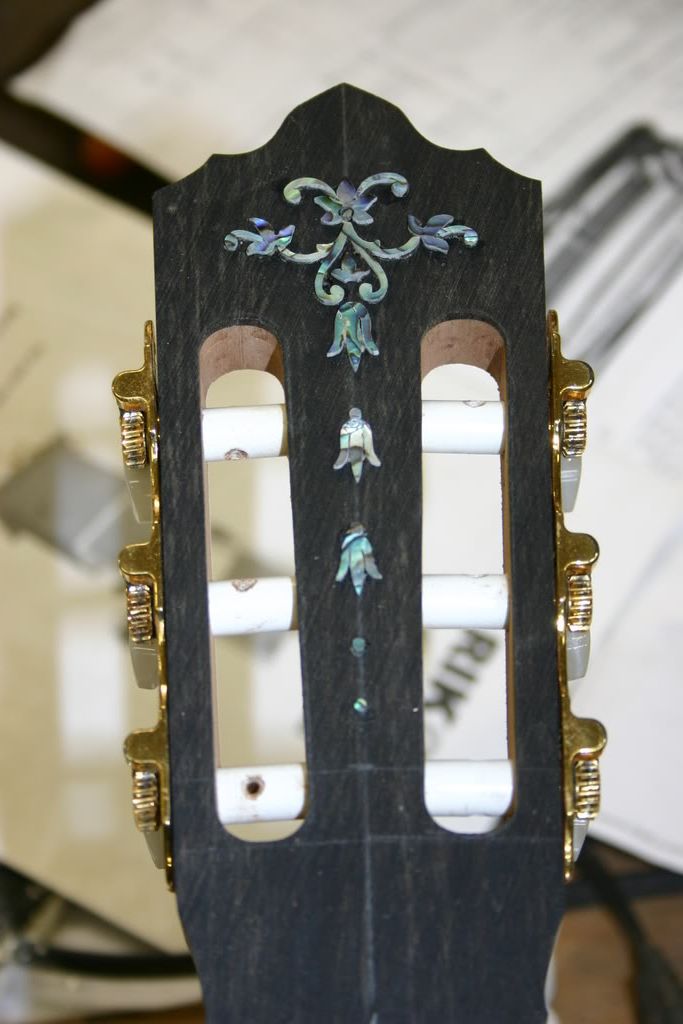
How's it going Larry - looking forward to some updates :mrgreen: Mind you, I'm still in love with the peghead inlay on your last guitar 
JerryR said:I'm still in love with the peghead inlay on your last guitar
Graham said:JerryR said:I'm still in love with the peghead inlay on your last guitar
It's part of the Collins Guitar Website. :mrgreen:

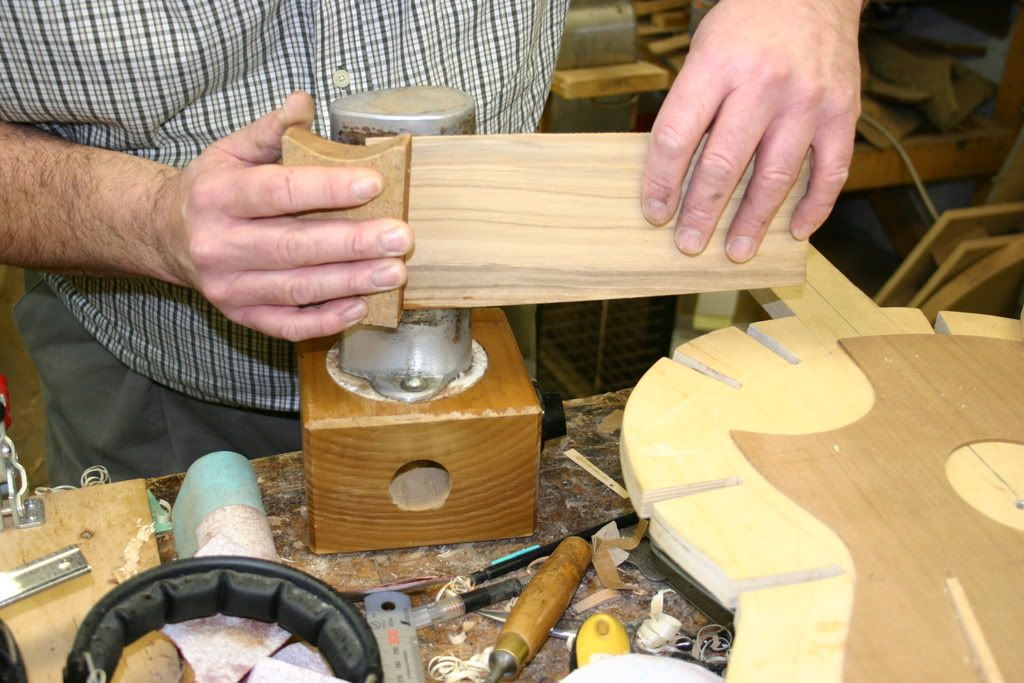
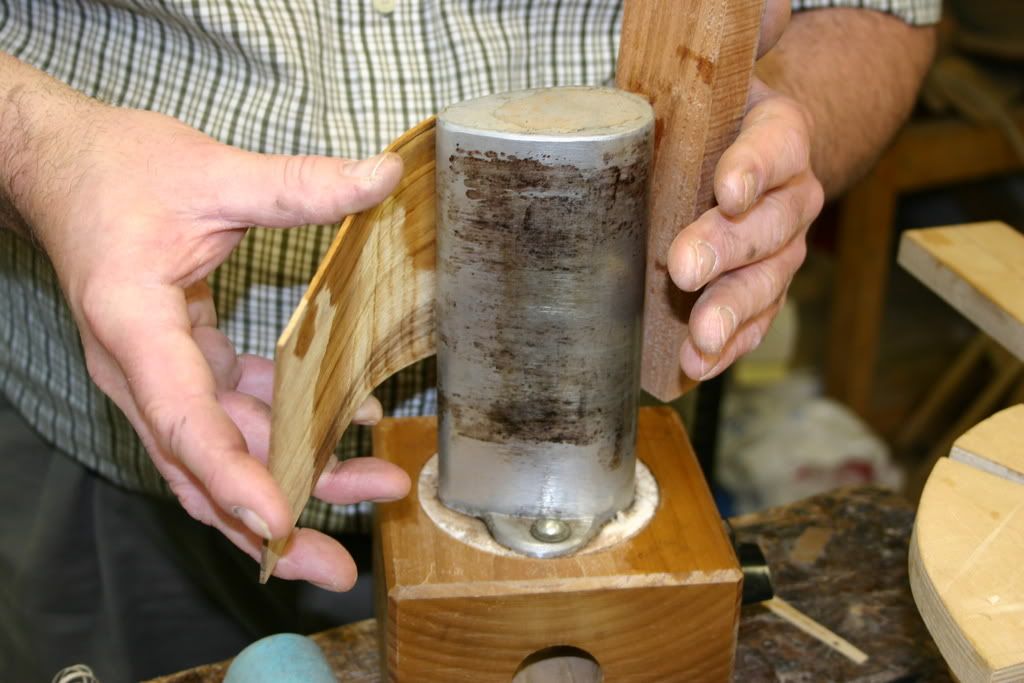
Steelpickin' said:I have no skills other than some advanced cabenitry knowhow.
JerryR said:Still wondering what happens when you need a slight neck adjustment?
Steelpickin' said:
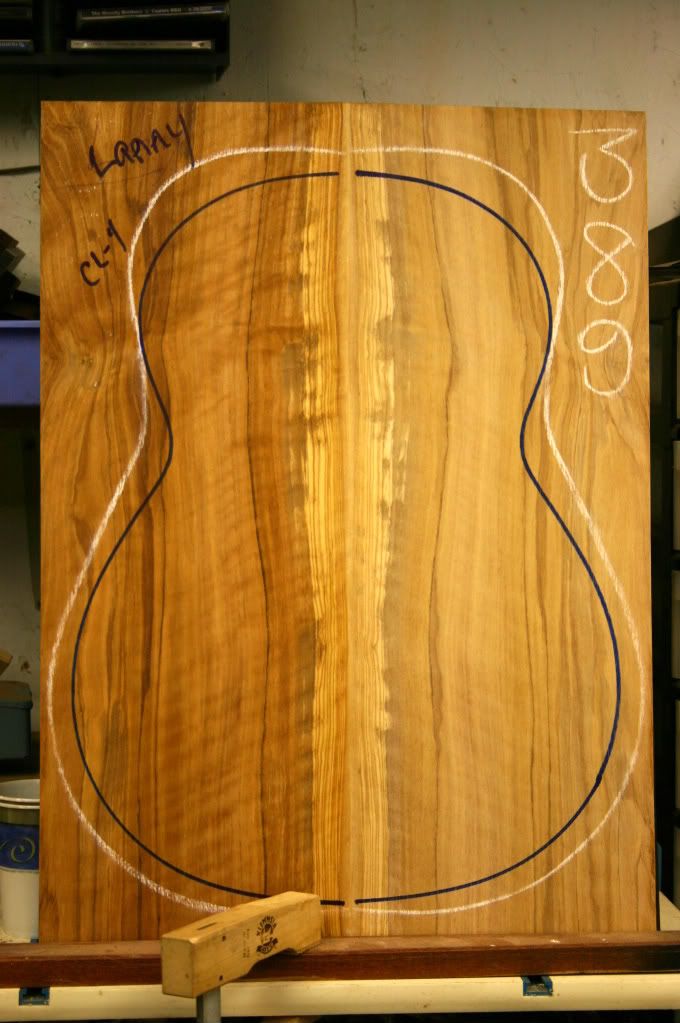
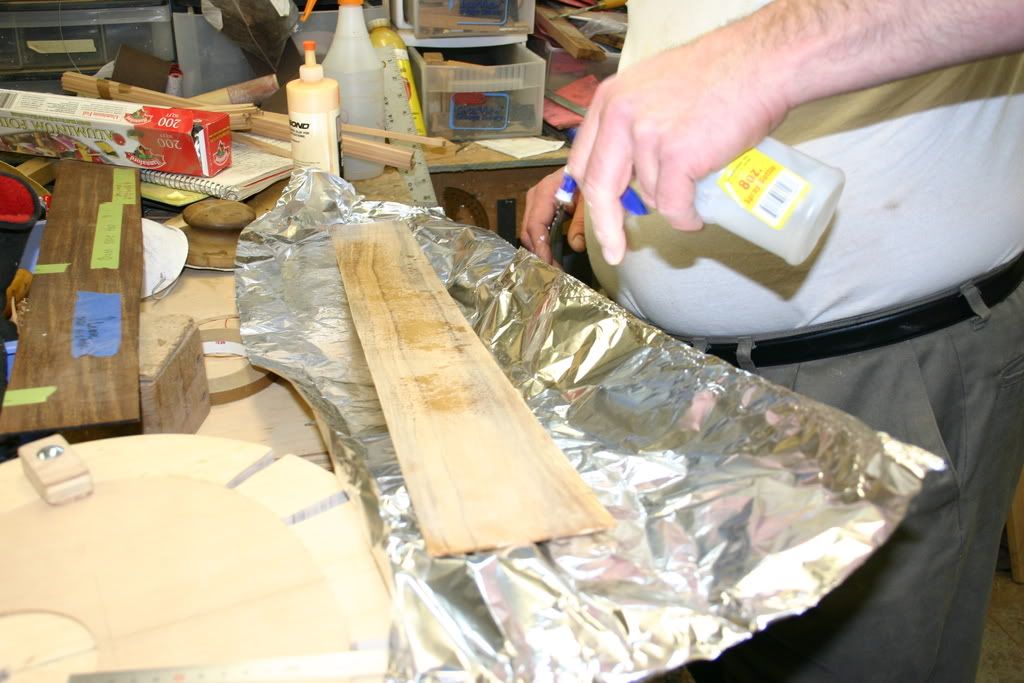
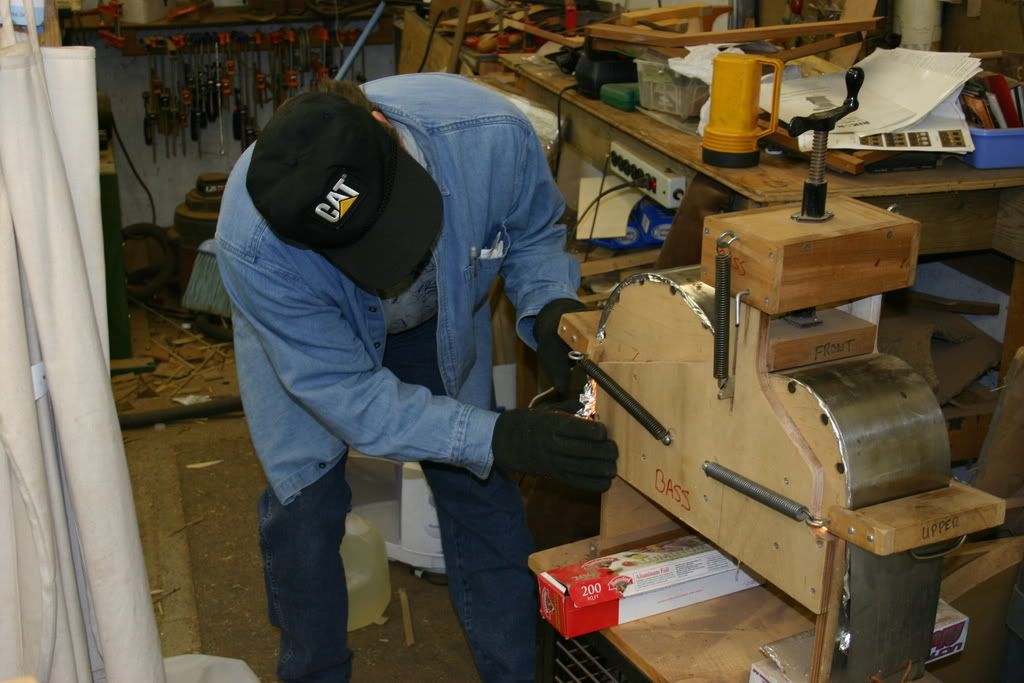
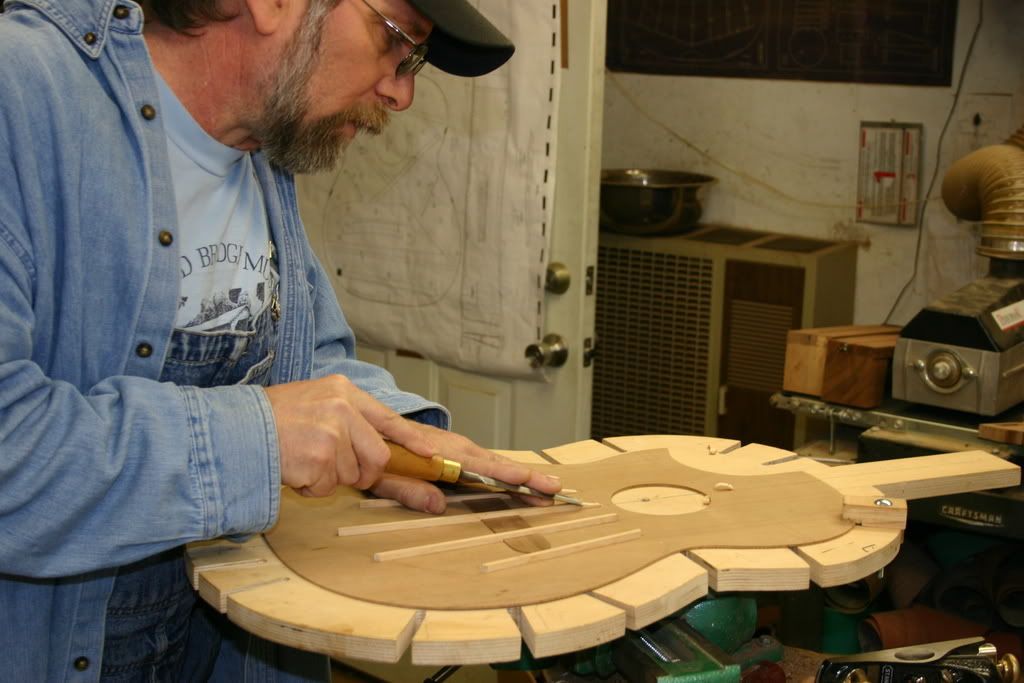
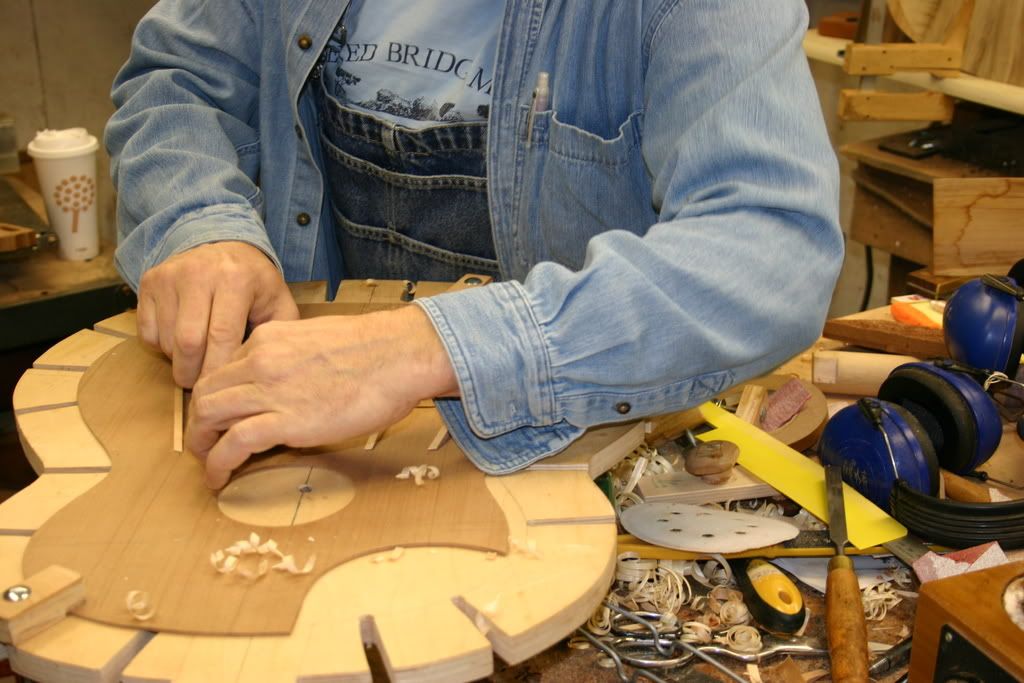
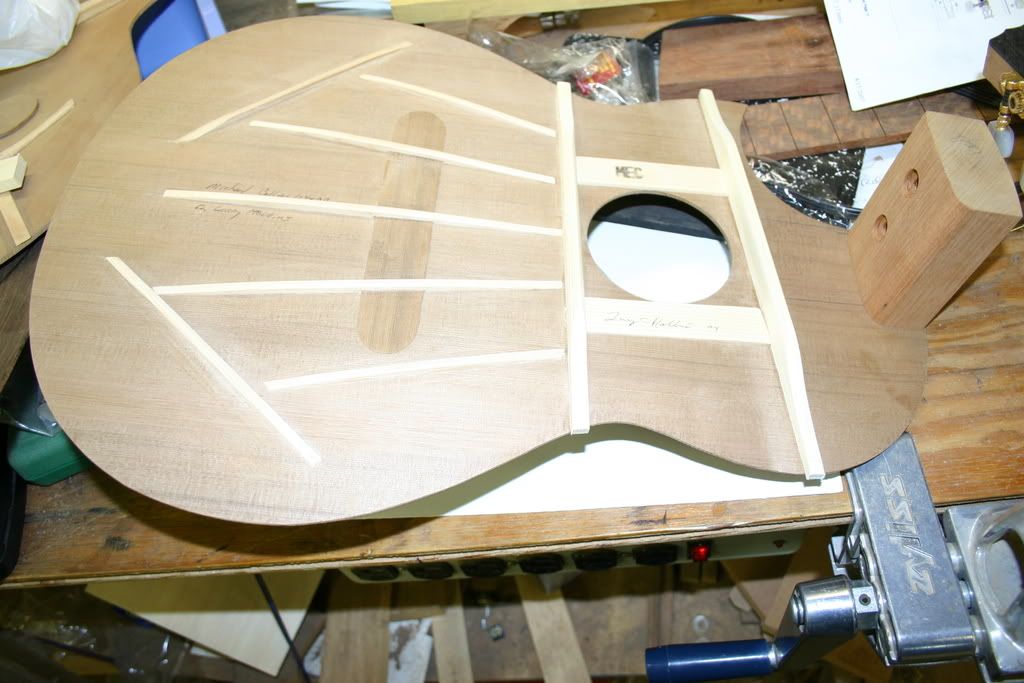
Here I spent a good amount of time this morning getting the headstock inlay just where I wanted it and lightly gluing it in place so it can be traced and routed out....I think I am gonna like it!
I slipped the tuners in place just to help me visualize exactly where I wanted the inlay to line up...
Steelpickin' said:Right you are,Mark.
I just did not want to confuse Graham! :lol: :lol: :mrgreen: